Don’t tell my colourist: I spent less than £25 on DIY highlights, and it looks so good I'm converted
I’ve been salon-loyal for more than 20 years, but this at-home kit saved me hundreds of pounds (and hours of my life)


I’ve been getting my hair coloured blonde forever. I have tried everything from chunky, stripey highlights a la All Saints in the ‘90s to all-over honey blonde permanent colour inspired by Cat Deeley, to a more subtle balayage with darker roots.
Recently, my regular colourist gave me a full head of highlights, a toner and root tap (where the roots are blended to your natural colour to soften any harsh lines) to blend my ever-increasing amount of grey hair. I spent five hours in the salon and loved the results - my colourist is fantastic at their job.
But after six weeks, my roots and ever-increasing silver strands were back. I don’t have the time or the money to go back to the salon every six weeks, so I decided it was worth trying something DIY to help stretch the next salon appointment to every 10 to 12 weeks.
Article continues belowHow our beauty director mastered at-home highlights
As a beauty director with over 20 years of experience, I have interviewed a lot of hairdressers over the years and most professional colourists will tell you to never, ever highlight your hair yourself and certainly not take your hair more than two to three shades lighter. I get it, they must see endless hair disasters from botched DIY jobs.
But, there are tons of hair-lightening products on the market just waiting to be used. After years of getting my colour done and hours and hours sitting in the salon chair watching experts highlight and balayage my hair, I was pretty sure I had gleaned enough knowledge to do some kind of subtle at home hair dye job myself. Here's how I went about it, in six steps.
1. Pick the right products

I visited my local Superdrug store and was amazed at the number of home highlighting and balayage kits on offer. It was almost intimidating trying to decide what to buy. I decided to go with Jerome Russell as this is a brand that has previously won a Woman & Home 2025 Hair Award, and as they specialise in blonde colourants, I felt like I was in safe hands.
To try and replicate the kind of salon colour service I usually go for, I selected three different products to use on my hair.

First, the Jerome Russell Bblonde Maximum Highlighting Kit No.2, as the honey blonde highlights looked pretty close in colour to my own shade.

Next, to replicate the ‘root tap’ my colourist does to blend out any harsh lines, I chose the Jerome Russell Smudge Root Blending Kit in Subtle cool, which I felt would match my light ashy blonde shade well.

Then finally, to tone my existing colour, I selected the Jerome Russell Bblonde Semi Permanent Clean Blonde Toner. This is meant to blend any yellow brassy tones in the hair without using ammonia to change the base colour of your hair.
2. Do your research and learn the technique
When I told my sister, who has similar hair to me and also gets it professionally coloured blonde, what I was planning to do, she thought I was mad. ‘Don’t do it! What if it goes wrong?,’ she hollered down the phone. ‘Don’t worry it won’t,’ I replied confidently.
For research, I’d watched lots of Youtube videos on how to dye your own hair - Jerome Russell also has some really useful reels on their Instagram page. But as I mixed the highlighting colour up in the little tray included in the kit and a hefty waft of bleach reached my nose, I did start thinking, ‘Sarah, is this really a good idea?’ - but one look at my roots in the mirror spurred me on.
3. Go slow and steady with bleach

I started with the highlights. The kit comes with a cap that you are meant to put on your head and pull hair through before colouring it; however, I only wanted to create a few very natural highlights in my parting and at the front of my hair, so I decided to go freestyle (the technique used for balayage hair).
The kit comes with a handy brush that has a little hook on the end, which enables you to pull out very small strands of hair before painting the bleach mix on with the brush - what the experts call ‘babylights’.
I started at the front of my hairline where I have a much lighter streak of blonde, then I gradually worked back towards the crown of my hair, pulling out very fine streaks and covering them with the bleach. This freehand technique is something the experts often use to give a natural result.
Once I was done applying the colour, I had to keep watch, checking the lightening process every 15 minutes until my hair reached the desired level of blonde.
Because my hair is naturally fair, I found it lifted quite quickly, and I was ready to remove the highlights after about 30 minutes. I probably could have left the bleach on for a little bit longer, but I was being cautious and didn’t want them to go too pale just in case it looked streaky.
4. Blend the roots

I washed out the bleach with a special conditioning shampoo included in the kit and combed my hair to get rid of tangles and then it was time to apply the toners for blonde hair.
I started with Jerome Russell Smudge Root Blending Kit. I parted my hair where I usually wear it and mixed the colour with the developer and shook them really well to ensure they were well mixed. I then applied a line of product along my roots and used the special smudging tool included in the kit to tap the colour down a few inches to where my previously coloured blonde highlights started.
I applied this colour in a few areas around my parting and along the hairline as well as the back of my head - I found this a bit tricky and had to get my daughter to help me brush it all through.
5. Tone the blonde
For the rest of my hair, I then mixed up the Jerome Russell Bblonde Semi Permanent Clean Blonde Toner and applied this to the lengths of my hair that had already been coloured. I wasn’t convinced this product would do anything as it seemed completely clear, unlike the root smudge that was a light brown shade.
I left both to develop for 20 minutes until it was time to rinse off the colour using the bond-building shampoo and conditioner that came in the box with the toner.
6. Admire your handiwork

After towel drying my hair and combing it through, I was excited to see the results - would it look any different? Would I have ruined my lovely professional colour?
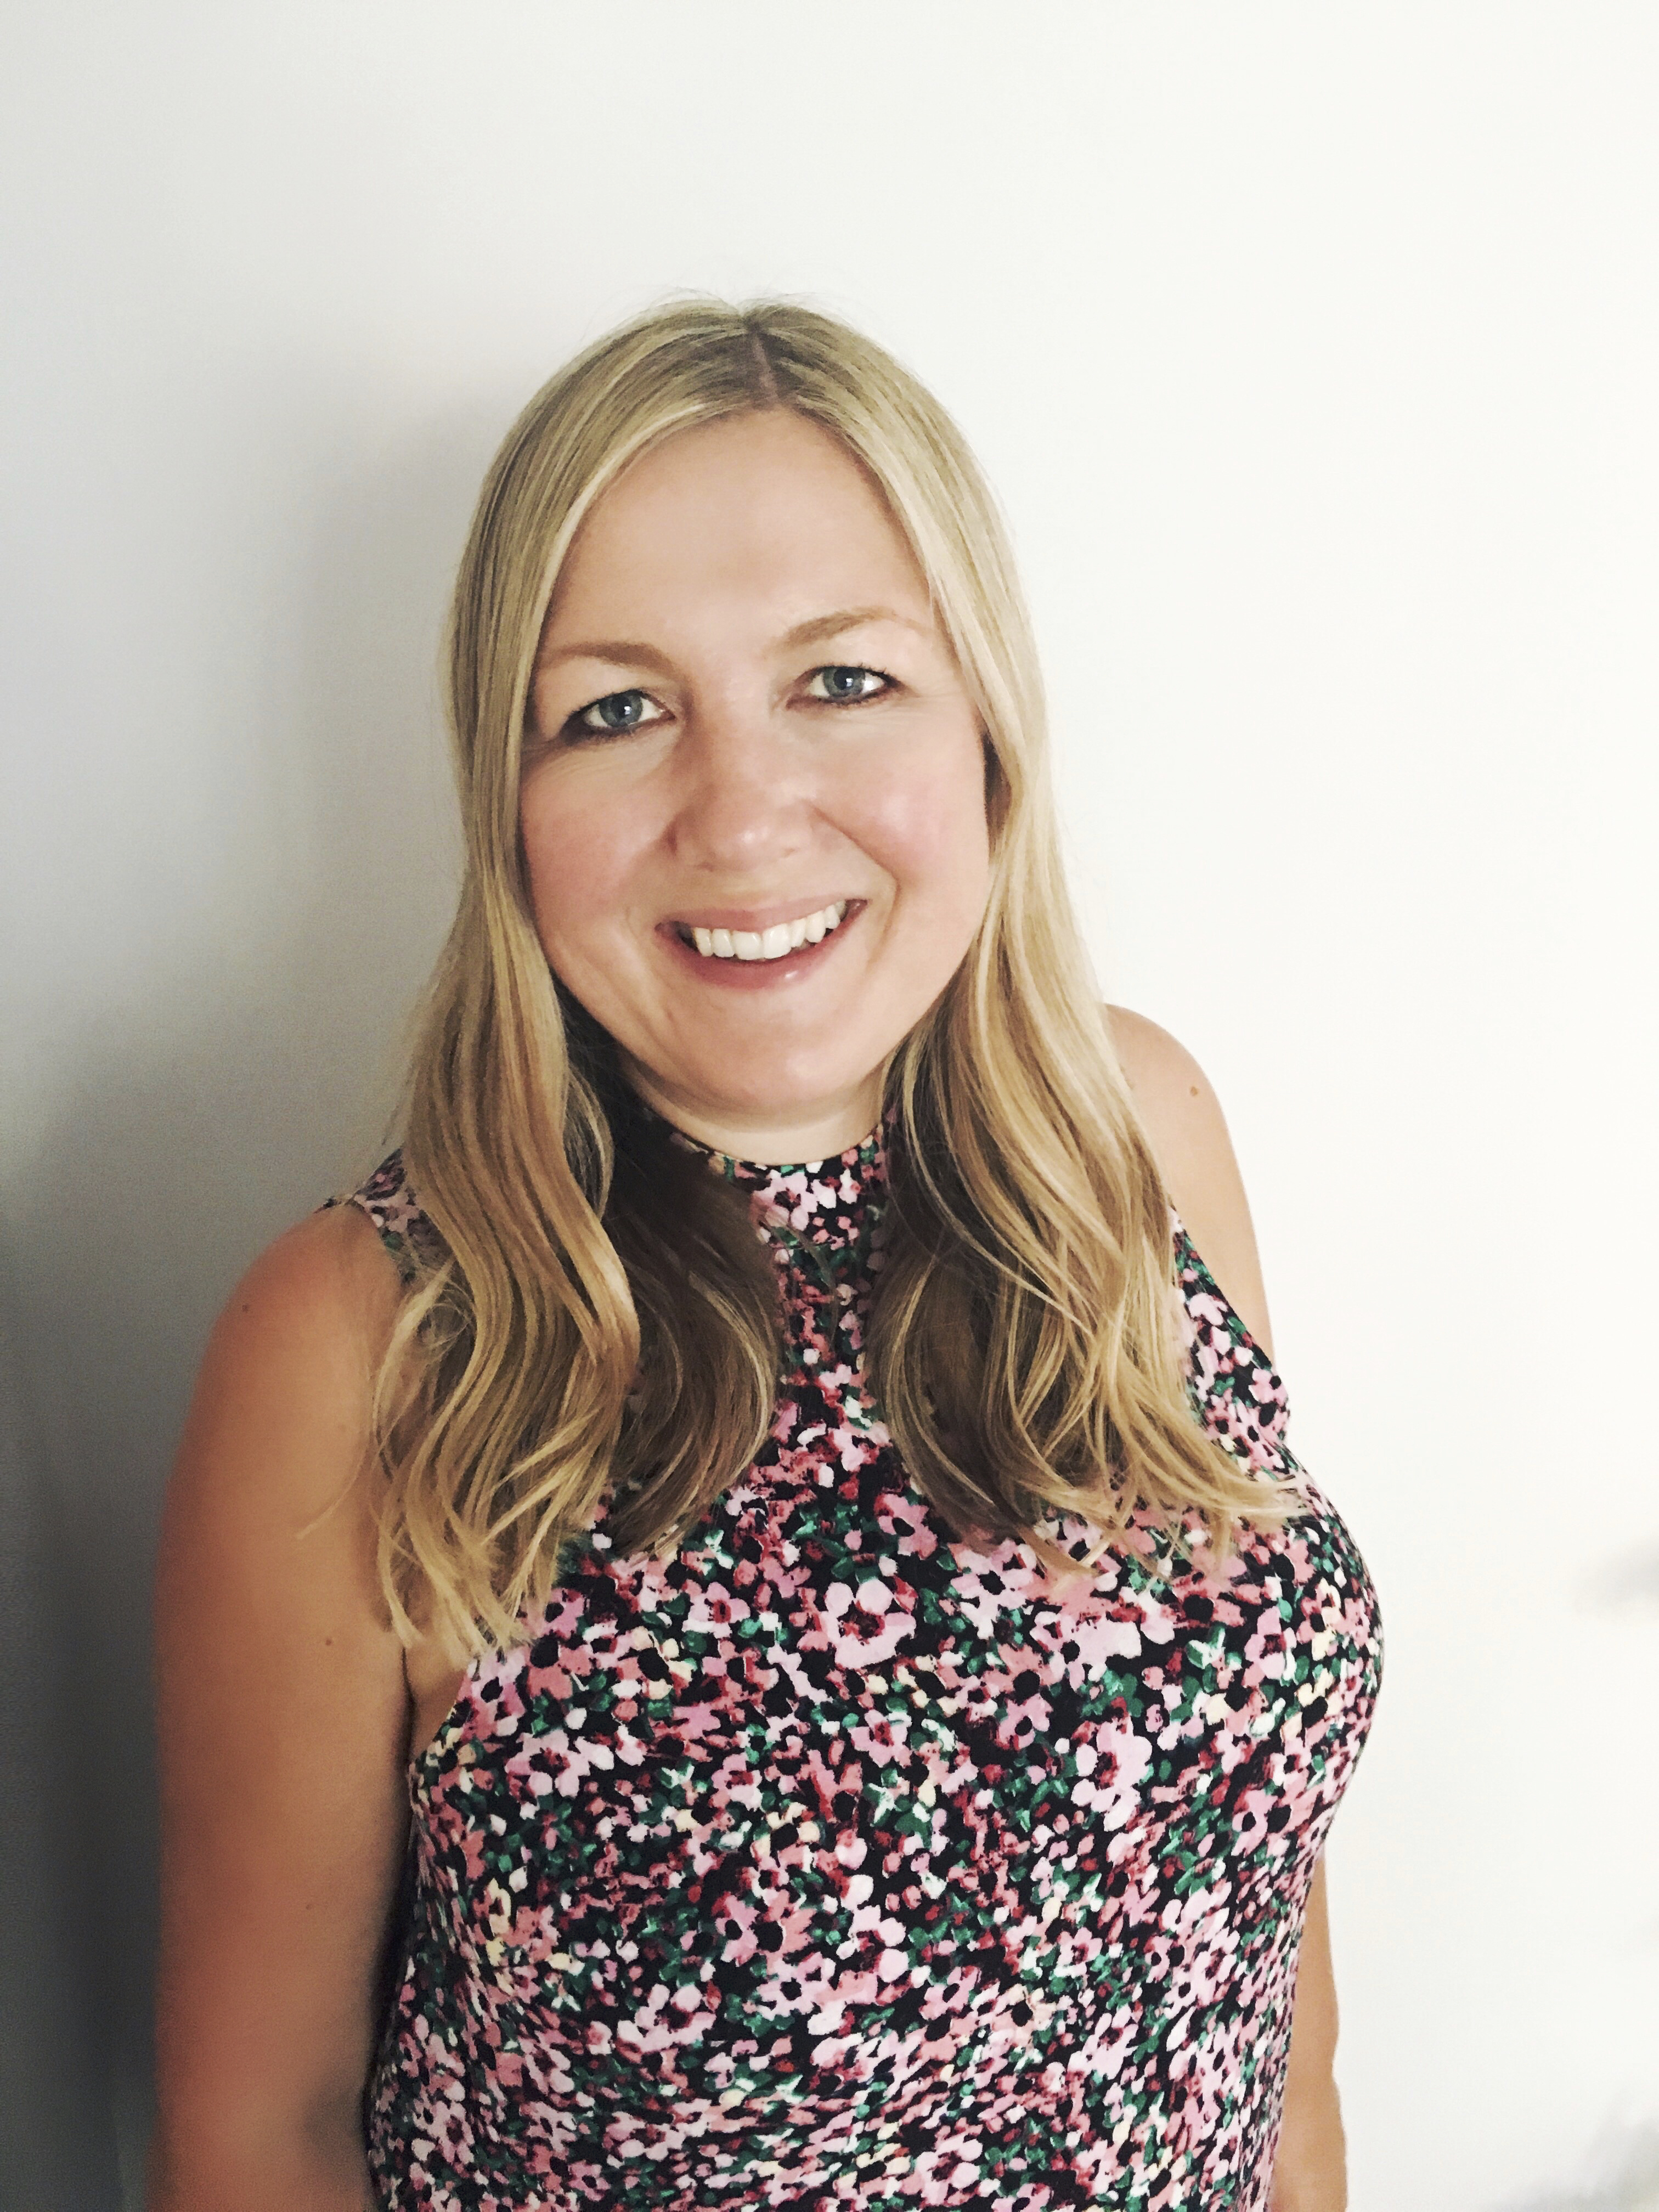
After blow drying my hair, I honestly couldn’t believe the result. My hair looked just as if I’d walked out of the salon after a professional colour treatment. It was silky and shiny and best of all, the roots were completely blended with my existing professionally done colour, with a few subtle highlights to break up the dark regrowth. I sent some selfies to my sister, and even she was impressed!
Our beauty director’s at-home blonde - final thoughts
While this DIY colour process isn’t something that will replace my professional colour appointments - I don’t have the skills needed for a whole head of highlights - I am delighted to have found some products that will help me eke out the time between salon appointments.
Like most people, I have a busy life and I’m also on a budget - salon highlights are pricey! So if I can rely on a few toning treatments and a sprinkling of carefully placed DIY highlights halfway between salon sessions, it will keep my hair looking groomed for longer.
The test now is to see how long the blended root colour will last. The root smudge and the toner say they last up to 16 washes. If you wash your hair every other day like I do, that's not long, so I might be relying on my favourite Living Proof Perfect Hair Day Dry Shampoo for a while to stop the results from fading too fast!
What do you think? Would you try this at home?
You must confirm your public display name before commenting
Please logout and then login again, you will then be prompted to enter your display name.