Easy makeup looks—makeup artists reveal their fast, flattering beauty tricks
This easy makeup looks masterclass will enhance what nature gave you
Trying to define easy makeup looks isn't easy: One woman's five-minute face is another's hours-in-front-of-the-mirror meltdown. What you deem to be easy, cosmetically-speaking, depends on your personal preference of beauty looks, products, and textures, as well as natural artistic flair and appetite for applying. If a friend has ever shrugged off her perfect eyeliner flicks (the kind you've spent a lifetime trying and failing to create) with a mystifying, "Oh this? Two minutes!", then you'll understand that easy makeup looks are not a level playing field.
For the purposes of this feature, easy really does mean easy. These makeup artist-recommended looks channel the power of great products, like the best mascara and easily-learned skills like how to apply blush and are truly achievable for all. Even better, all of the tips and buys here act as a sort of face-enhancing pick and mix. Master these easy makeup looks using basic makeup skills and you'll have options: The option to pick out one or two for a natural makeup look, or the option to throw them all together for a high-glamour full face, if that's more your kind of thing.
From learning how to apply eyeshadow for a basic three-step smoky, to getting matchy-matchy with the best cream blush and the one-stop shop of a bold statement lip, learn these easy makeup looks and you'll have a skill for life.
Your easy makeup looks masterclass, by the experts
1. Statement lipstick
A post shared by Nikol Johnson Sanchez | Beauty (@freshbeautystudio)
A photo posted by on
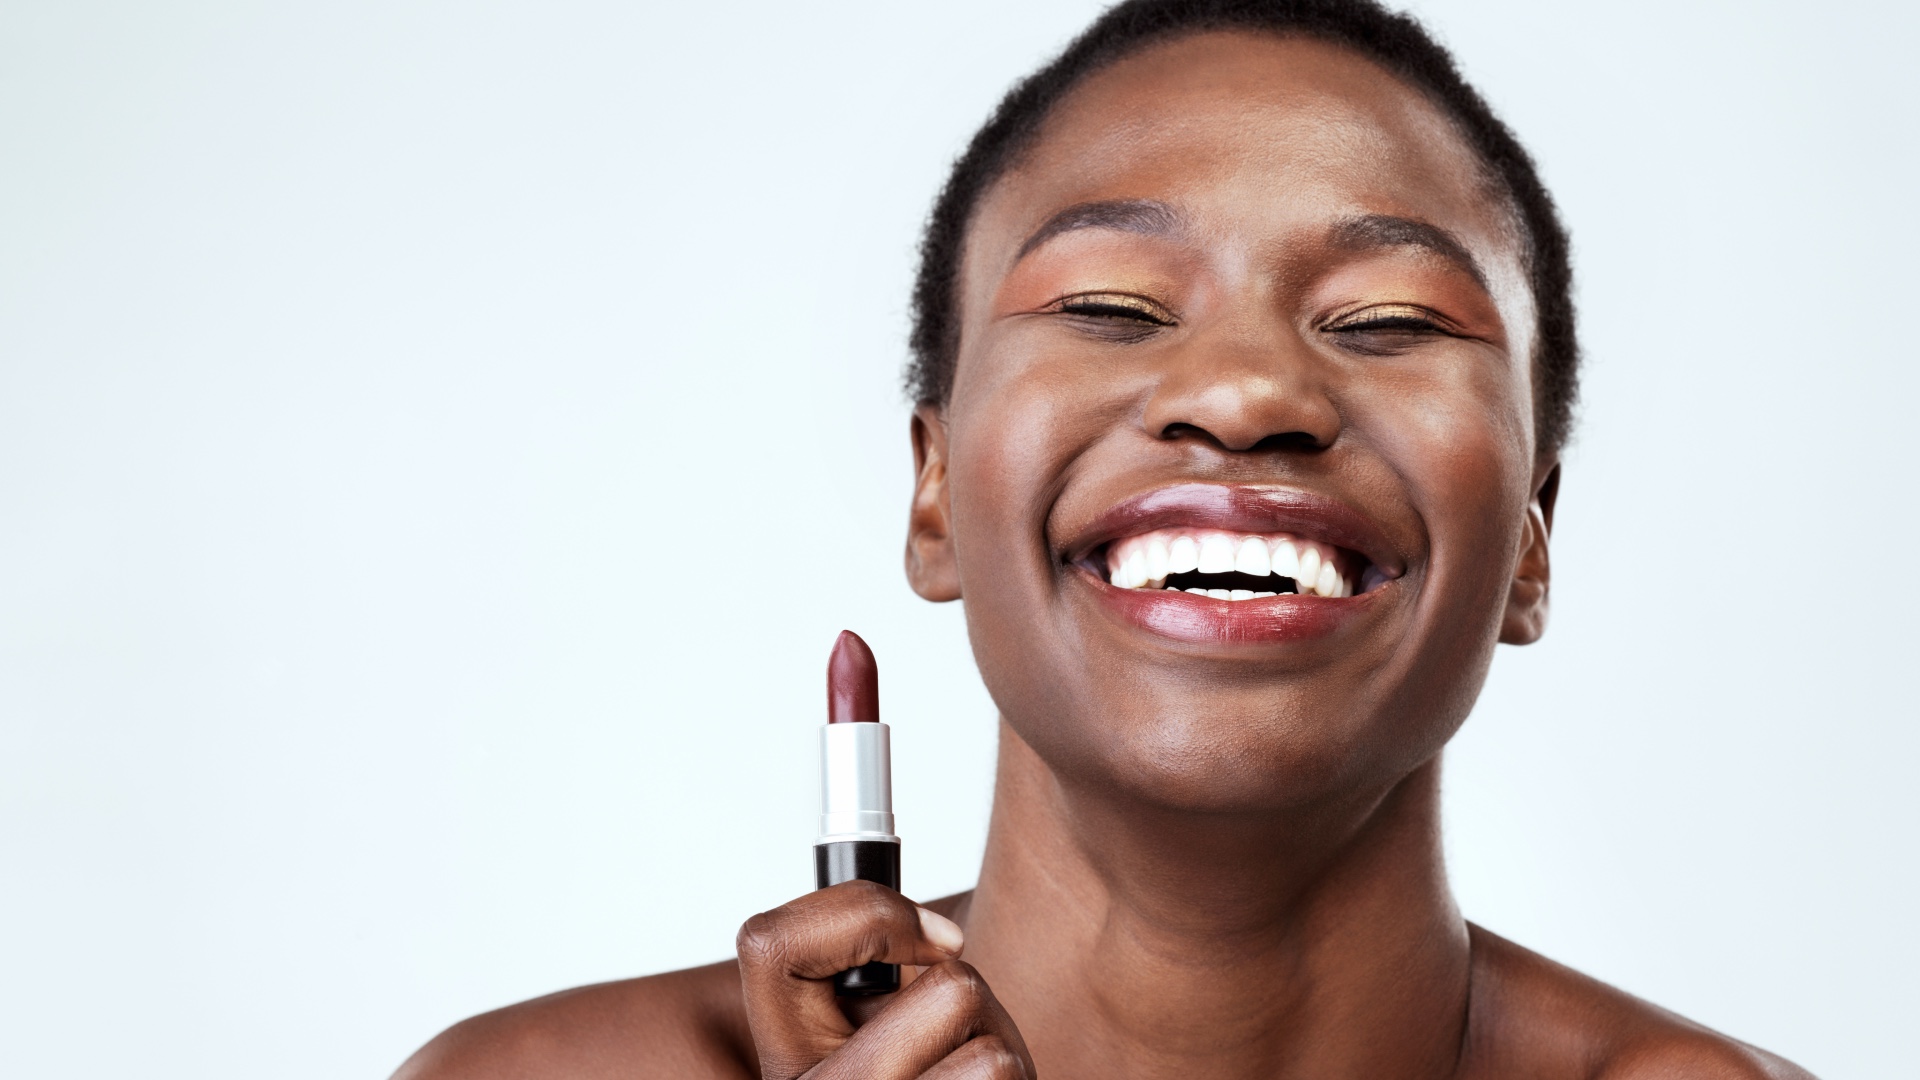
The hardest bit of wearing a bold lip is having the confidence to try it. Once you're over that hurdle there's no easier beauty look as you won't need to make much, if any, effort elsewhere on your face. If you're worried about upkeep, a few prep steps will help you avoid the usual pitfalls of smudging, drying out, or color bleeding outside the lines.
How to create a statement lip
- Exfoliate
Rid your lips of dry skin or raggedy bits that lipstick clings to. "Unlike other parts of your body, your lips don’t produce oil to keep them moist," explains aesthetic nurse Nina Prisk. "Using a soft toothbrush to gently brush the lips increases blood circulation and removes flakiness, making lips healthier and smoother." - Hydrate
Soft plumped-up lips make an attractive base for look-at-me color and stops your lips drying out and drinking your lippie. The best lip balms won't contains high levels of oil, as this can break down the pigment in your lippie. "Use a balm with ultra hydrating humectant ingredients like hyaluronic acid," advises Nina. - Line
Lip liner seems kind of old-school, but makeup artists are never without it in their kits. Liner not only ringfences your lipstick so it stays where you put it, it also helps you create a defined, neat shape in the first place (and can even plump up the appearance of lips with some clever overlining). - Apply
Once you've prepped, applying is the easy bit. “One of my favorite tricks when applying lipstick is to hold the bullet in the direction of your lip, but backwards," advises A-list artist Katie-Jane Hughes. "Holding the angle of the bullet facing up, towards the lips. This will give you better visibility of your natural lip line, which you don’t get when you apply your lipstick in the traditional way.”
In your makeup kit you'll need...
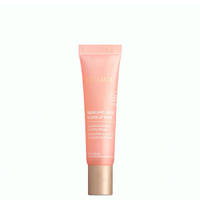
Biossance Squalane + Rose Vegan Lip Balm
Perfectly plumping and gorgeously fragrant, this is the loveliest lip balm we've tried all year. It contains hyaluronic acid to instantly hydrate and plant-derived squalane to naturally boost volume over time.
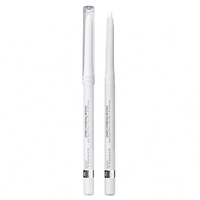
Rimmel London Moisture Renew Lip Liner Transparent
Instead of buying a liner to match every shade of lipstick you own, snap up this one-shade-fits-all clear pencil instead. It'll create a neat shape and prevent color moving around, and you won't be left with obvious outlines if your lippie rubs off.
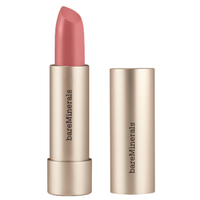
Bareminerals Mineralist Hydra Smoothing Lipstick
Lipstick texture preference is a very personal thing, but it would be hard not to love this. A perfect mix of high-impact color pigment, nourishing ingredients, and a comfy feel, it comes in 25 shades to suit all tastes and skin tones.
2. Cream blush and shadow
A post shared by EM Cosmetics (@emcosmetics)
A photo posted by on
Matchy-matchy eyes and cheeks could be a bit much, but by picking a flattering shade and cream formula, this is a supremely easy, chic makeup look. Use an eye primer if you have oily skin or creased lids, then pick that tone carefully.
Sign up to our free daily email for the latest royal and entertainment news, interesting opinion, expert advice on styling and beauty trends, and no-nonsense guides to the health and wellness questions you want answered.
"Choosing the right blush for your skin tone is so important," agrees Lancôme Pro Artist Antonia Basile. "When it comes to shade, these are some of my favorites to apply for each skin tone."
Fair skin tone
"Go for softer shades. I always recommend light pinks, peaches, and plums."
Medium skin tone
"Opt for slightly warmer tones, e.g. apricots, warm peaches, berry, rose, and coppers can look great too."
Dark skin tone
"Brighter colors look fantastic. Try a brick red, deep berry or plum, orange, and tangerine shades."
How to apply cream eyeshadow and blush
- To apply, the warmth of your fingers beats any brush. Dab on with your ring and index fingers, from the apples of your cheek up and outwards.
- Then tap across your eyelids, up to the crease and blend with your ring finger.
- Go for a light wash rather than layers of opaque color to keep this easy makeup look fresh and natural.
In your makeup kit you'll need...
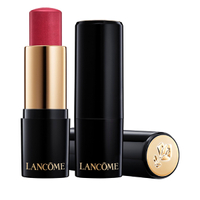
Lancôme Teint Idole Ultra Wear Blush Stick
A flattering and hydrating swipe-on blush that applies like a cream but sets down into a powdery finish. This makes it more hard-wearing than your average cream blush and a perfect choice for using on both the cheeks and eyelids.
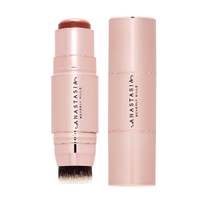
Anastasia Beverly Hills Stick Blush
This is a very sheer formula that glides over skin for a sheeny flush of color. Of the five shades, we particularly love deep peach Caramel and rosy Pink Dahlia, while the little brush on the end makes blending an absolute dream.
3. Bronze smoky eye
A post shared by KATIE JANE HUGHES (@katiejanehughes)
A photo posted by on
The phrase smoky eye can elicit terror for anyone lacking confidence. Sure, ultra-sooty looks are best in the hands of professionals or skilled amateurs. But subtle metallic eyeliner looks, using warm tones and crayon products is both achievable and flattering.
How to create a bronze smoky eye
- Prep the lid with a neutral-toned eye primer to cover veins and give your shadow a grippy base.
- Now grab a creamy shadow stick in a radiant, not sparkly metallic tone. "Rose gold, copper and bronze blend effortlessly together," says Laura Mercier Pro Artist James Stafford Webster. "The metallics work beautifully as a spotlight on the center of the lid or in the inner corner of the eyes to brighten."
- After swiping and smudging with a finger, go back in and accentuate the look as much as you like. "Darker shades can be used in the waterline as an eyeliner or smoked out under the lower lash line," says James.
- "To add more drama for evening use a cocoa shade to smoke out the top and bottom lash line then add a little pop of shimmer or metallic on the center of the lid."
In your makeup kit you'll need...
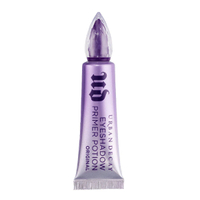
Urban Decay Eye Shadow Primer Potion
The original and best eye primer, with a neutral base shade that evens out little veins or skin tone unevenness while giving superlative hold to any shadow you put on top.
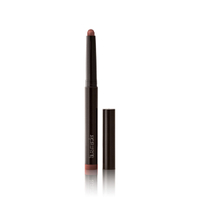
Laura Mercier Caviar Eye Stick Colour
These are beautifully creamy yet long-lasting crayons in an array of flattering shades, both iridescent and matte. We love Burnished Bronze, Pearl, and Cocoa for creating a soft smoky eye, but there's enough choice to create just about any look you can imagine.
4. Defined brows
A post shared by SAM CHAPMAN (@samchapman)
A photo posted by on
It's a cliché to say well-groomed eyebrows frame your face. But like most clichés, this one exists because it's indisputably true and always will be. A subtly defined brow really does make everything else look better, so tread lightly for a flattering effect.
"I recommend what I like to call spot filling. It will give you that natural look and all you need are two products," says Benefit UK National Brow Artist Laurretta Power.
How to create defined brows
- Start by brushing up your brows with a clear gel.
- Once they are dry and set, use a pencil with a balanced formula. This means you don’t need to press too hard on the skin to get the mark to appear, but it’s not too creamy as this makes the lines very broad.
- Use the edge of the pencil to flick tiny hair-like strokes in sparse areas, so they will be defined but not too bold.
In your makeup kit you'll need...
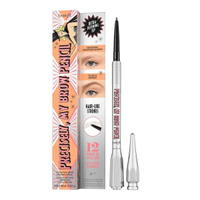
Benefit Precisely, My Brow Eyebrow Pencil
An ultra-fine twist-up brow pencil that unlike the majority of skinny brow shapers, doesn't snap off at the first hint of pressure. The colors are great too, an unusual 12-strong selection that includes plenty of cool-toned options plus grey and auburn shades.
L'Oreal Paris Brow Artist Plumper
Let's be real: There's only so much variation between clear brow gels, no matter how much you pay. The smart money goes for something like this—a bargain-priced, non-sticky brow setter that, just like far more expensive ones, holds hairs in place without flaking.
5. Highlighted skin
A post shared by NAM VO✨GLOW⚡️SKIN💫 (@namvo)
A photo posted by on
The desire for glowing skin is universal. And while the key to perfect dewy makeup is a combined effort between skincare and cosmetics, it's also possible to cheat a healthy sheen with a few clever products. For an easygoing take on glossy highlighted skin, forget opaque, metallic highlighting powders and go for a sheer balm-like stick instead. It can have a touch of pigment in it, something peach or rose-toned will be most forgiving, or you go totally translucent. Just remember to think dewy rather than reflective.
How to created highlighted skin
- Swipe the stick along points of the face you want to bring forwards into the light, the cheekbones and brow bone, then add a swipe on the top of your cupid's bow.
- Glossy lips make a nice finishing touch for this look, either using your highlighting stick if the color works well, or a weightless non-sticky lip gloss.
"Less really is more," says makeup artist Ruby Hammer. "Think of your makeup like layers in your wardrobe. You wouldn’t wear all your favorite clothes at the same time so take a similar approach with your make-up. A touch here and there is just enough."
In your makeup kit you'll need...
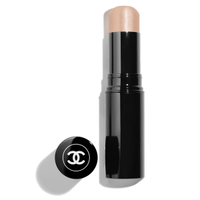
Chanel Baume Essentiel
Sponsored
Truly a one-stop-shop, a melting hydrating stick that would add a slick of glossy gorgeousness anywhere you put it. Naturally it looks great on cheekbones and lips, but your collarbones and shins would also benefit. As well as Transparent, there are five other sheer glowing shades.
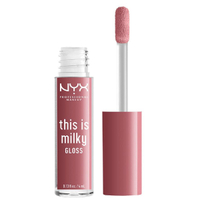
NYX Professional Makeup This Is Milky Lip Gloss
A fun, creamy lip gloss infused with jojoba, sweet almond seed extract and glycerin to nourish and hydrate. The colors are sheer and the texture non-sticky. Naturally you'll need to top up a few times, but that's half the fun of wearing gloss, no?
6. High impact lashes
A post shared by Lesley (@freshlengths)
A photo posted by on
Question: Do you really know how to apply mascara? If you've ever had your makeup professionally applied and wondered why the lashes bit took so long, your makeup artist was probably doing this. It's a cut above most of our blink-a-couple-of-times-onto-the-wand routine, and taking the time to do it makes a noticeable impact to the volume and length of your finished look.
“For thicker looking and fuller lashes, less is definitely not more!" explains Bobbi Brown Pro Artist Aimee Morrison. "Layer coats of your favorite mascara adding extra definition to both upper and lower lashes for a dramatic and standout eye look.”
How to create high-impact lashes:
- "Gently curl your lashes to help enhance your natural lash length. This is especially great for those who have straight lashes and need to add a soft bend before applying mascara."
- "Start applying mascara to the root of your lashes and lengthen by wiggling the wand from root to tip."
- "Turn the wand parallel to your eye and start to swipe your lashes in windscreen-like motions with the tip of the wand, layering on even more mascara."
- "Let your lashes dry in between applying at least 2-3 coats, repeating steps 1 and 3 until your lashes look thicker than normal. Apply Step 3 to lower lashes also for that finished, full-lash effect."
In your makeup kit you'll need...
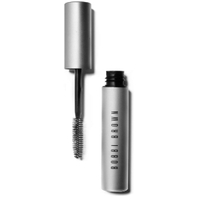
Bobbi Brown Smokey Eye Mascara
A perfect layering mascara. Sooty black in color and flexible in texture, this grips and coats individual lashes without overloading them, so it's up to you how chunky they end up.
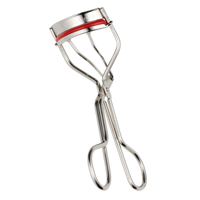
Kevyn Aucoin The Eyelash Curler
Every makeup kit should have a good eyelash curler, and this is a great one. It's built to last from high-grade stainless steel while the cherry red thick rubber pad never lifts away at the edges, even after years of use.
woman&home thanks Nina Prisk, Antonia Basile of Lancôme, James Stafford Webster of Laura Mercier, Katie Jane Hughes, Ruby Hammer, Laurretta Power of Benefit, and Aimee Morrison of Bobbi Brown.
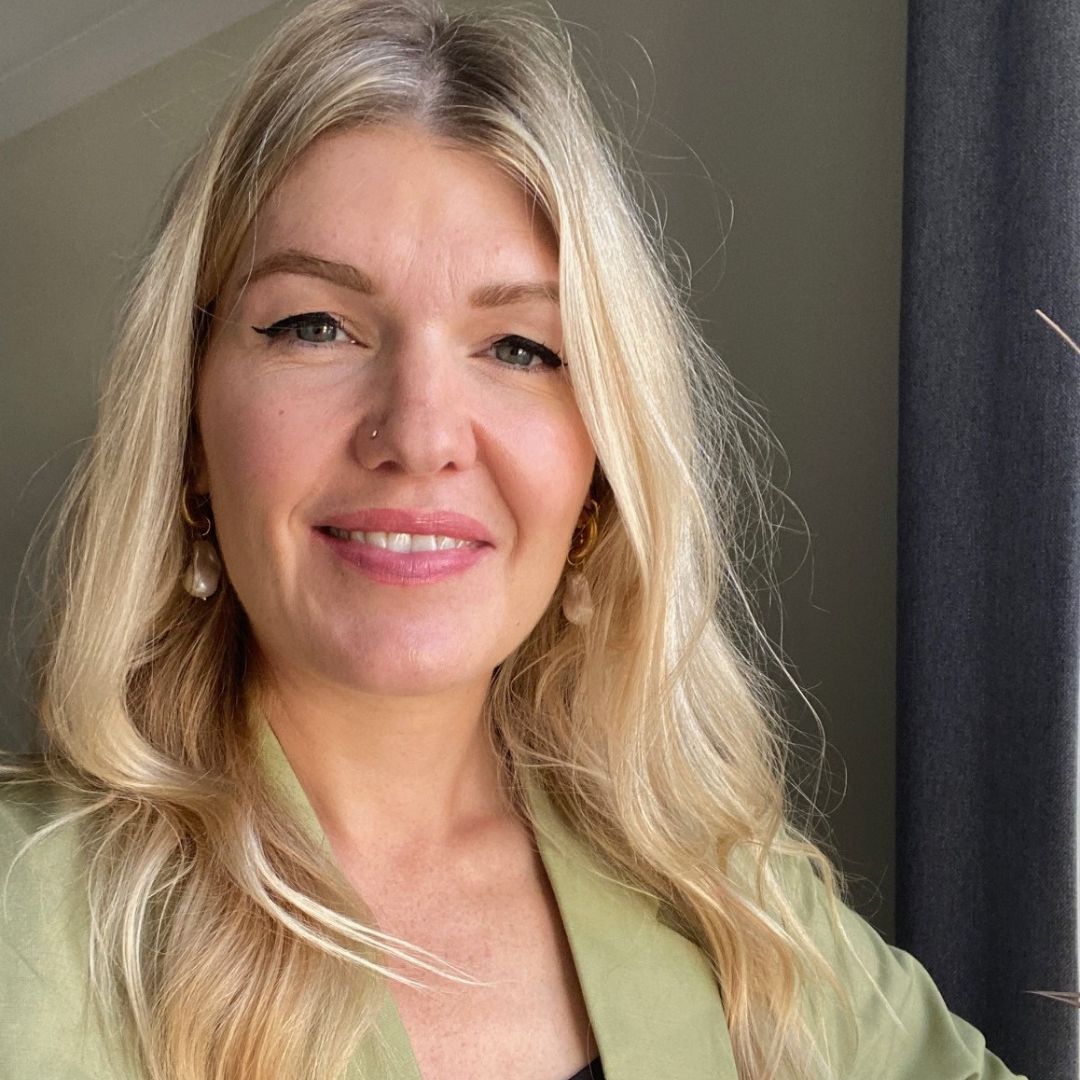
As woman&home's Beauty Channel Editor, Fiona Mckim loves to share her 15+ years of industry intel on womanandhome.com and Instagram (@fionamckim if you like hair experiments and cute shih-tzus). After interning at ELLE, Fiona joined woman&home as Assistant Beauty Editor in 2013 under industry legend Jo GB, who taught her to understand ingredients and take a cynical approach to marketing claims. She has since covered every corner of the industry, interviewing dermatologists and celebrities from Davina McCall to Dame Joan Collins, reporting backstage at London Fashion Week and judging the w&h Beauty Awards.
