How to clean a fridge: 9 simple steps for a deep clean
Are you wondering how to clean a fridge properly? Follow this helpful guide to ensure yours is kept hygienic and running efficiently
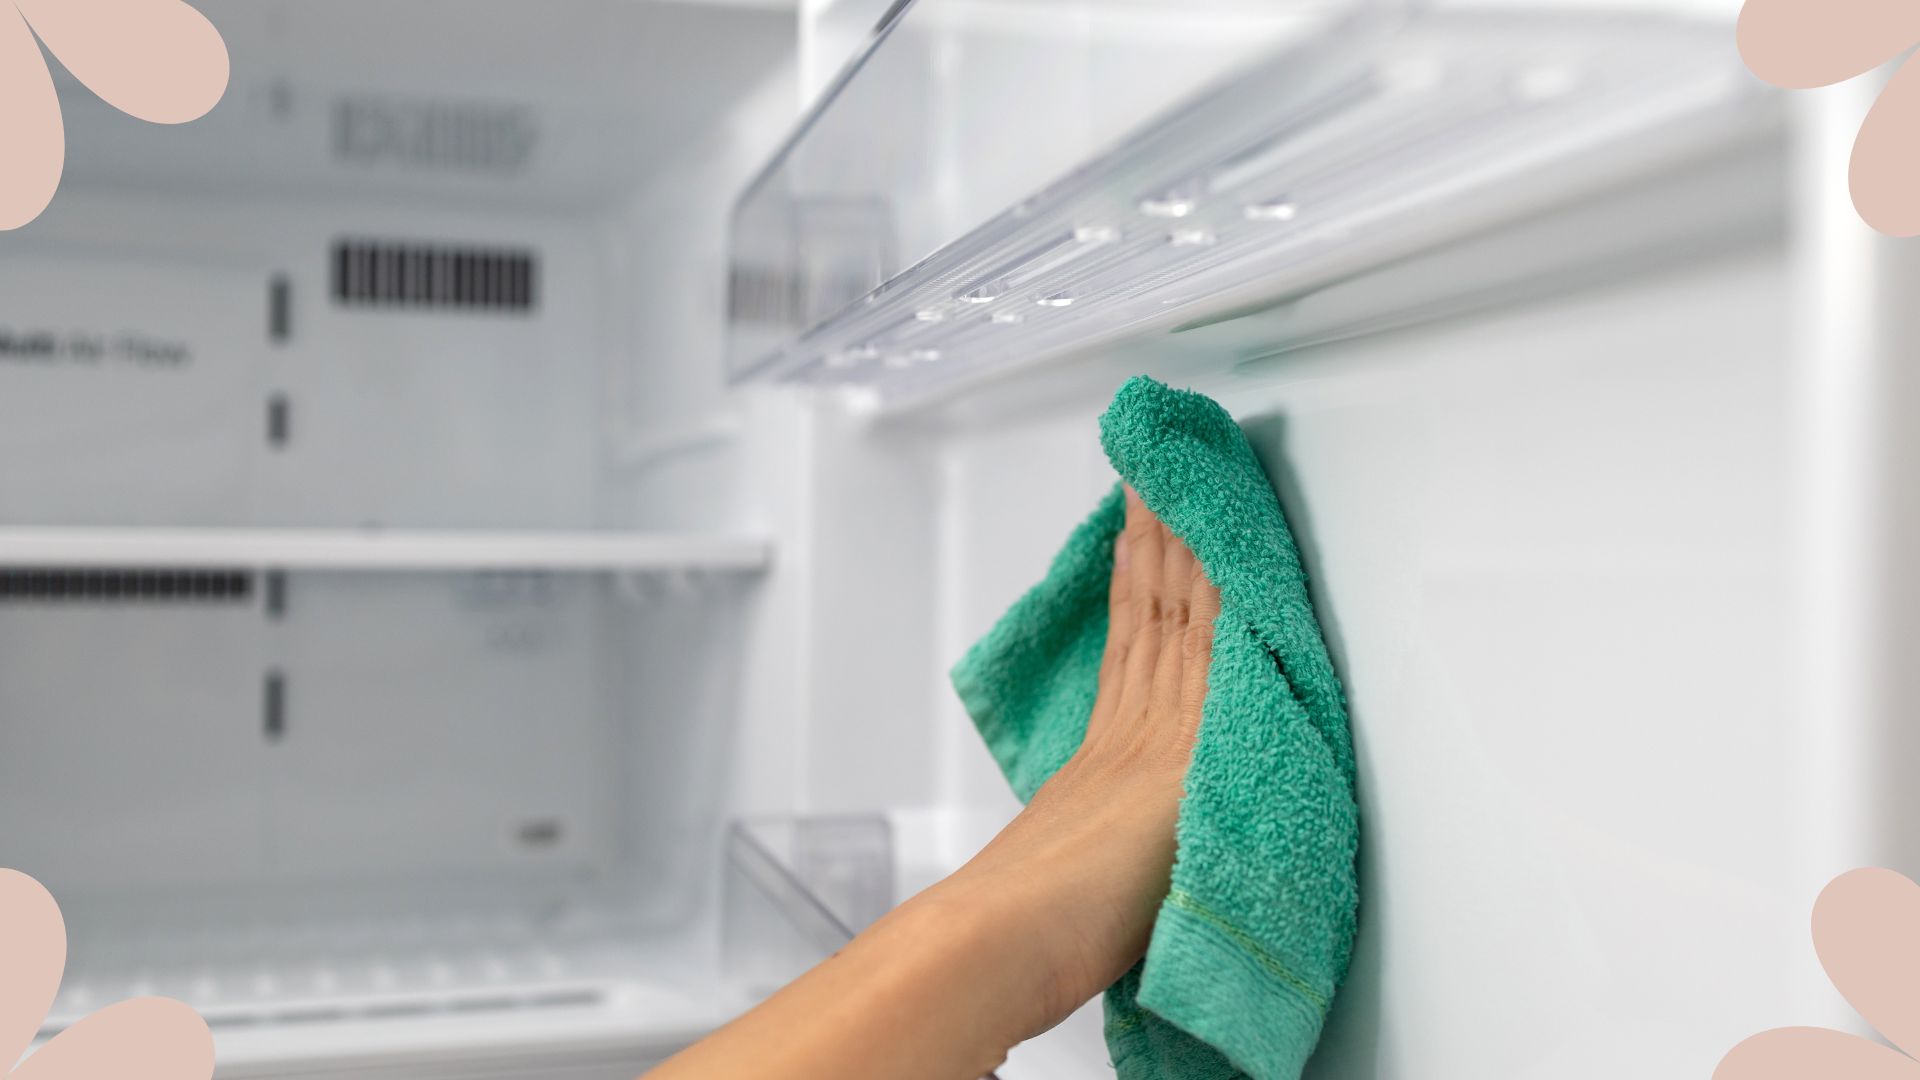

Knowing how to clean your fridge properly is a guaranteed way of maintaining a high level of hygiene in your kitchen and ensuring this essential appliance is running at its peak efficiency.
Your fridge is potentially the most used appliance in your kitchen so it's no mystery why it can get a little dirty and smelly rather quickly. Being able to achieve a quick yet thorough deep clean when completing your kitchen cleaning routine will allow you to use your fridge with peace of mind that your food is being stored in a safe environment.
Whilst cleaning your fridge may seem like a rather extensive task, following these nine easy steps will make the job seem like a breeze. Once you've mastered how to organise your fridge, cleaning it becomes that much easier and quicker.
What is the best thing to clean the inside of a fridge with?
Before you start the cleaning process you may be questioning what is the best thing to use to clean the inside of a fridge. Generally, the best thing to use when cleaning the inside is a natural solution or gentle cleaning products such as washing-up liquid, which can apply to how to clean an oven too.
“Straightforward hot soapy water will give your fridge a good clean,” confirms Smeg's Home Economist, Clare Edwards.
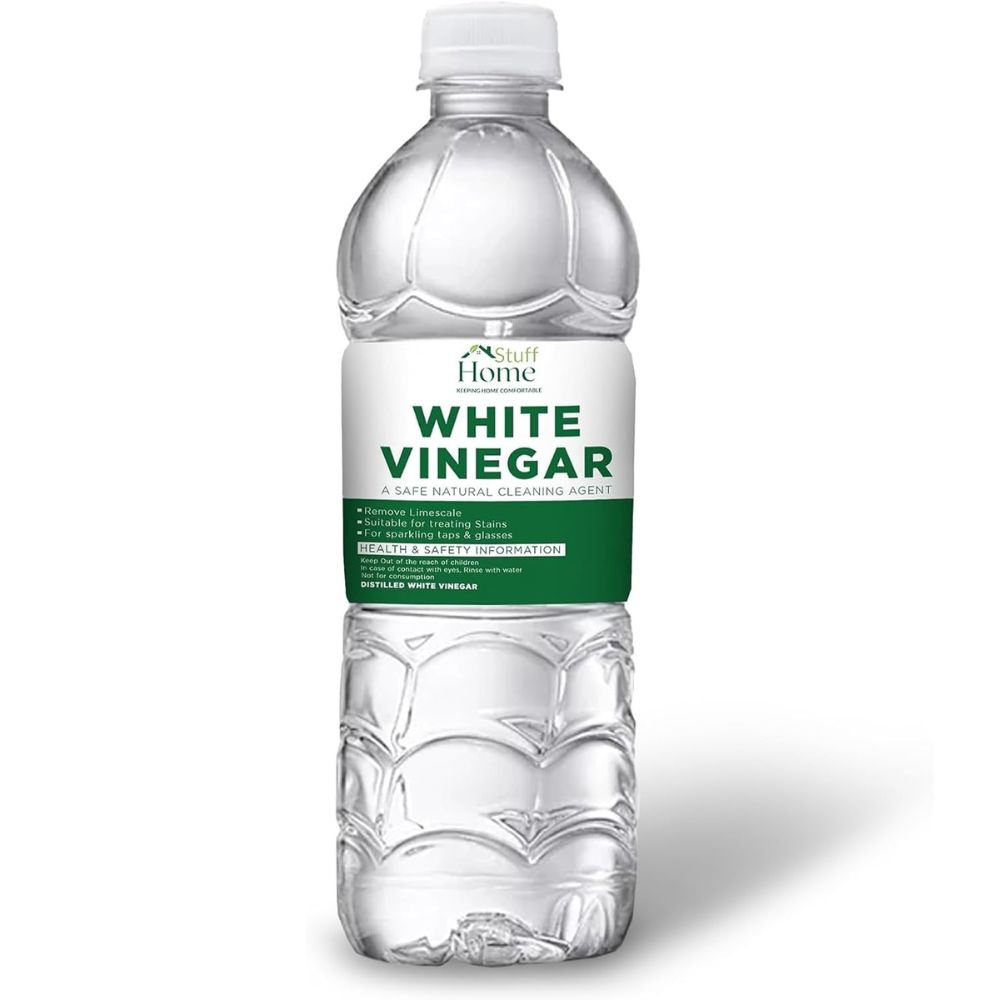
“To get rid of smells and grime in your fridge clean the insides with vinegar to sanitise it quickly and efficiently," suggests Chris Wootton, managing director of domestic cleaning business, Poppies. "Do not use cleaning products that may release harmful substances or odours on the food and always rinse the cloth once you have finished with it for the interior of the fridge."
Jenny Clink, Head of Marketing at Oven Pride, recommends cleaning with baking soda. “Antibacterial cleaners have a strong smell that can linger in the fridge and cause foods to take on unwanted odours,” says Jenny. “Instead, mix one tablespoon of baking soda with 500ml of water for an effective, odourless cleaner.”
Sign up to our free daily email for the latest royal and entertainment news, interesting opinion, expert advice on styling and beauty trends, and no-nonsense guides to the health and wellness questions you want answered.
When warning about what not to use, Mark Greig, head of supplier management at Marks Electrical says, "Fridges store all of our food and with that in mind, you should be mindful when using cleaning materials that could be harmful or damaging to your food. We wouldn’t advise the use of cleaning products like bleach or those that contain chlorine given the proximity to food and the damage chlorine can cause to the plastic. "
"We’d also urge you to avoid anything sharp if you’re struggling to remove grime so as not to damage the inside lining of the fridge."
How to clean a fridge in 9 easy steps
Armed with this expert advice, we’ve created an easy-to-follow 9-step process for how to clean a fridge, to keep it hygienic, organised, and running efficiently.
Here's what you'll need...
- Dish soap
- Microfibre cloths
- Baking soda
- White vinegar (optional)
- Lemon juice (optional)
- Toothpick or cotton bud
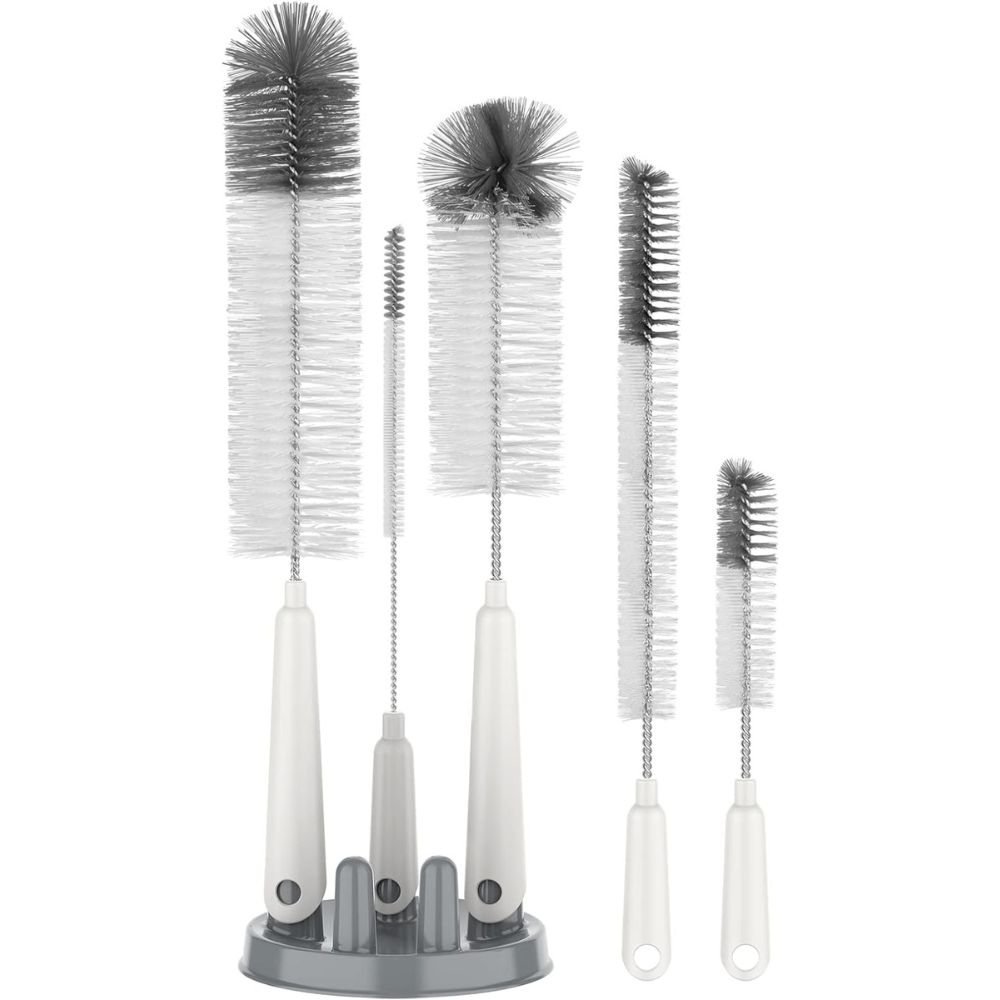
- Bottlebrush or pipe cleaner
- Vacuum cleaner
- Hinge oil (optional)
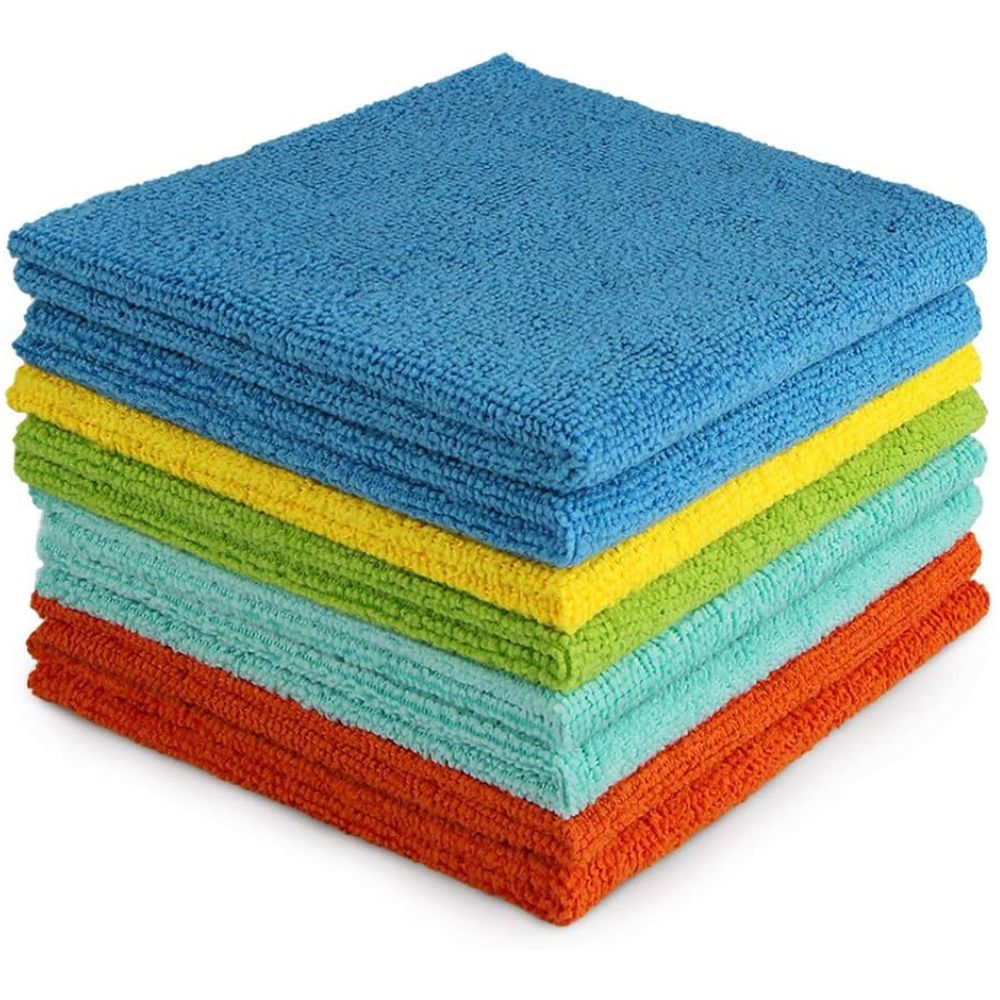
RRP: £5.29 | This is a hero product every cleaner should have in their home, especially when it comes to kitchen cleaning. This eight-pack will make any clean-up job that much easier and having more than one on hand will have you prepared for even the biggest messes.
1. Empty and declutter
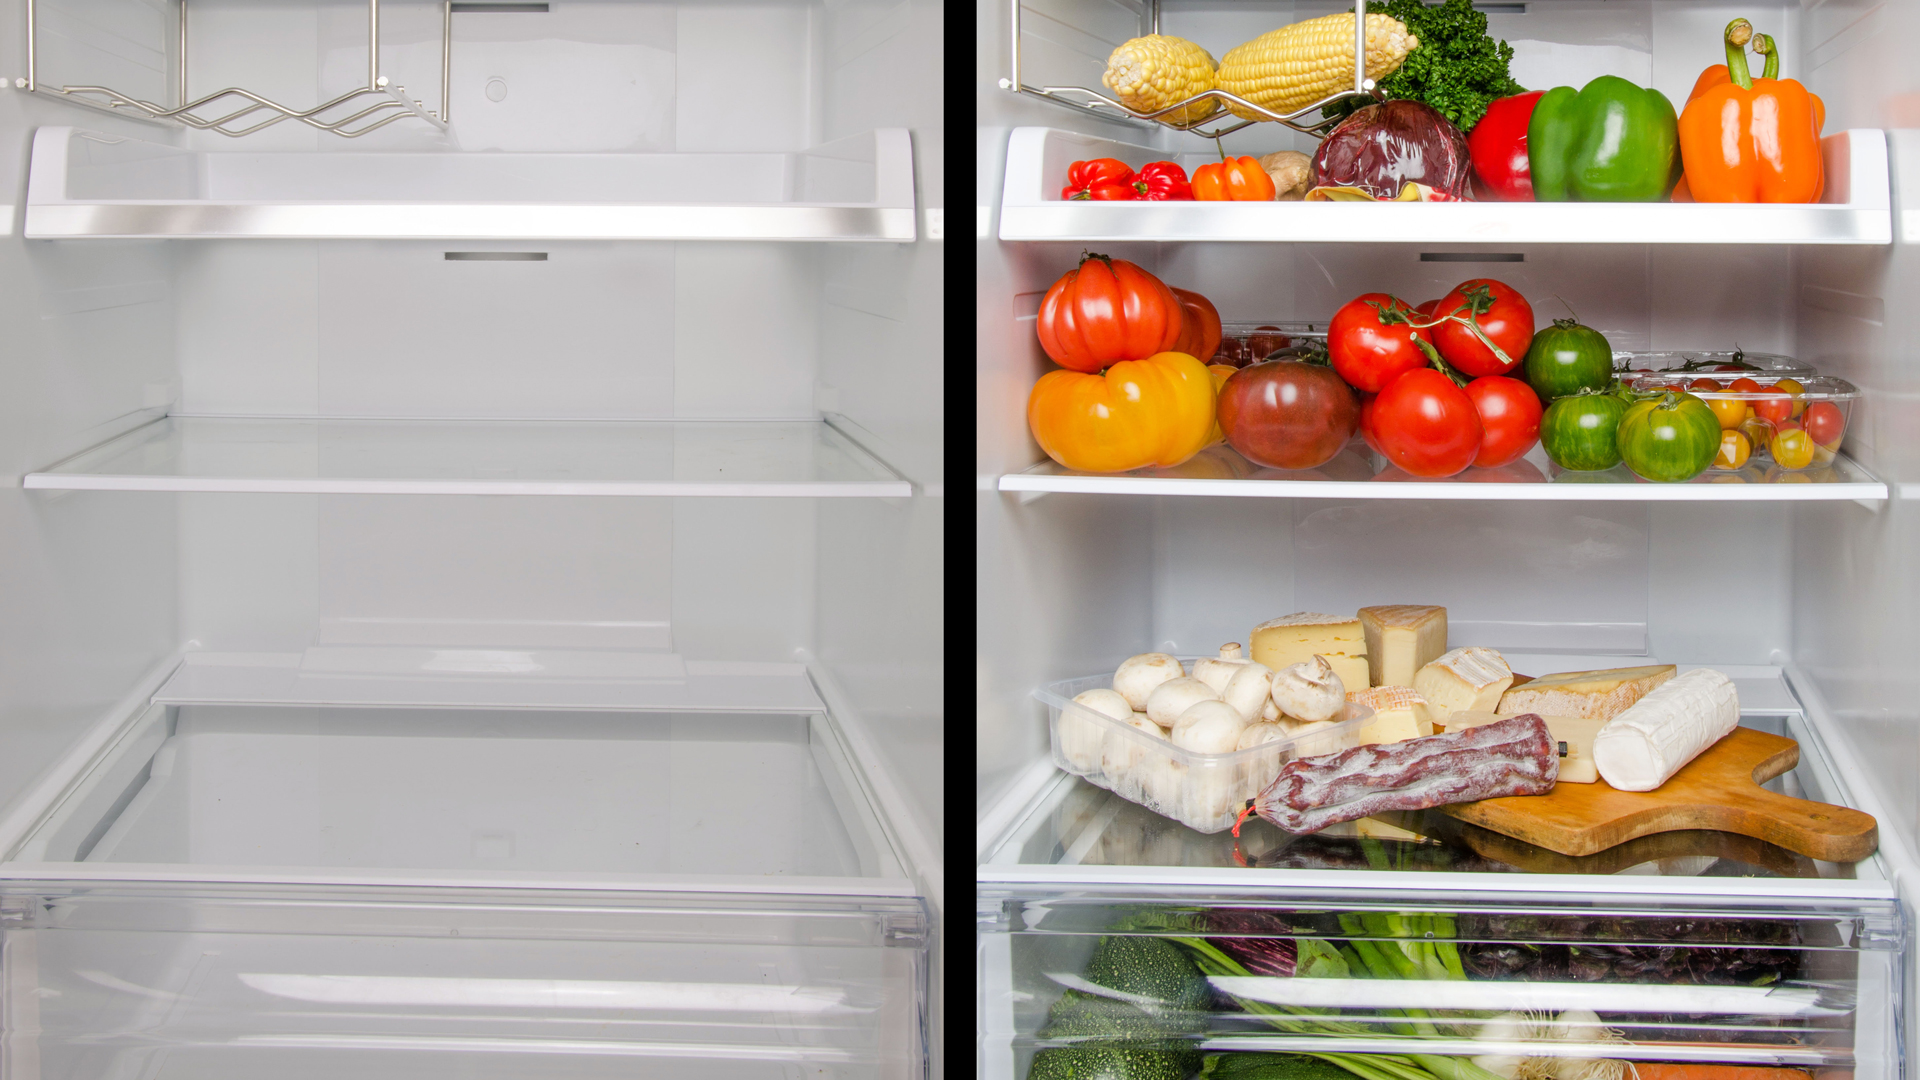
Before embarking on a deep clean, emptying the fridge is vital because it is impossible to clean around food items already inside.
The best way to do this is to turn off your appliance and take everything out, moving any items you are keeping into insulated freezer bags so that they stay cool while you get to work. Be mindful that if you have a fridge with a freezer compartment, the food will start to defrost once switched off so keep it on ice.
“Before you start cleaning the inside of the fridge, empty the contents of the fridge out completely, throwing away any expired or unwanted foods and keeping the good food in a thermal bag until cleaning has been completed” advises Chris.
So, for this next step, throw out any products that have passed their use-by date, as well as rotting fruits and vegetables, and any forgotten leftovers. Don’t forget to bin any condiments that have been open for too long and become a little crusty, too. Most condiments last for a few weeks after they have been opened in the fridge, but you shouldn’t leave them too much longer than that. Getting rid of these outdated perishables is an easy way to make your kitchen smell good.
And if you have some fruit and veg that are close to turning that you want to use up, why not throw them in your blender for a tasty smoothie – or whizz them up in a food processor as prep for a tasty meal?
2. Remove drawers and shelves
Removing all internal parts and disassembling the shelves and accessories is the next step for cleaning a fridge thoroughly because having space is the best way to clean every surface entirely, allowing you to reach every single corner.
Remove the inner shelves and any drawers completely, as well as any door shelves so they can then be washed independently – more on this later. Whilst removing these compartments look for any mould, fridge shelves are one of the unexpected places mould may be hiding so it's important to spot it so you can remove it as soon as possible.
3. Clean the inside of the empty fridge
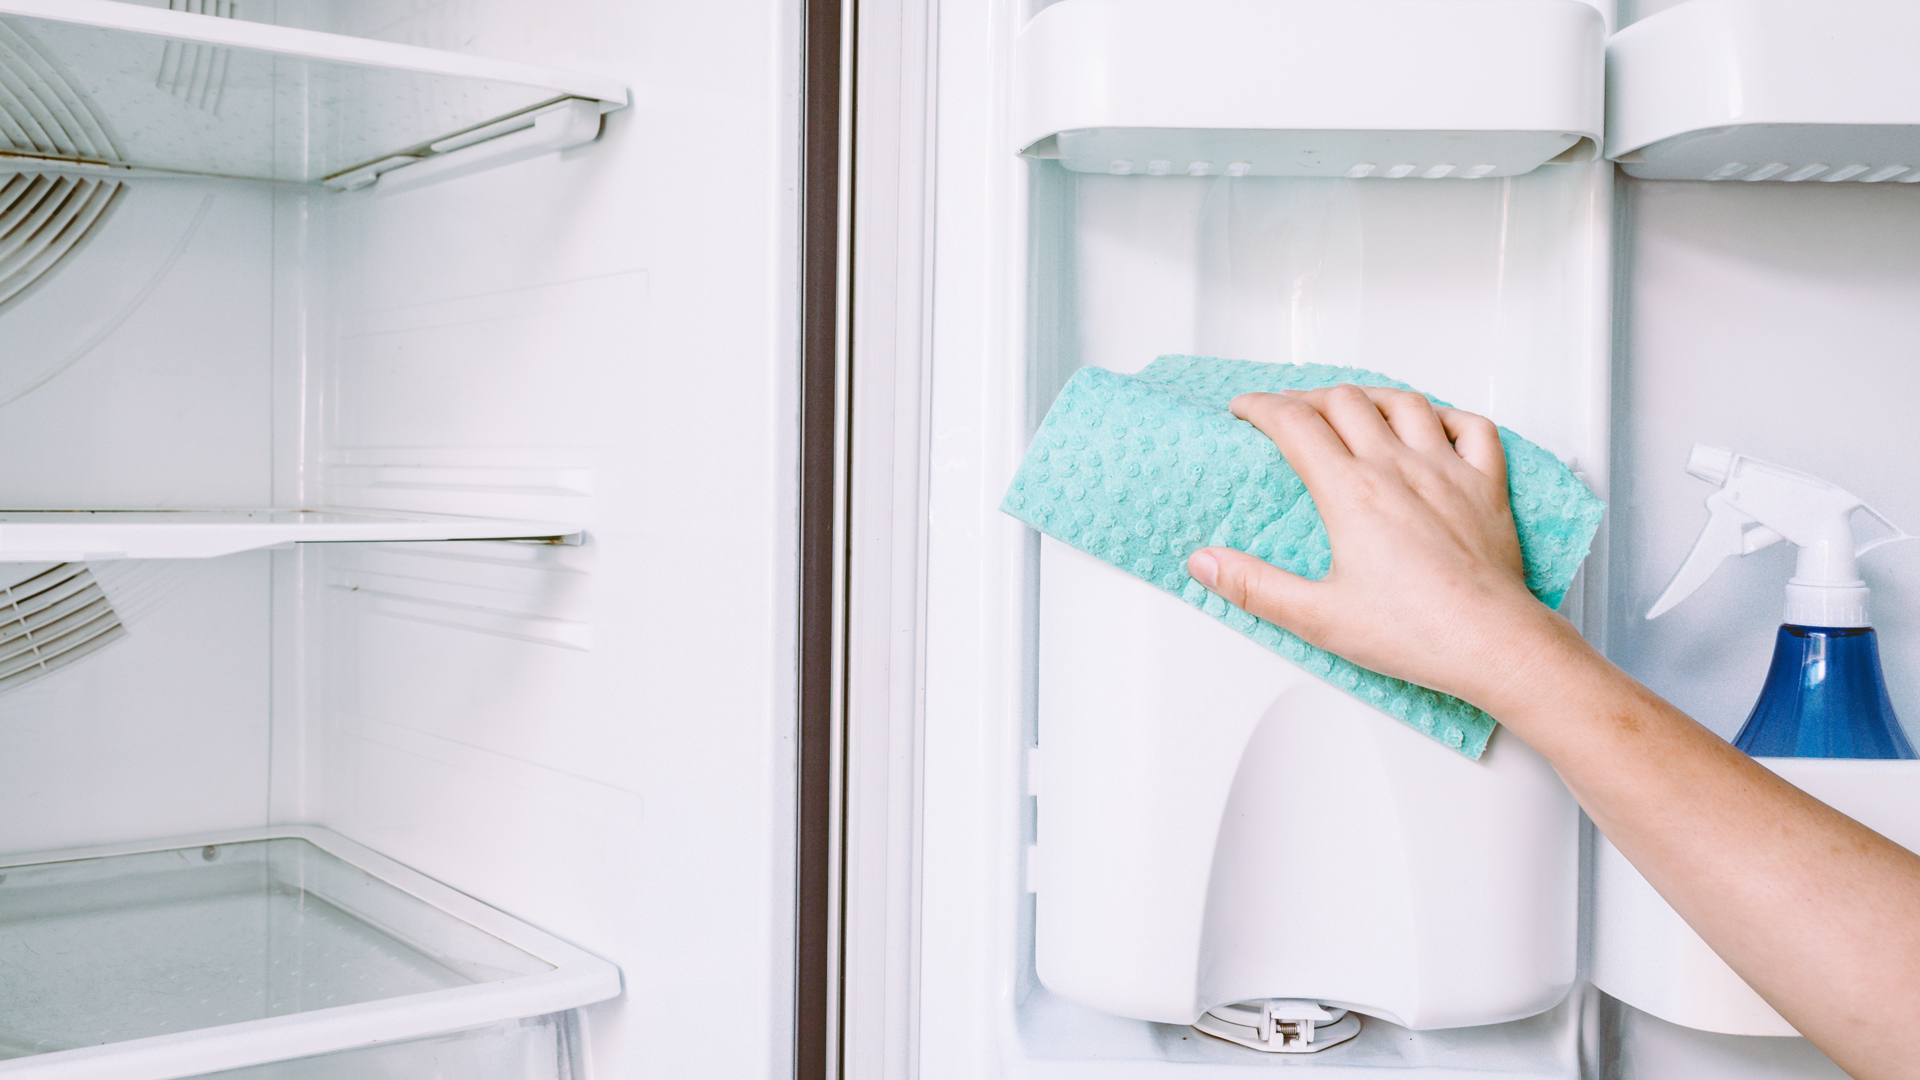
Now empty, it's time to clean the interior of your fridge and any parts that don't come out. As highlighted earlier, experts are generally in agreement that simple solutions are best for cleaning the inside of a fridge. Hot soapy water and a clean microfibre cloth are all you need to get the job done.
However, if your fridge requires a more thorough clean, or is plagued by any lingering bad odours, try adding a squirt of lemon or vinegar to your soapy water, or wiping all the surfaces down with baking soda, instead of commercial cleaning sprays. Whatever cleaning solution you choose, the process for cleaning is the same – and a simple one. Cleaning with vinegar is a great way of killing bacteria and removing odours at the same time.
Scrub down all the internal walls, the back of the fridge, and any shelves on the door using a freshly washed cleaning cloth or sponge, removing any remnants of leftover food as you go. We recommend repeating the process allowing the first to remove spills and food, and the second just to clean.
You can also use natural cleaning hacks using vinegar and baking soda when working out how to clean a stainless steel sink, or how to clean a stovetop.
4. Clean removable components in the sink
The shelves and drawers that house your food need to be given perhaps the biggest clean. For this, the easiest option is to clean them under running water in your sink as you would your dishes.
"Clean all of these in the sink with warm soapy water as you would your crockery - you can use a toothpick or cotton bud to get into any dirty crevices," suggests Mark.
"Be sure not to use very hot water when cleaning any glass shelves as they could crack. Be sure to allow them to reach room temperature before placing them back into the fridge for the same reason."
"It’s essential to make sure the shelves are properly dried afterwards before returning them," says Clare. Do this with a dry, clean microfibre cloth or a kitchen towel if you have one to hand. Discover our top tips for how to clean a microfibre cloth to ensure it's properly sanitised.
5. Clean out the drainage channel
This might not be a part you think about cleaning when considering how to clean a fridge, but it’s vital for a well-functioning machine.
The condensation/drainage channel is the tiny drain hole that can be found right at the back of your fridge, at the bottom of the back wall – and it needs to be cleaned regularly. If not, it can become blocked, allowing excess water to build up both in the drain and on the walls of your fridge. That stagnant water can cause odour and worse, it becomes a breeding ground for bacteria.
"Make sure to regularly check the drain hole at the back of the fridge as if this becomes clogged it can cause water to pool and ice to form," says Sophie Lane, Product Training Manager at Miele. "This can be cleared with a bottle brush and if necessary a small amount of hot water to flush it through. Just be careful not to use so much water that you flood the evaporator tray at the back.”
“Check your appliance manual to locate the drip tray if you have one. This is where water that runs down the drainage hole will collect. Once located, wipe the tray with a wet paper towel or if you can, remove it completely and clean it with soapy water - ensure your appliance is switched off before doing this step."
“Most fridges will have a drainpipe - sometimes these can get blocked with crumbs and food which will lead to pooling water and a stagnant odour. You can clear the blockage by using something like a pipe cleaner, drinking straw, or cotton bud. Scoop out the blockages and squirt some water down the pipe to encourage the flow of water again."
Follow the same guidelines when considering how to clean a dishwasher, because it's the hidden areas inside that can become clogged and cause bad odors.
6. Clean the condenser coils
When learning how to clean a fridge, cleaning the condenser coils is often forgotten about. But your vacuum cleaner can come in handy for cleaning the fridge’s condenser coils, which are found at the back of your fridge. Lewis at ADK Kooling recommends doing this twice a year.
“It takes a lot of energy to keep a fridge cool, and those metal pipes on the back of the fridge (or sometimes on top) help your fridge to stay cool by removing heat that is generated during the cooling process,” says Lewis. “But over time, dust will settle on the coils – effectively acting as an insulator and keeping them warm—making it much harder for your fridge to keep things cool inside.”
So if you find your fridge is a bit warmer inside than you’d like, this might be the reason. To keep your refrigerator running efficiently, simply use a vacuum crevice tool to remove any visible dust. This task should only be attempted while the appliance is turned off and the parts are cool.
7. Sanitise door handles and seals
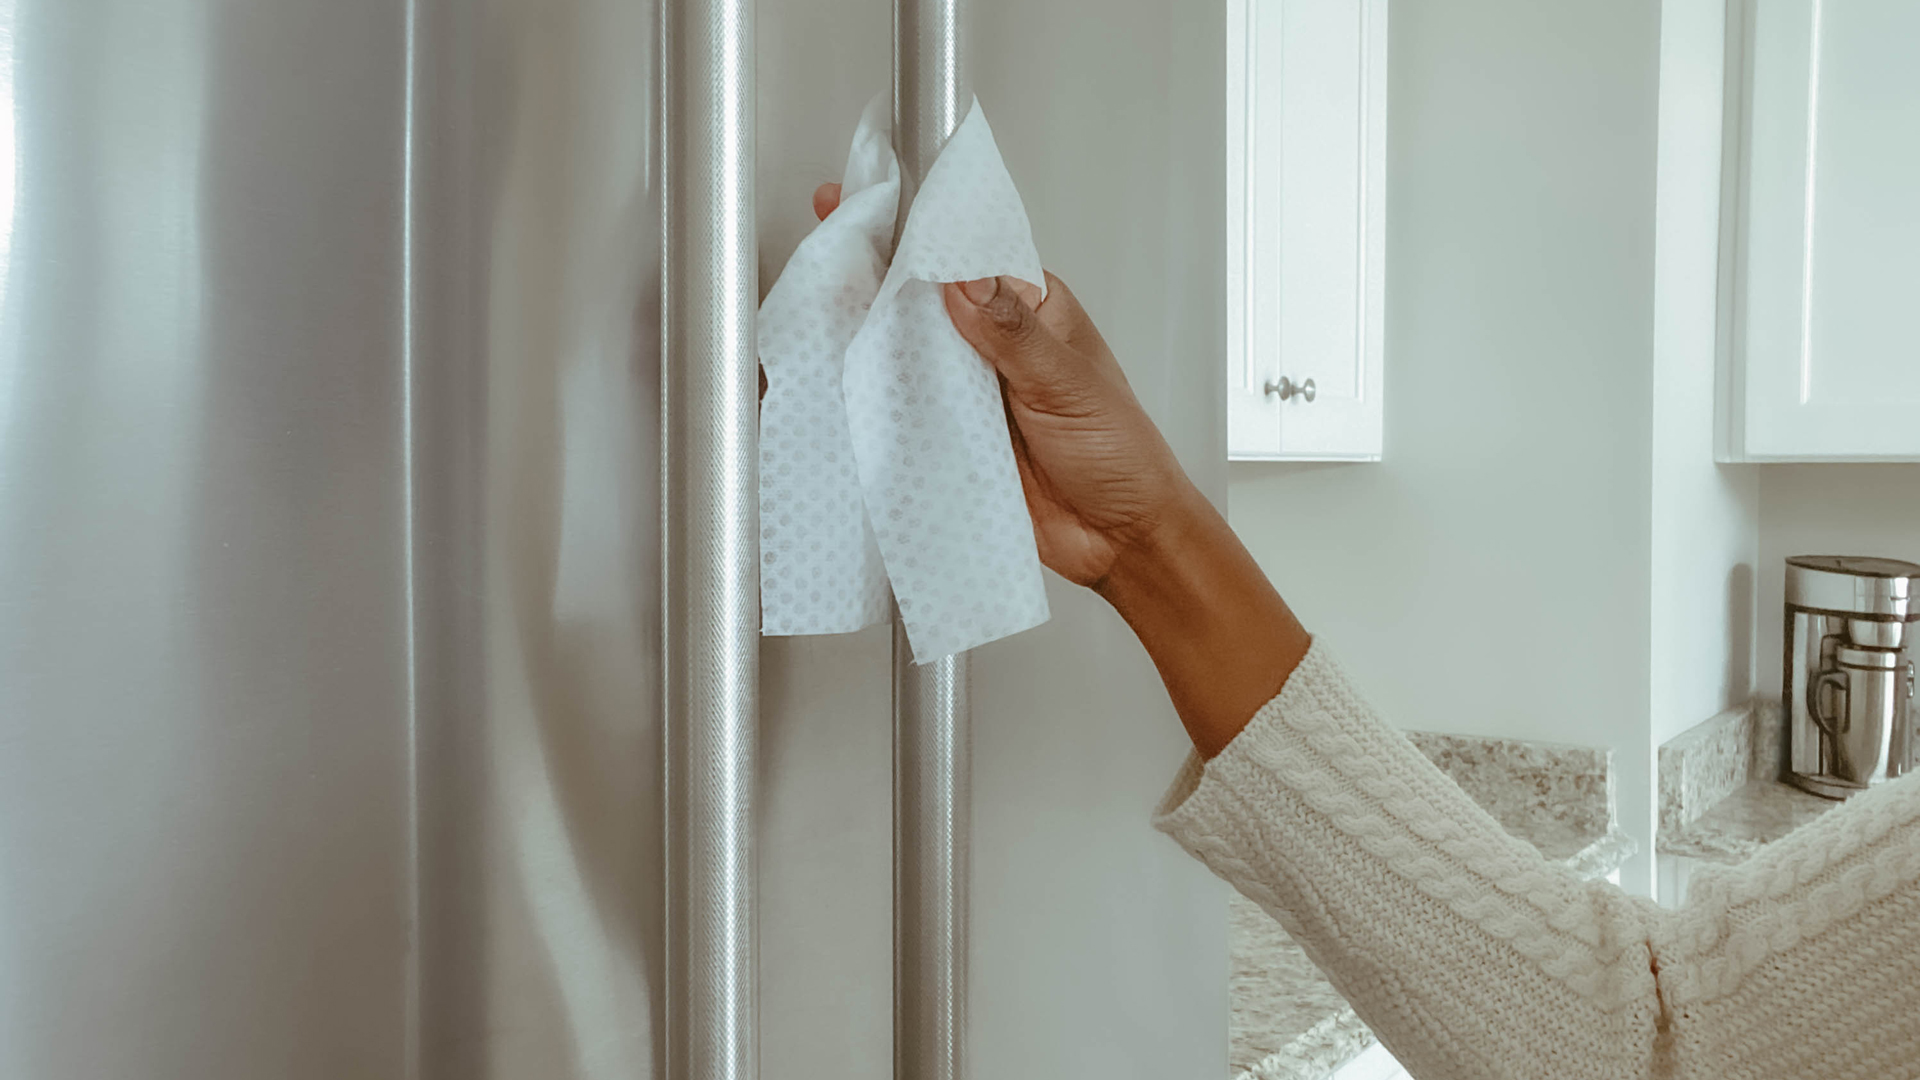
It’s not just the inside to consider when you’re working out how to clean a fridge. In fact, it’s just as important to clean the outside of the fridge as the inside. Germs can gather on handles and other frequently touched parts of the door, while door seals can be a magnet for dust and crumbs.
For wiping down, we recommend using fibre cloths soaked in hot soapy water. As these cloths are soft they offer a gentle method of cleaning and help to prevent any scratches from harsher materials.
“When it comes to the door seal, ensure it is clear of any debris - you can give them a quick vacuum - give them a wipe with some soapy water and dry" advises Mark.
Use a vacuum crevice tool on your handheld to vacuum the door seals, to make it easier to get into the gaps. Why not use one of the best cordless vacuums for this? It'll make manoeuvring around the fridge much easier.
Chris offers a top tip saying, "For the door seal, make sure they are dry and then grease with a few drops of oil to keep them soft."
8. Clean the top of the fridge
As with kitchen cupboards, the top is often overlooked because we don't see it – out of sight out of mind. But the top of a freestanding fridge is a magnet for dust, so it's best to keep all sides clean.
"One area people can forget about is cleaning the top of your fridge," says Heather Nixon, sustainability manager at Bio-D. "If you’ve got a stand-alone fridge, the top can collect dust and grease. Every two weeks grab a step stool and clean the top with a multi-surface cleaner or a mixture of washing up liquid and warm water."
Don't just clean the top - it's important not to forget about the sides also, as these can become equally dusty and dirty in a kitchen that's in constant use. A simple wipe-over of these, as you do the door, will work wonders for keeping your fridge in tip-top shape all around. Follow our specialist guide on how to clean stainless steel if your fridge is made of this material, to prevent scratching the exterior surfaces.
9. Switch back on and restock
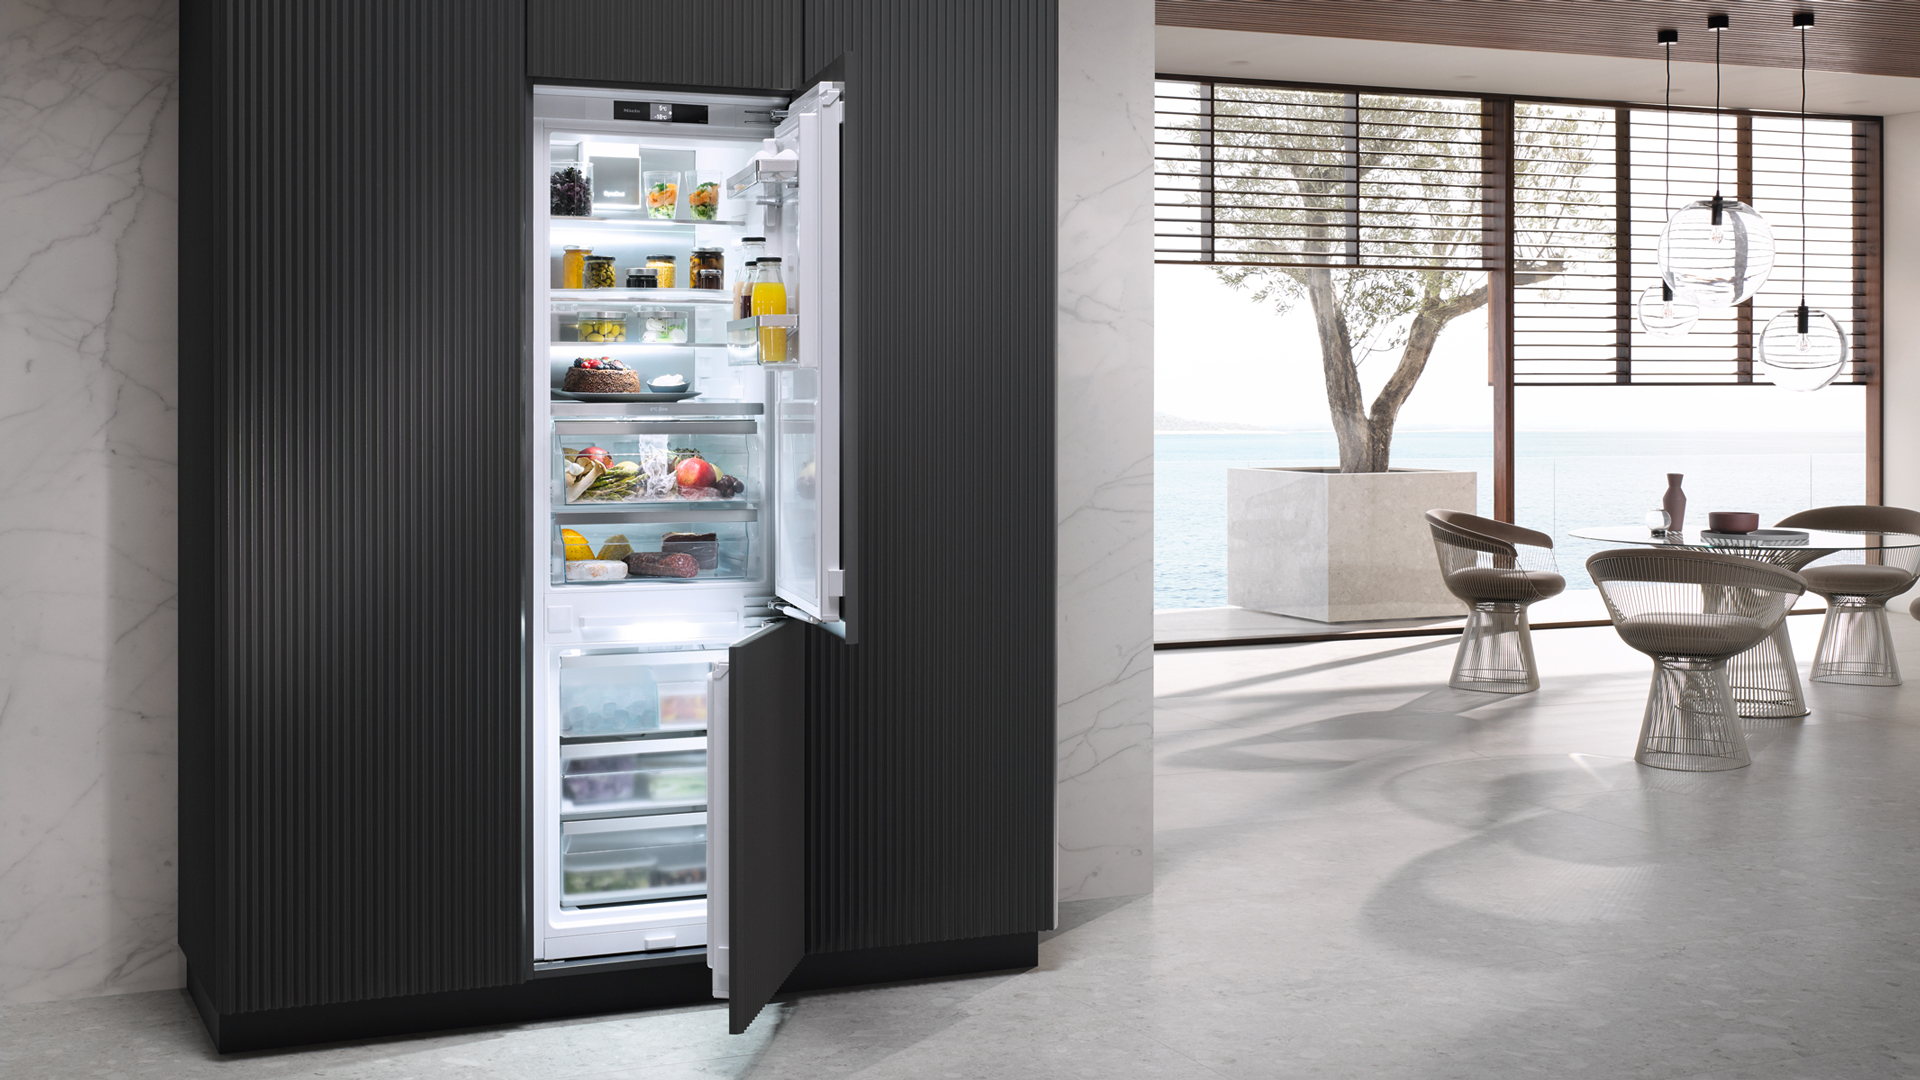
Once cleaning is complete you need to turn your fridge back on and allow for it to cool before restocking. "Don't put items back in the fridge until it's had a chance to cool again" says Ava Kelly, an energy-saving expert at Love Energy Savings. "This should take around three hours with most fridge models, it may take longer for the freezer compartment to cool to the correct temperature. If in doubt check the thermostat."
When you do put everything back in the fridge, remember that the order in which you organise your fridge and the food inside it can affect its shelf life. For this reason, you should think carefully about where you place each category of food.
Consider using storage containers to gather together small items like cheeses, as this will optimize shelf space and make things easier to take out and clean around in the future. It pays to apply the same methodology when it comes to organising kitchen cabinets because good organisation makes for easier cleaning all-round.
How often should we be cleaning our fridges?
Ideally, you should deep clean your fridge every 3-4 months, as well as spot cleaning spills in between. In agreement is Heather who says, "Cleaning the inside of your fridge every three to four months helps keep everything in working order – but don’t forget the exterior as well."
If you don’t, harmful bacteria can multiply and smelly odours can take hold, which isn’t what anyone wants in the place where we keep many of our kitchen essentials, such as food and condiments.
When planning how to clean a fridge, it's also vital to remember to scrub the exterior, as well as the interior same as you would do when cleaning a washing machine for instance. “When talking about deep cleaning, most people refer to the inside of the fridge,” says Lewis Dartnell at ADK Kooling. “What is neglected is the fact that a fridge is a machine that is operating all day, every day. By keeping the machinery itself clean, you will not only prolong the lifespan of your fridge but will also help to keep it working properly. By extension, this will keep your food cooler and minimize bacterial growth.”
How to deodorize a refrigerator between cleans
One of the main reasons you are most likely even looking to clean your fridge is because it's starting to smell a little unpleasant. Unfortunately due to the very nature of a food-filled kitchen accessory, there will also be a slight odour, but regular cleaning will prevent any gone-off food from causing a stink.
But there is a smart way to deodorize a refrigerator in between cleaning as Chris shares his top tip, “Keep some of your baking soda to one side as leaving a small open jar in the fridge with a few teaspoons in will keep odours at bay!”
Now your fridge is clean why not learn how to clean your kitchen cabinets? Whilst it might only be on your spring cleaning checklist, keeping on top of your cabinets and other kitchen surfaces is a great daily habit to keep your home looking clean and tidy.

Tamara is a highly experienced homes and interiors journalist with a career spanning over 22 years. Now the Lifestyle Editor of womanandhome.com, she previously spent 18 years working with the style teams at Country Homes & Interiors and Ideal Home. With these award-winning interior teams, she gained a wealth of knowledge and honed her skills and passion for styling and writing about every aspect of lifestyle and interiors.
A true homes and interiors expert, Tamara has been an ambassador for leading interior brands on multiple occasions, including appearing on Matalan’s The Show and presenting at top interior trend forecasting events such as the Autumn Fair and Spring Fair.
- Helen Booth
- Emily SmithDigital lifestyle writer
