An expert guide to cleaning a kitchen in under an hour
Cleaning experts share their tips to help speed up the process of cleaning a kitchen efficiently when time is limited


Tamara Kelly
Our kitchens are prone to messy build-ups of food on the counters, cookware in the sink, and household paperwork on the table. While cleaning a kitchen is an essential job, we wanted to see if there were ways we could simplify and speed up the process, so asked cleaning experts for their insider tips on cleaning a kitchen, fast.
The result is a simple step-by-step guide that will leave you with a neat and hygienic space in no time. While daily decluttering and surface cleaning will keep your space tidy and germ-free, a regular deep clean is also an important part of kitchen maintenance.
If you follow this easy guide, filled with effective cleaning hacks, you'll save time and effort – and could be finished in under an hour, without making common spring cleaning mistakes in the process.
We've also shared expert guidance on how often you should be cleaning certain items in your kitchen, and how often kitchen essentials should be replaced.
Preparing for cleaning a kitchen
When you're faced with a messy, overflowing kitchen, tackling it can feel overwhelming. So before you do, it can be useful to bear a few things in mind:
- Declutter first: Lynsey Crombie, cleaning expert, TV star, and Queen of Clean, exclusively tells w&h, "The kitchen is normally the hub of the family home and gets more traffic than other rooms. But this means clutter zones often build up in the kitchen too, particularly if you have a kitchen island."
- Work from top to bottom: Lynsey recommends, "Always start at the highest point when cleaning as dust and dirt fall. So, if you have chosen to clean your kitchen cupboard tops, start with these." As a guide, start with kitchen cabinets, hob extractor fans, and the tops of fridges, before moving on to kitchen counters, sinks, appliances, and finally, the floor.
- Make sure you have all the right products: You don't want to start cleaning and realize you don't have enough left. Make sure that you've got all the essential tools ready to go – think cloths for wiping, sprays and disinfectants for cleaning, kitchen towels for any larger bits of debris, and any other essentials for you.
- Ensure that no one else will need to use the kitchen: Either just before or after your routine. Check that everyone who lives in your home has eaten or prepared meals for the next day before you begin cleaning. There's nothing worse than someone cooking dinner just as you've finished washing up all of the saucepans.
Cleaning a kitchen: a step-by-step guide
1. Throw away food scraps and clutter
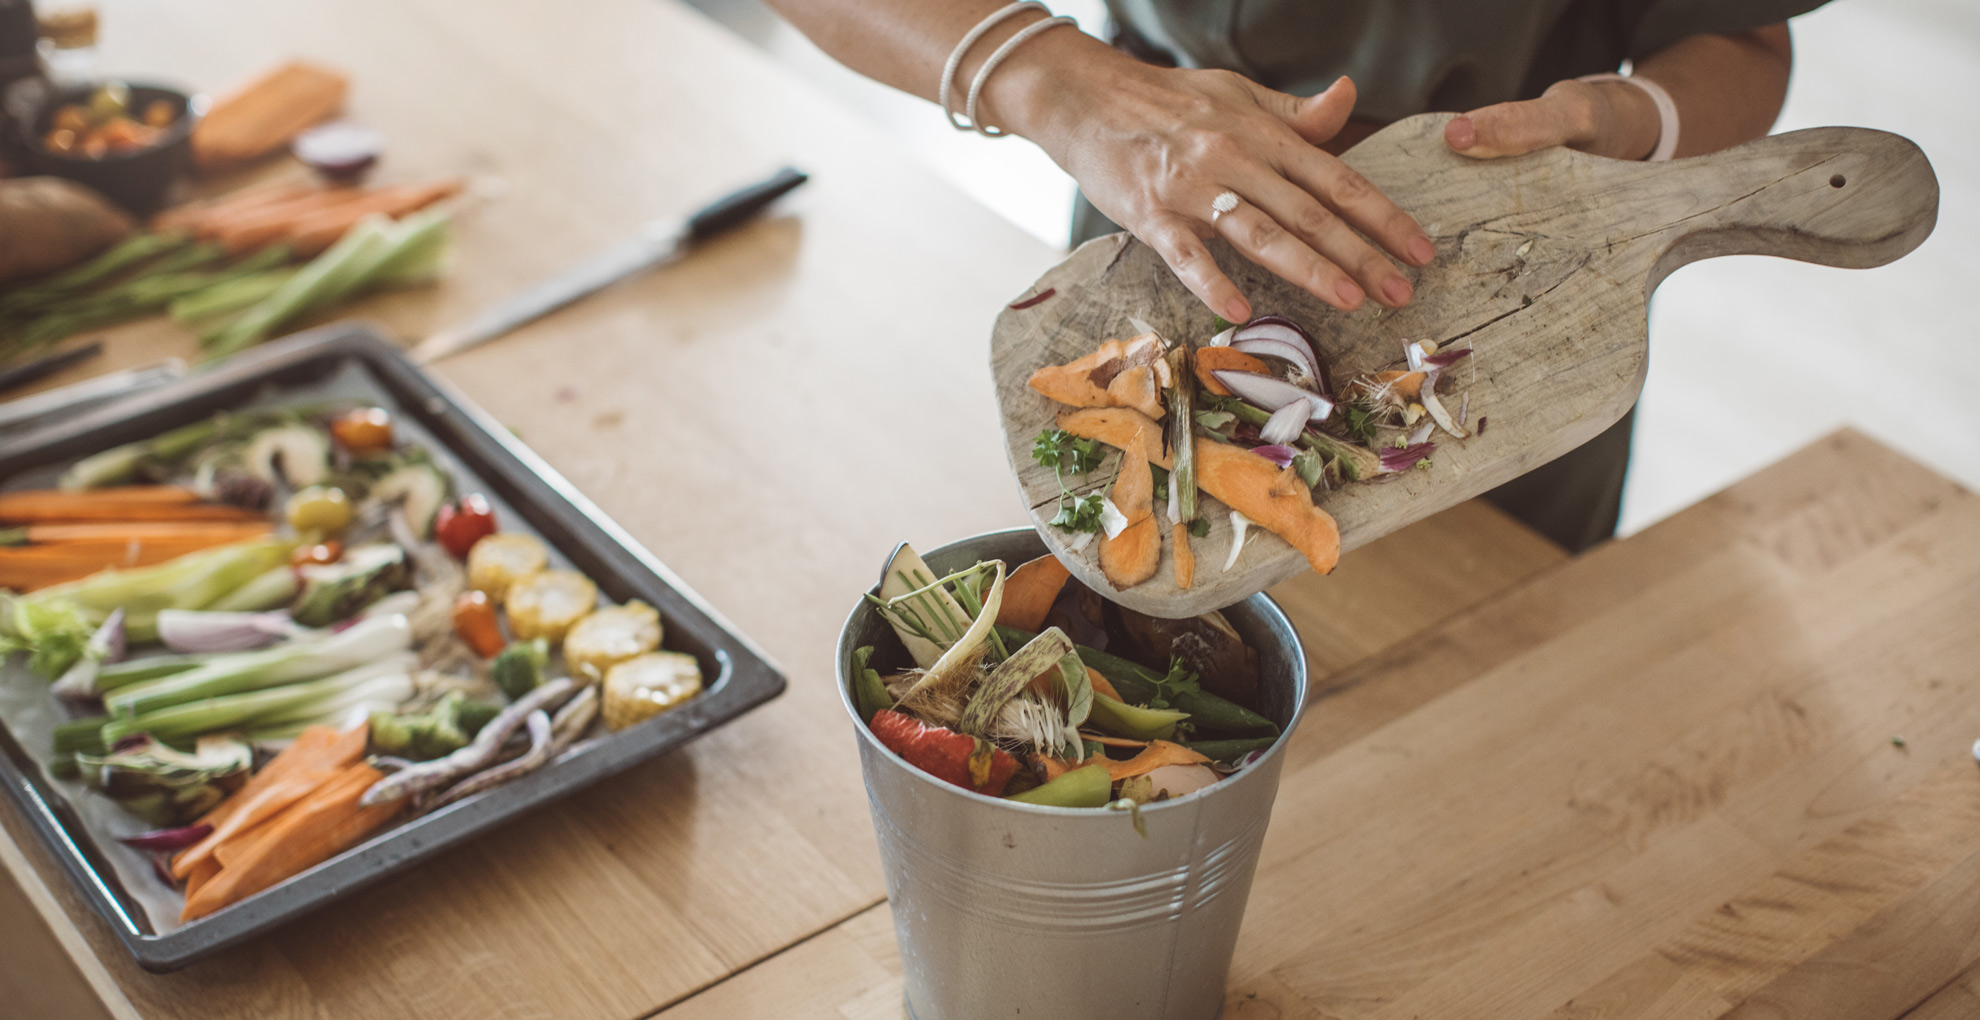
Your first action when cleaning a kitchen is getting rid of food debris. Scrape any plates, bowls, and pans off into the trash and get rid of anything leftover from preparing meals, such as onion skins or empty cans.
It's important to limit the risk of mold by disposing of old food regularly, as Henry Paterson a professional cleaner for Housekeep explains. "As the place where food is prepared and stored, the kitchen is ripe for bacteria, fungus, and mold growth."
Sign up to our free daily email for the latest royal and entertainment news, interesting opinion, expert advice on styling and beauty trends, and no-nonsense guides to the health and wellness questions you want answered.
"Not only is the food in the kitchen the ideal medium for bacterial growth, preparing meals in the same space leads to a high chance of cross-contamination and ingestion of harmful bacteria if the area is not thoroughly cleaned."
Then get rid of any unnecessary items, such as documents, technology, or empty plastic bags. Decluttering your home, even in a small way, is an important part of cleaning a kitchen.
2. Clear out the fridge
A fridge full of half-empty jars gathering dust isn't going to inspire you when it comes to cooking. And once you do tackle organizing the fridge, we bet you'll be surprised what's still lingering in there!
"This is a big one but purging all the expired, stale, and open jars that have been there for a while is healthier and invigorating," lifestyle expert Mareya Ibrahim, told w&h. "Drop off canned goods that you don't want to a food bank and let it be a chance to inspire you to map out a new food strategy."
3. Stack the dishwasher
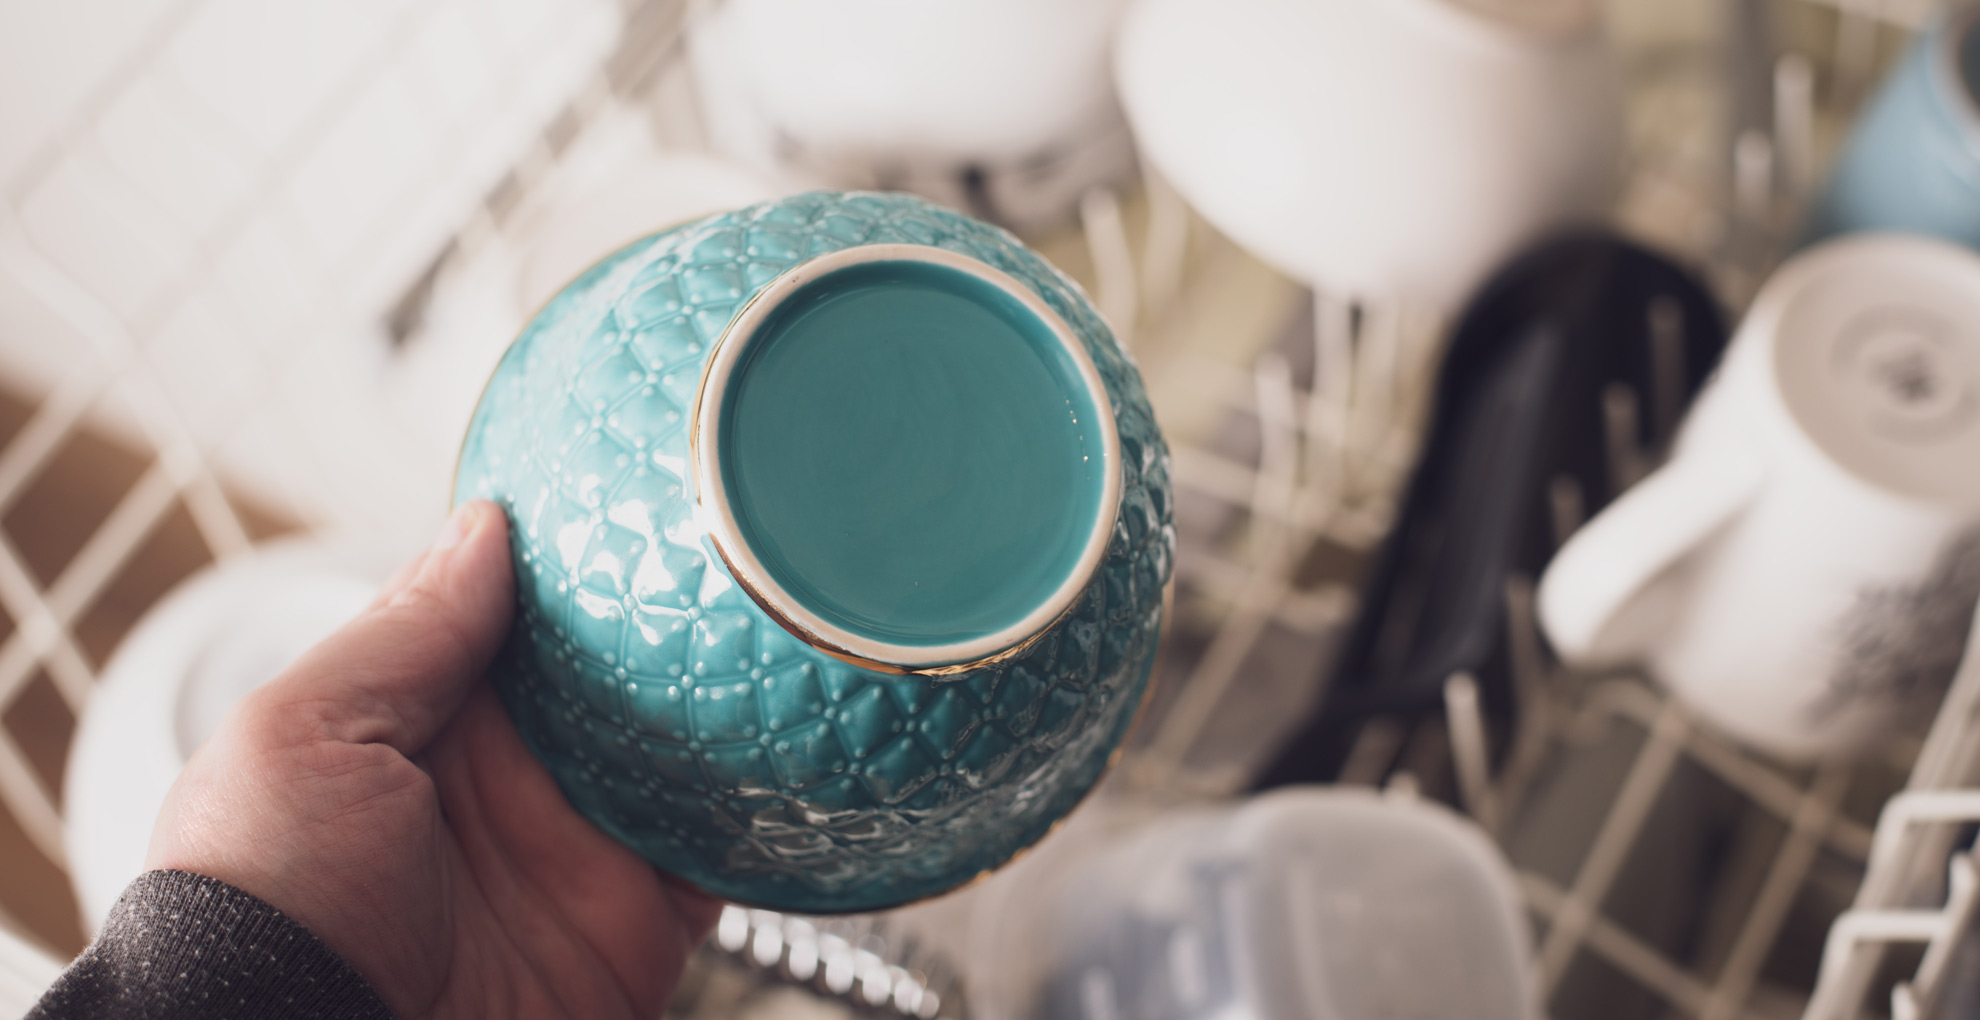
Now you should only have dirty pots and pans (and mugs, plates, and crockery) remaining for you to deal with. This is the time to put everything you possibly can into the dishwasher.
If you aren't lucky enough to have a dishwasher, pile everything at the side of the sink ready for the next step. In the same cleaning session, you may also want to give your dishwasher a deep clean to ensure maximum cleaning power.
4. Wash up items that can't go in a dishwasher
The next step and perhaps everyone's least favorite is, of course, washing all of your dishes if you do not have a dishwasher. Or, if you do, now is also the time to handwash anything that can't go through it. All you need handy is a warm, clean cloth (or sponge), and some hot soapy water.
Some items, such as your best-cast iron skillets or your best woks, may have lots of oil sitting in them which makes them harder to wash. These will need soaking in warm soapy water for a little while before you can clean them properly. But most of your other items can be washed and placed on the side to dry immediately.
5. Clean kitchen cabinets
Start by cleaning your kitchen cabinets so that you avoid any dirt or dust falling down onto clean countertops. You don't have to fully clean kitchen cabinets inside and out, just a simple clean externally is enough to keep surfaces clean as part of a weekly routine.
"Whilst kitchen cabinets may not appear dirty and therefore are easily overlooked when it comes to cleaning, they can actually be one of the dirtiest surfaces in our kitchens," explains Jen Nash, design excellence manager at kitchen company Magnet. "If you run a paper towel over them, you’ll see how much dust and splatter they really collect."
Jen advises: "Do not use overly abrasive cleaners or chemicals when it comes to cleaning them as this risks damaging the finish of your cabinets. Instead, use a more gentle mix of water and dish soap. Spray it onto the cabinets and use a microfiber cloth to scrub away any dirt."
"Also, pay close attention to handles and hardware on kitchen cabinets as these are touched the most frequently and can harbor lots of bacteria. Give them a good clean with an antibacterial spray to ensure no unwanted germs spread to your hands and cooking surfaces.’’
6. Wipe down surfaces
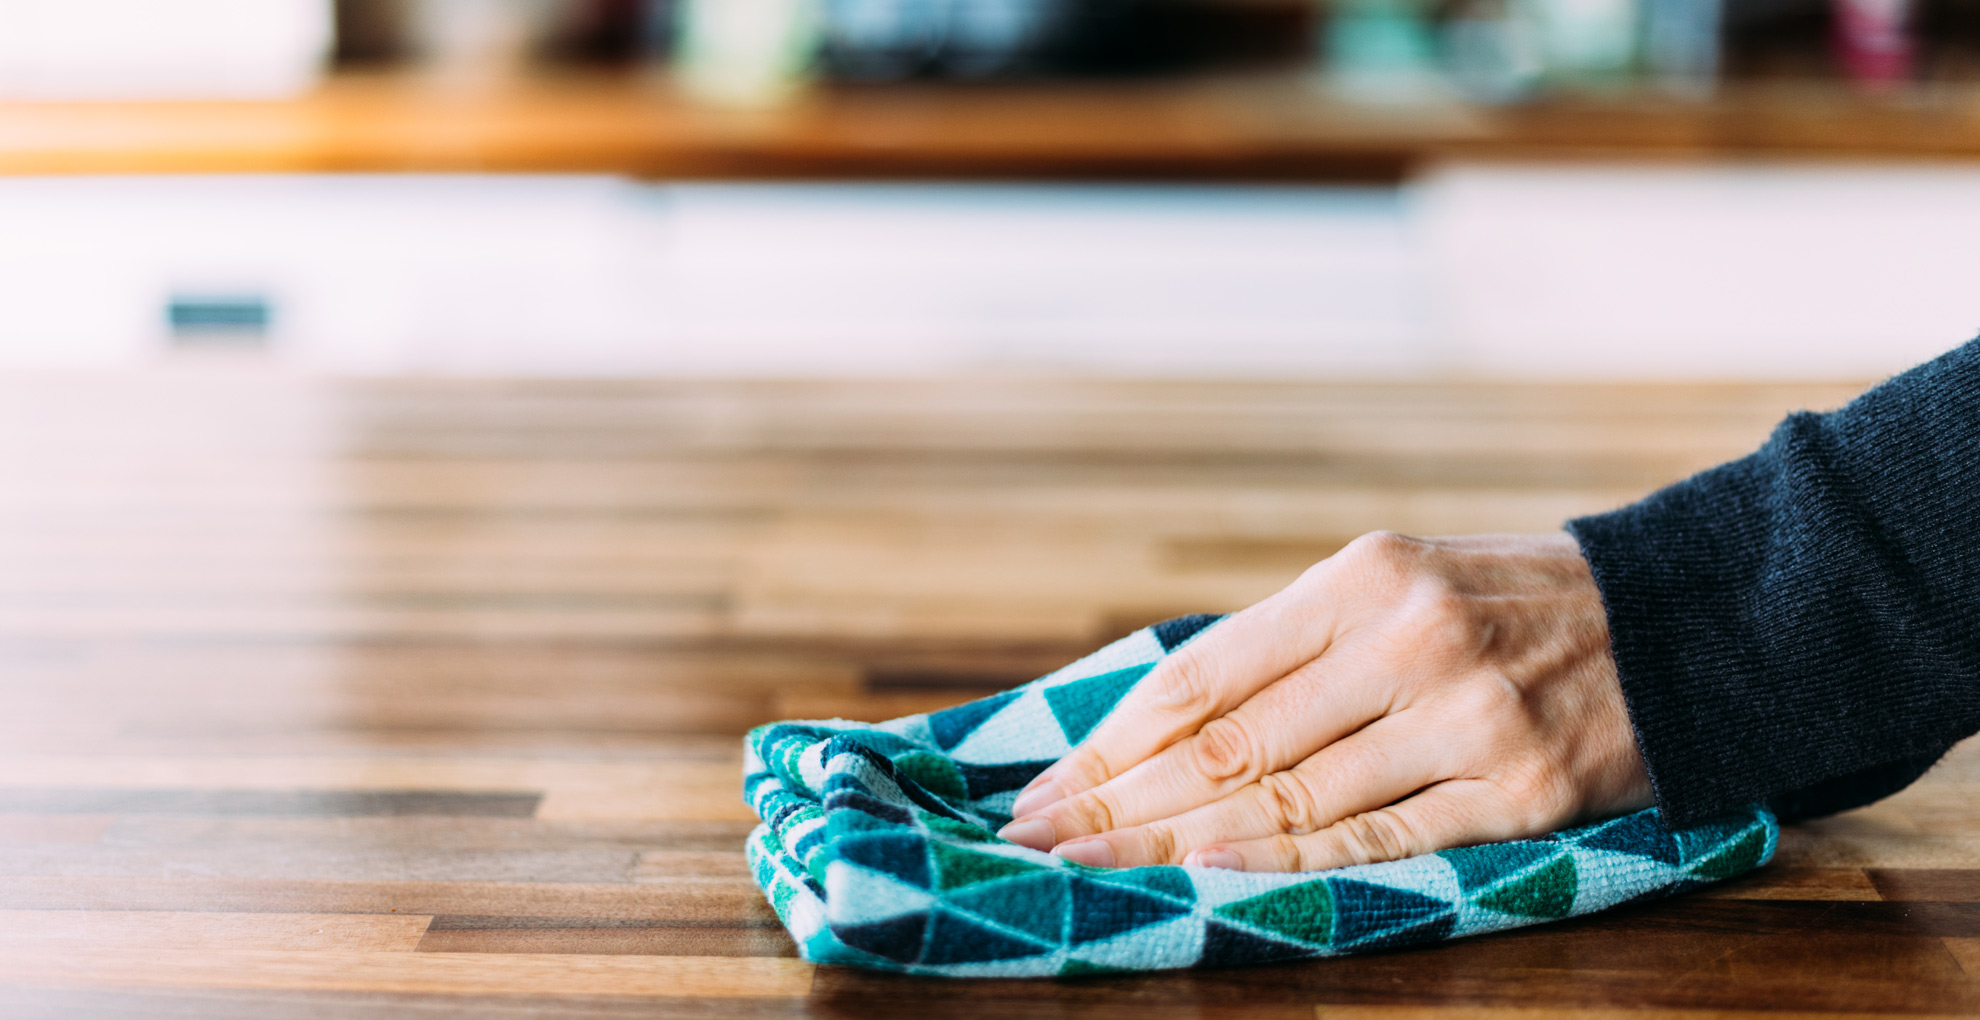
The next step is to keep your organized kitchen countertops clean. Lyndsey advises, "In general, with your daily clean, after your cabinets always start with your surfaces –and finish with the floor."
Use a hot cloth and a disinfectant to wipe down your surfaces, sweeping smaller pieces of food into the cloth and rinsing the cloth in the sink. With bigger pieces of debris, it might be more helpful to collect them in your hands, to throw them in the nearby bin.
She also suggests you, "wipe down the exterior of your stove and oven. A deep clean of your oven/cooker might be best for another time, but cleaning the exterior regularly goes a long way in obtaining a tidy kitchen," she explains.
7. Clean your small appliances
Jennifer Sharpe, the founder of the cleaning product company Fabulosa, explains that the next step is to, "clean small appliances. Shine and clear debris from your microwave, coffee maker, toaster, and any other appliances on your countertops." She continues, "Wipe down the exterior of each small appliance by using a microfiber cloth dampened with a disinfectant spray."
An important one to remember is the kettle. Henry explains the best way to do this. "You can usually wipe the kettle down with a clean microfibre and soapy water to clean the outside. You should also descale your kettle as part of your spring clean. You can do this with a 50/50 solution of white vinegar and water. Just fill the kettle with equal parts of each, boil it, and then leave it for an hour to cool down. Then simply pour away the contents and rinse it out a few times."
8. Disinfect your sink
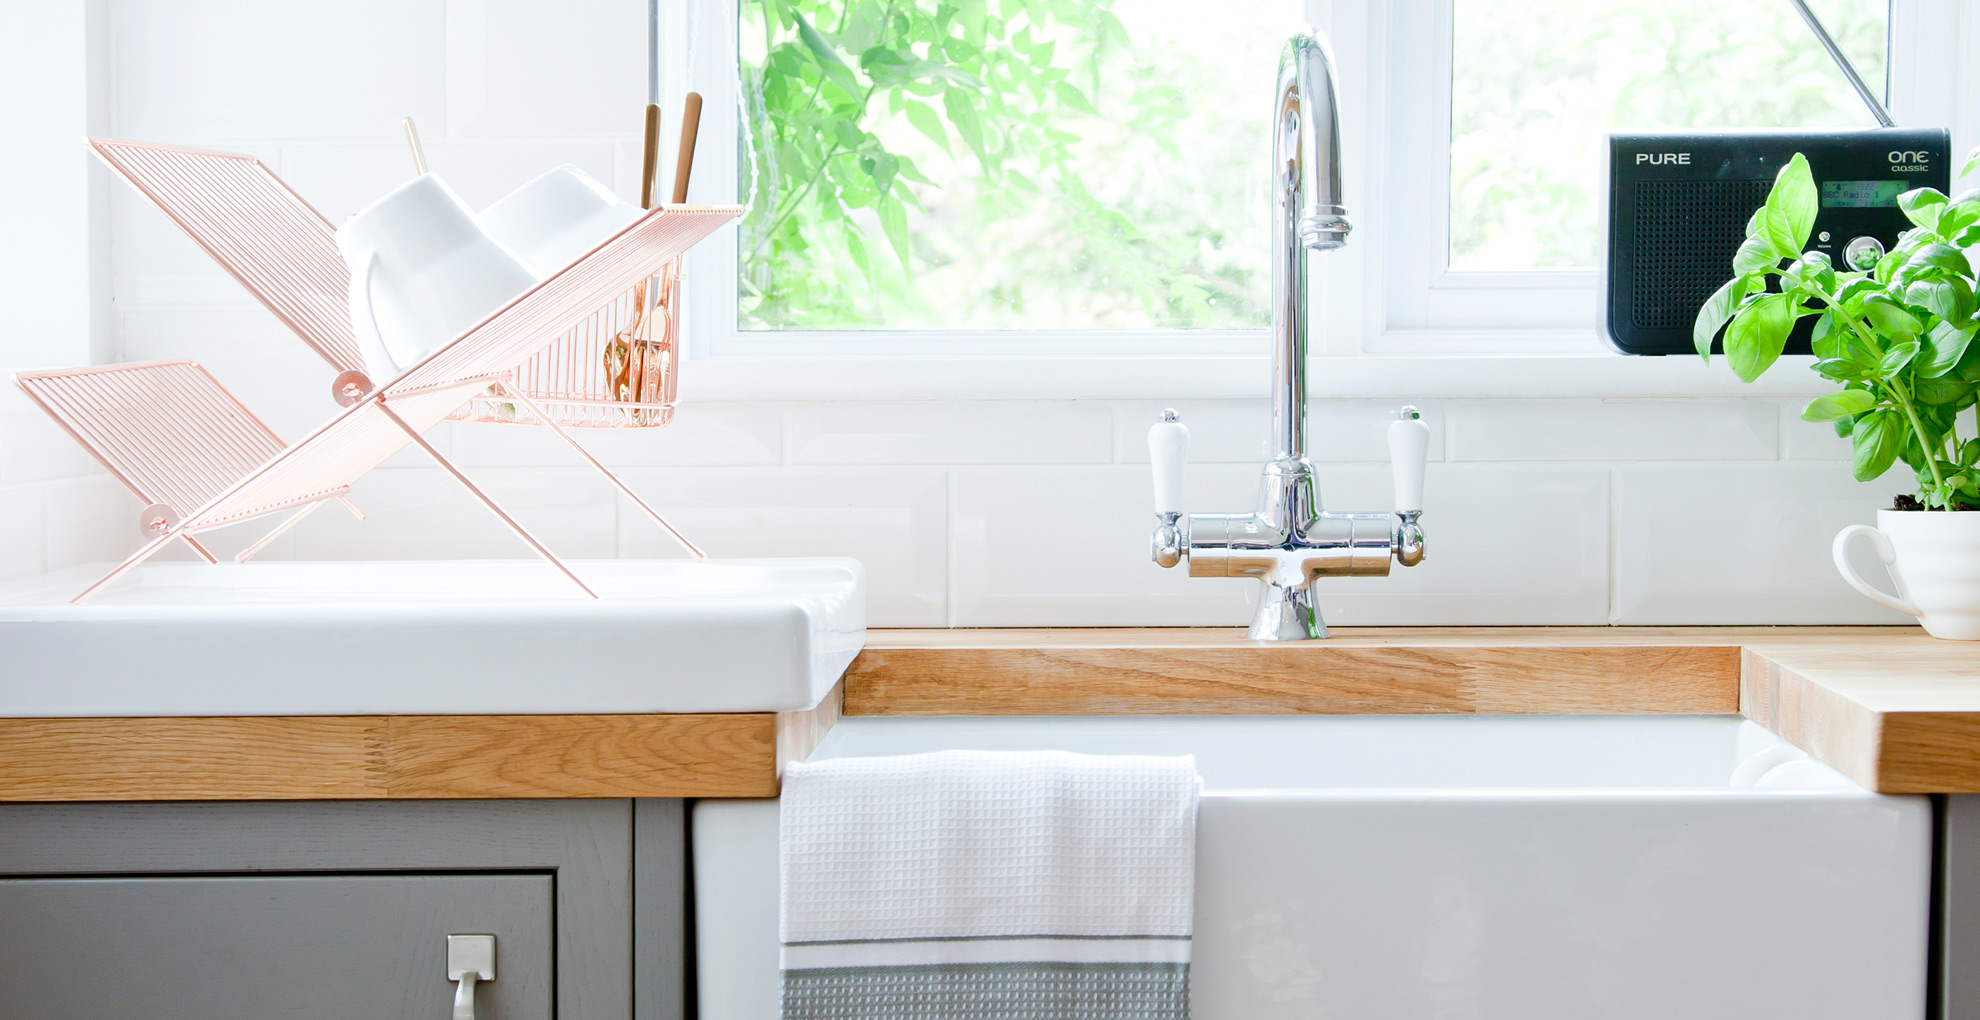
"Deep cleaning your sink is easier than it might sound," says Jennifer. "Sinks can get really dirty through the day so it's really important to disinfect the sink daily."
She advises, "Fill your sink with warm water and add diluted disinfectant. Using a cloth, wipe down the entire area, including the taps." It's also worth doing the area around the sink too, as this tends to get populated with bits of food and water, too.
If you have a stainless steel sink, you may want to read our guide to how to clean a stainless steel sink specifically, as it can be fragile and easily damaged.
9. Put away your clean and dried items
By now, your cleaned items should be dry or finished in the dishwasher. If so, now is the time to put them all away back on shelves or in cupboards. If you feel that your struggling to find space for bulkier items, investigate some pan storage ideas.
10. Clean your floors
Jennifer advises, "First, sweep with a broom to pick up all the larger crumbs and debris that end up on the kitchen floor. After sweeping, use a vacuum to get the fine dust and dirt. Follow it up with a thorough mopping to get rid of dirt and grime."
You should also remember to clean your floors according to their material. For example, if you have a tiled floor a steam cleaner could be useful for gentle and thorough cleaning. Whether cleaning laminate floors or cleaning hardwood floors, remember abrasive, scratchy cloths can damage the surface.
11. Clean windows, doors and handles
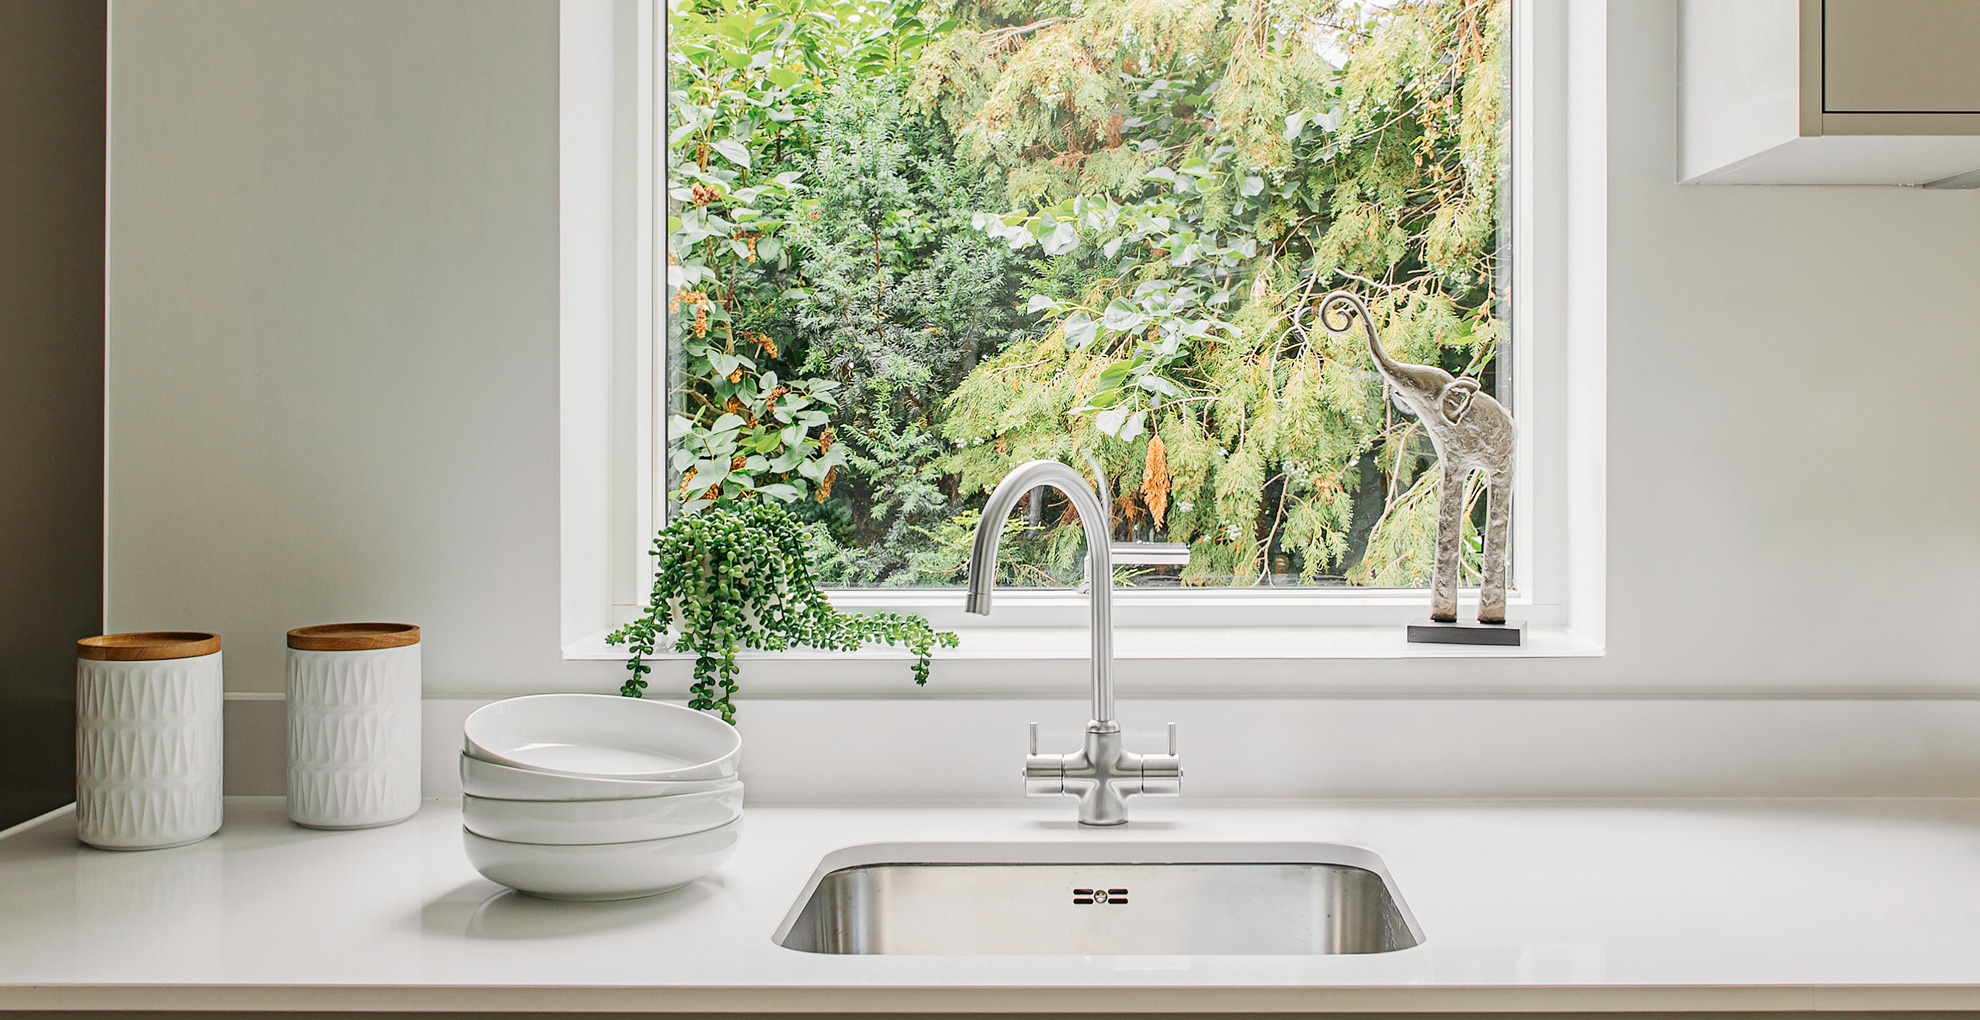
Windows and door handles are the parts we often forget when cleaning a kitchen. Completing these tasks (no matter how tiresome they may sound), will give your kitchen an extra sparkle.
Knowing how to clean windows, as well as how to clean doors and their handles isn't difficult. All you really need is a clean sponge, warm soapy water (or a homemade vinegar solution), and a microfiber cloth for drying. Spritz on the cleaning liquid, give each area a gentle scrub and dry it with the cloth.
12. Take out the trash
Of course, the final step in any step-by-step guide to cleaning a kitchen is to take out the trash. Your trash bags should now be full of any leftover food scraps, empty bottles or packages, and any other rubbish that you've thrown away during the process of cleaning your kitchen.
Take the trash bags outside and give your kitchen garbage can a quick clean over with some disinfectant, wiping out any bits of food that may have fallen in. Then, replace the bag, and you're good to go.
How often should you clean your kitchen?
Our cleaning expert Lyndsey Crombie advises that we should be giving our kitchens a quick clean daily. This doesn't have to take a long time and could be just ten minutes of tidying up, clearing surfaces, washing up or loading the dishwasher, and wiping down surfaces.
When it comes to a deep clean, Lyndsey suggests, "a deeper kitchen clean is needed once a week" to keep our kitchens looking sparkling. She also has some more specific advice when it comes to individual parts of the kitchen:
- Surfaces: According to Lyndsey, "Kitchen surfaces, hobs, and sinks should be cleaned daily using a disinfectant type product. Kitchen floors need a daily vacuum paying particular attention to around tables and barstools." So in your kitchen cleaning routine, make sure to prioritize this task.
- Trash cans: Some tasks don't need to be done every day. Instead, you can do them every few days. For example, taking out the trash, thoroughly cleaning the hob, and wiping down your hob splashback.
- Floors, kitchen cupboards: A clean "where floors are either mopped or steamed, the kitchen cupboard doors are wiped down, and the where kitchen bin needs a good disinfect" should happen once a week ideally, according to Crombie.
- Dishwasher and fridge: "Dishwashers, fridges, tops of cupboards and ovens should be added to your family cleaning schedule as a monthly task, but it never hurts to quickly wipe over your oven after every use just using a cloth and warm soapy water."

What are the dirtiest spots in a kitchen?
While a proper kitchen cleaning process is an important part of the maintenance of any home, there are spots that we might often miss or forget about as we go. And it might surprise you, but there are a couple of spots in our kitchen that harbor more germs than anywhere else.
- High touch points: Lyndsey explains, "High touch points are going to be the dirty hot spots in your kitchen; for example, when you open your kitchen cupboards looking for ingredients in the middle of cooking, the handles are going to get sticky and start to harbor germs. The same goes for the knobs and buttons on your oven."
- Light switches: Unsurprisingly, she also confessed, "Electrical and light switches are another germ hotspot." So be sure to give this a once over with the disinfectant as you're cleaning a kitchen too!
- Appliances: These might not seem dirty, but we often use our kitchen appliances when we're right in the middle of cooking or chopping, so they're highly likely to get the food left on them which could harbor bacteria." It’s so easy to overlook cleaning out underneath built-in and countertop appliances," says Jen. "You should really be doing this at least two to three times a year as you’ll be surprised at how good the little cracks are at collecting dust and food crumbs."
- Kitchen sink: Probably most terrifyingly is our kitchen sink. "Your kitchen sink, if not cleaned daily, can actually be dirtier than your toilet seat. So make sure it does get a daily disinfect," Lyndsey told us.
You could also take a look at our guide to how to clean a bathroom, too, where we also detail the dirtiest spots in your bathroom that you might be missing when you clean.
How often should you replace kitchen essentials?
You've nailed your kitchen cleaning routine and know not to miss the dirtiest spots—but what about the actual tools we use during cleaning? And how often should they be replaced to ensure we aren't spreading germs around a clean kitchen?
According to End of Tenancy Services, a company that cleans properties between rental tenants, this is how often popular kitchen items should be replaced:
- Washing up sponges: These should be replaced on a weekly basis, to avoid contamination when washing your plates, pots, pans, and cutlery.
- Mop heads and cleaning cloths: Should be shipped out of rotation every two months. This makes a lot of sense, given that they are used to clean some of the dirtiest areas of our kitchens – the floors and countertops.
- Cleaning gloves, microfiber cloths, and feather dusters: All have a longer shelf life, but should all be disposed of when they begin to show signs of degradation. For example, if your gloves have got a hole in them, or your microfiber cloth is becoming thin. Replace these at your discretion, although it's worth noting that you shouldn't be keeping these items for years and years before replacing them.
Amy Hunt is an experienced digital journalist specialising in homes, interiors and hobbies. She began her career working as the features assistant at woman&home magazine, before moving over to the digital side of the brand where she eventually became the Lifestyle Editor up until January 2022. Amy won the Digital Journalist of the Year award at the AOP Awards in 2019 for her work on womanandhome.com.
- Tamara KellyLifestyle Editor
