How to clean a coffee machine: 6 steps for a pristine, limescale-free finish
Whether you own a bean-to-cup or capsule coffee maker here's how to clean your machine like a pro

Knowing how to clean a coffee machine thoroughly and correctly is the most important knowledge for any coffee aficionado.
When you have one of the best coffee machines on your side, getting through the day seems that much more possible. However, when you're faced with the maintenance of said machine, you may be drawing a blank on how best to tackle it and what method is correct for your type of coffee machine.
We spoke with both cleaning and coffee experts to gain professional advice on achieving a spotless and safe clean for all coffee machines, from bean-to-cup appliances to pod designs we have every coffee machine covered.
How to clean a bean-to-cup coffee machine
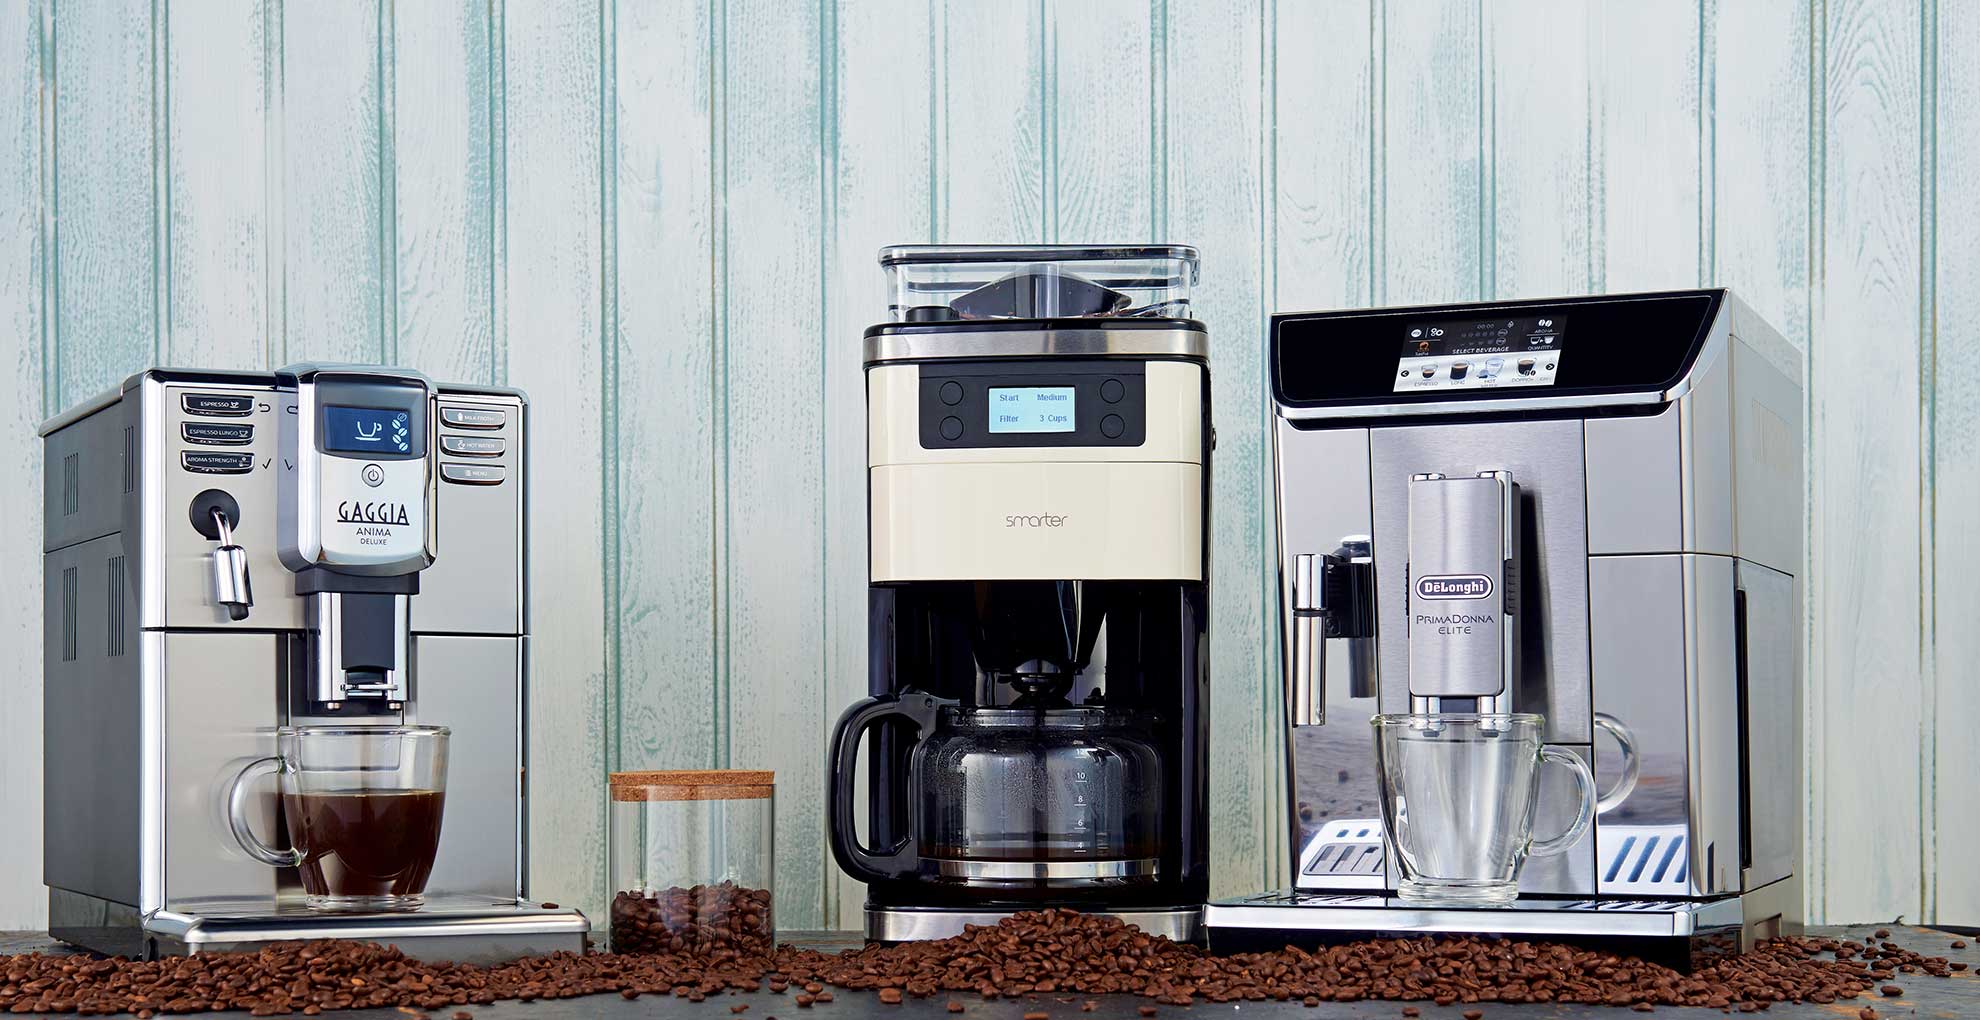
Even someone who knows all the expert cleaning hacks can be confused when it comes to the best way to clean a bean-to-cup coffee machine. With all the different parts and attachments that come with such a model, choosing the appropriate technique in itself can become quite a task.
The experts have recommended a method to guarantee you that perfect cup of coffee.
Here's what you'll need:
- Mild-dish soap
- Microfibre cloths
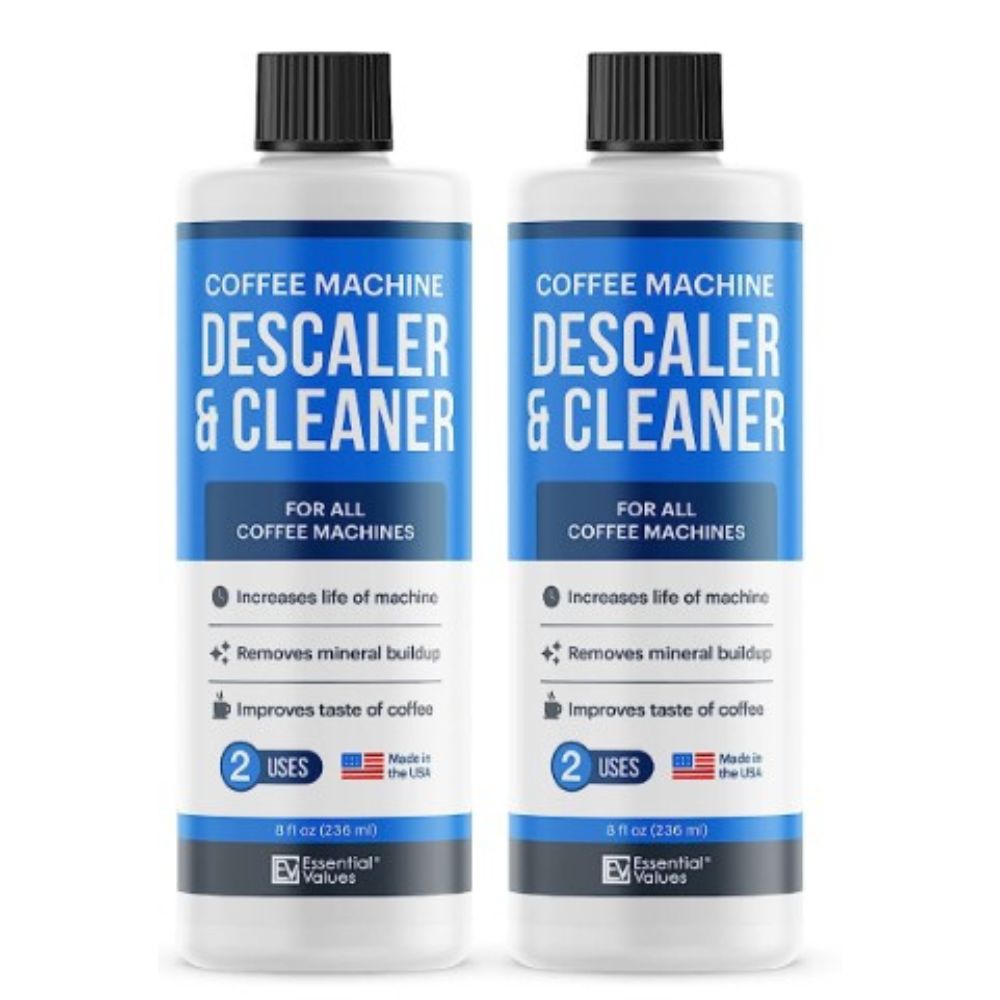
- Descaling solution
- Soft brush or sponge
- Multi-purpose spray
1. Check the manufacturers instructions
Before you rush through your quick kitchen cleaning routine and give your coffee machine a speedy once over, it's a good idea to read the manufacturer's instructions for cleaning and more importantly for warnings of what not to do.
Sign up to our free daily email for the latest royal and entertainment news, interesting opinion, expert advice on styling and beauty trends, and no-nonsense guides to the health and wellness questions you want answered.
"Most bean-to-cup machines have similar cleaning needs but it’s best to check any brand-specific instructions first. However, if you do not have access to instructions, this 6-step guide gives a thorough clean that works for most machines," says Smol's cleaning expert Catherine Green.
2. Remove detachable parts
No matter what model you have, it will have external detachable parts that you can remove easily. Catherine suggests removing all of these, including the drip tray, water tanks and brew group before you even get started on cleaning any part of the machine.
She explains that taking these external pieces will make them much easier to clean and also allow you to empty the coffee grounds container as well as any other large spots of build-up on the machine. Similarly to how you deep clean your house, moving the furniture often reveals the dirtiest spots that need tackling.
3. Wash detachable parts
Once these parts have been taken off, you can give them a good clean. Be careful for more delicate areas on the parts or anything made of weaker materials, being gentle on this step is crucial for your machine and its running.
"Wash the parts you've removed with warm soapy water, a mild washing-up liquid is perfect for this. Once you've cleaned them, give the parts a rinse with clean water and dry them completely with a clean cloth," says Catherine.
It's not recommended you start cleaning with vinegar or baking soda, keeping to a mild dish soap will ensure all parts aren't corroded or left with an undesirable smell or taste.
4. Descale the machine
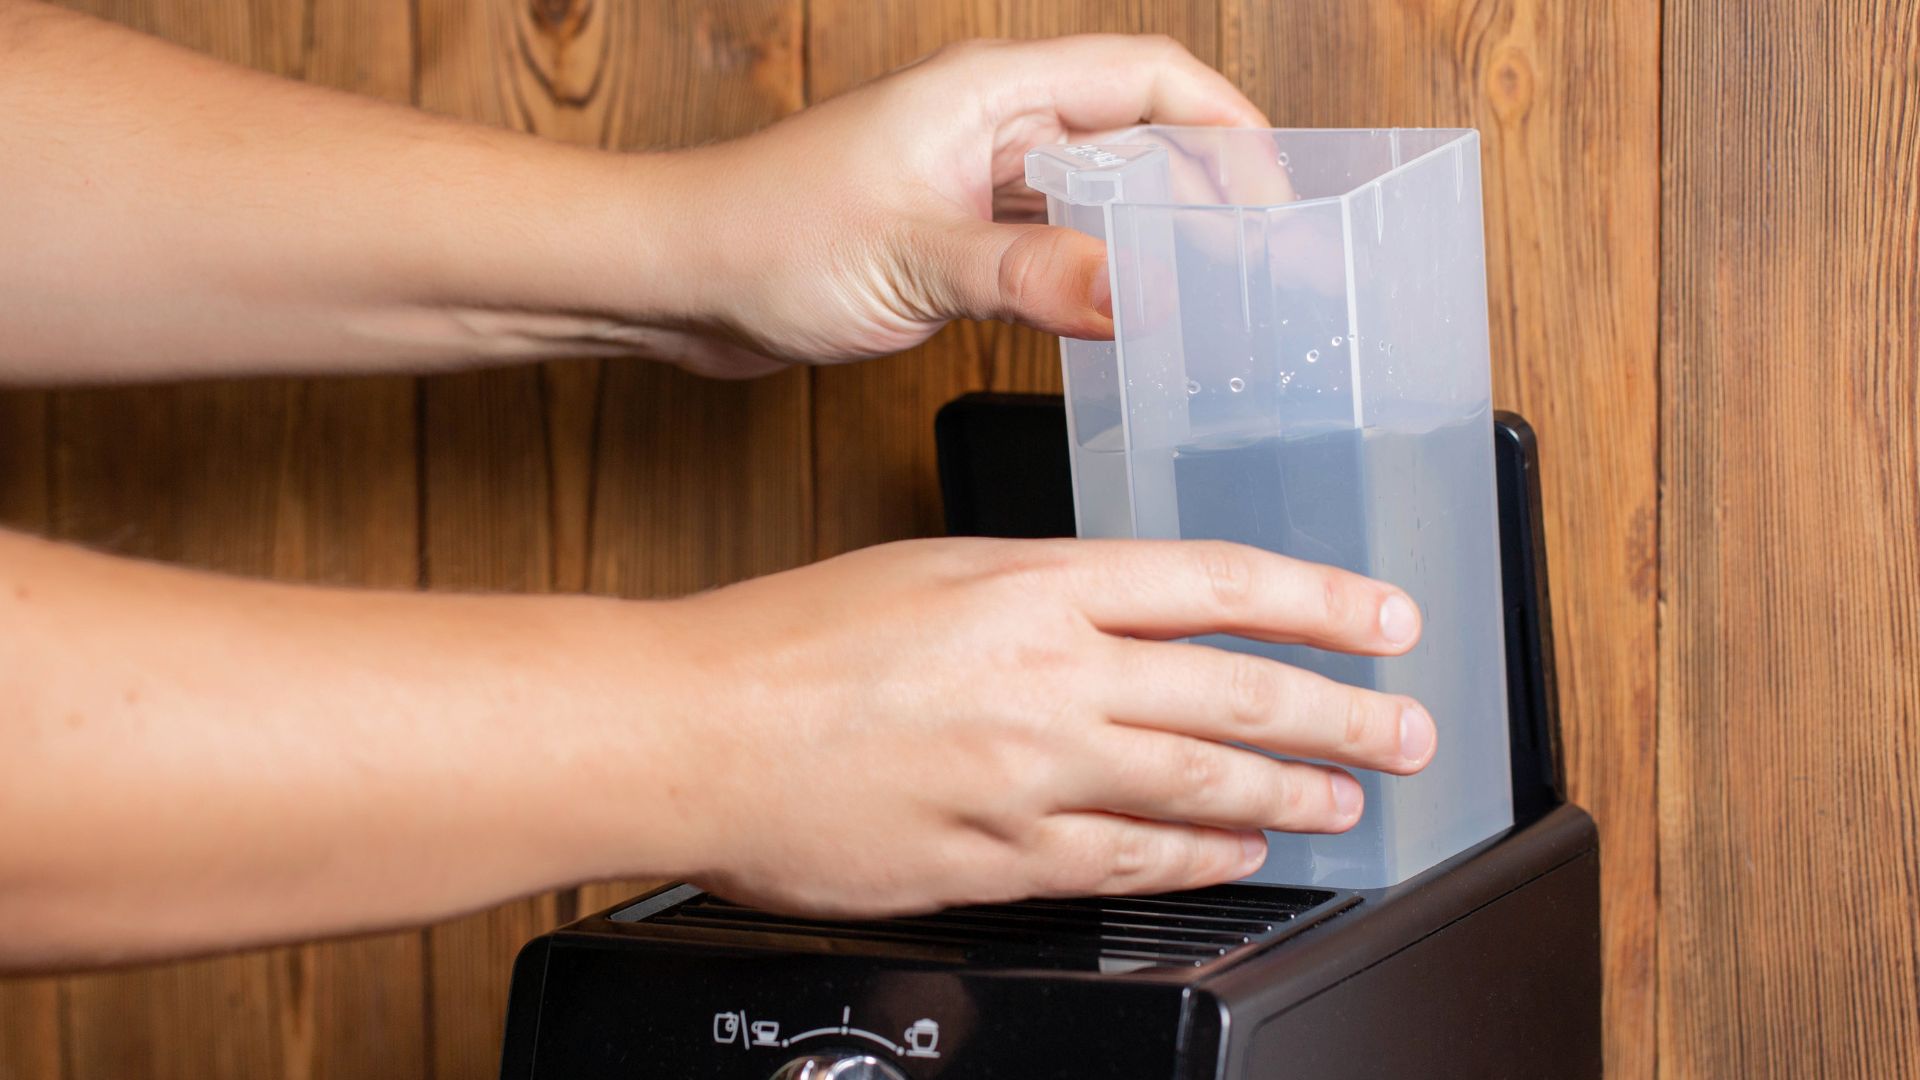
Whilst the external parts drying, you can start to work on descaling the machine. Unlike how to descale a kettle it's best not to turn to any DIY methods or cleaning substitutes.
"To descale the machine (many will tell you when they need this) fill the water tank with a descaling solution as recommended by your machine manufacturer and run a descaling cycle. Then rinse the water tank with clean water and refill it," suggests Catherine.
If you're not sure when your coffee machine needs to be descaled, then there is more information on that below.
5. Gently clean internal components
Now the external parts are clean and the internal system has been descaled it's time for those delicate internal components. For this you only need to use a soft brush or sponge to gently clean away any coffee particles or dust, the internal mechanisms shouldn't be too dirty as they're shielded.
Catherine points out It's especially important here to work with caution as there will be delicate parts so move more slowly to ensure nothing is damaged.
6. Reassemble and wipe
With every inch of the machine tended to, it's time to reassemble all the external and internal parts so that your machine is looking back to its usual self. But of course, this time sparkling clean.
After reassembly, Catherine recommends giving the expert a wipe-down with a clean cloth and multi-purpose cleaner. She says, "You can then do a test run to ensure all is working well."
And like that you have a clean coffee machine ready once more to provide you will that caffeinated nectar! Why not add this method to your step-by-step guide for cleaning your kitchen quickly and easily?
How to clean a pod coffee machine
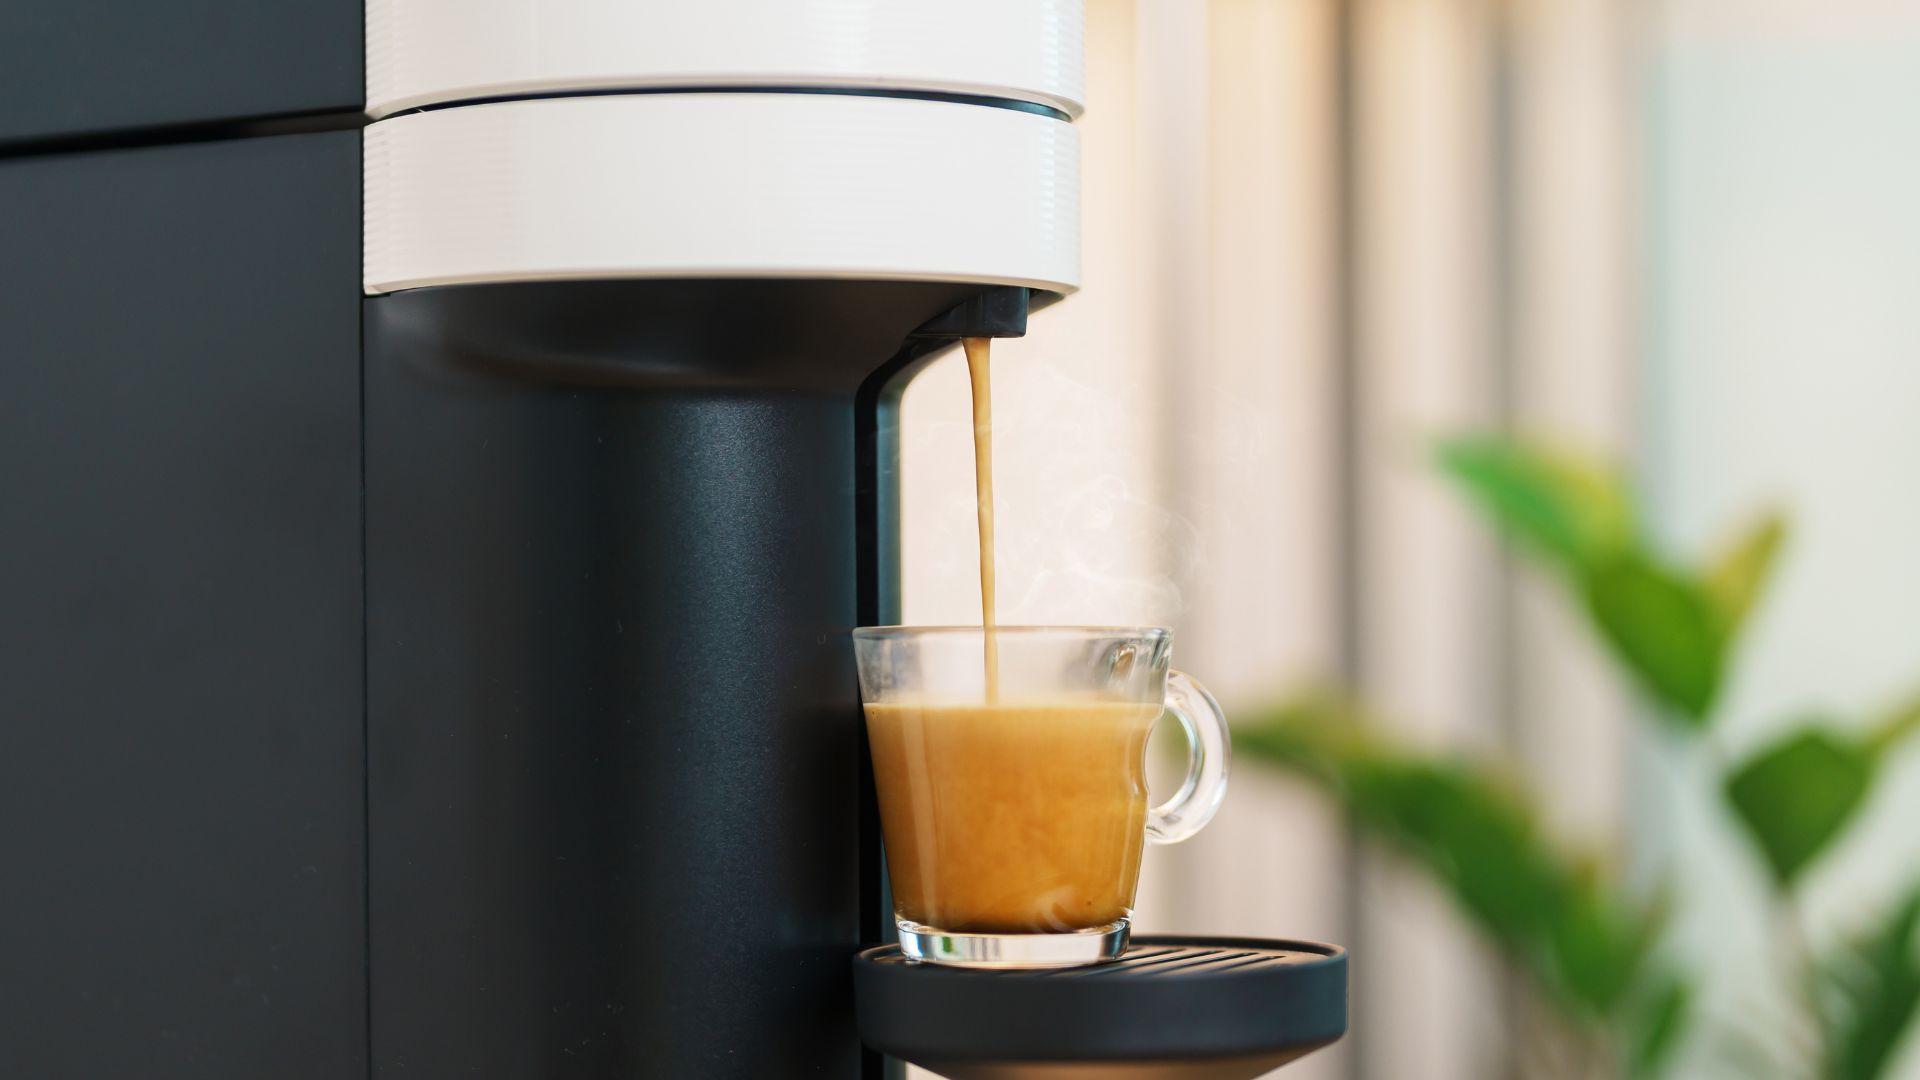
When it comes to a pod machine, there are some warning signs that you need to give it a deep clean. Catherine says, "If your coffee pod machine is dispensing too slowly or the pod isn’t releasing into the capsule drawer, it might be time for a clean. Most manufacturers recommend a good clean once every 3-6 months."
1. Remove all external parts
Similar to how to clean the bean-to-cup machines, the first thing to do is remove all external parts and discard any used pods that may still be stored in the machine.
"Remove the water tank, drip tray and cover and any holders so they can be washed in warm soapy water using washing up liquid. Rinse, dry and replace them once clean," says Catherine.
Unlike bean-to-cup machines, the pod models are often a little more sturdier and have less intricate parts to them which makes the cleaning process a little easier.
2. Brush away grinds
Whilst you may have already found ways to use coffee grounds in your garden, there will be some leftover grounds hanging around on your machine and internally. These rogue grounds can build up over time and cause issues with your machine, whilst also adding to the overall dirtiness too.
Catherine recommends taking a clean toothbrush and gently removing all the stuck grinds that are in the capsule insertion space. It's best to take your time here, as you don't want to push the grinds further in.
3. Rinse out the system and descale
Once the majority of the external dirt and left-over grinds have been taken care of, it's time to tackle the internal workings.
"Empty the water tank and remove the water filter (if there is one) before filling the tank up with some water and a manufacturer-approved descaling solution," explains Catherine. "Put a small bowl on the drip tray and run your machine as if making a drink. Repeat this until your machine asks you to add more water. Empty the bowl as you go."
Why not collect the leftover water for your garden? It might not be rainwater harvesting exactly but it'll have some diluted nutrients from the coffee and is a great way of reusing water you'd otherwise throw out.
4. Clean water tank
Most if not all pod machines will have a removable plastic water tank attached to them, whether that's located on the back or side it's important to clean this tank regularly.
Simply rinse out the water tank, and clean it with warm soapy water if necessary, then Cathrine recommends repeating the previous step with clean cold water to clear out any cleaning solution residue from the machine.
5. Wipe exterior
With the internal capsule insertion space, water tank and descaling done, you can reassemble any external parts onto the main body of the machine and give it a thorough wipe-over with a multi-purpose spray and microfibre cloth.
How to clean an espresso machine
If you're a true coffee fiend you may have an espresso machine sitting pride of place in your kitchen, but is it showing its daily use a bit too much? Not to worry. Cleaning an espresso machine is extremely important if you want the best quality in every drink.
Here's what you'll need:
- Clean toothbrush
- Cleaning detergent
- Microfibre cloth
- Mild-dish soap
- Descaling solution
- Multi-purpose spray
1. Clean the portafilter
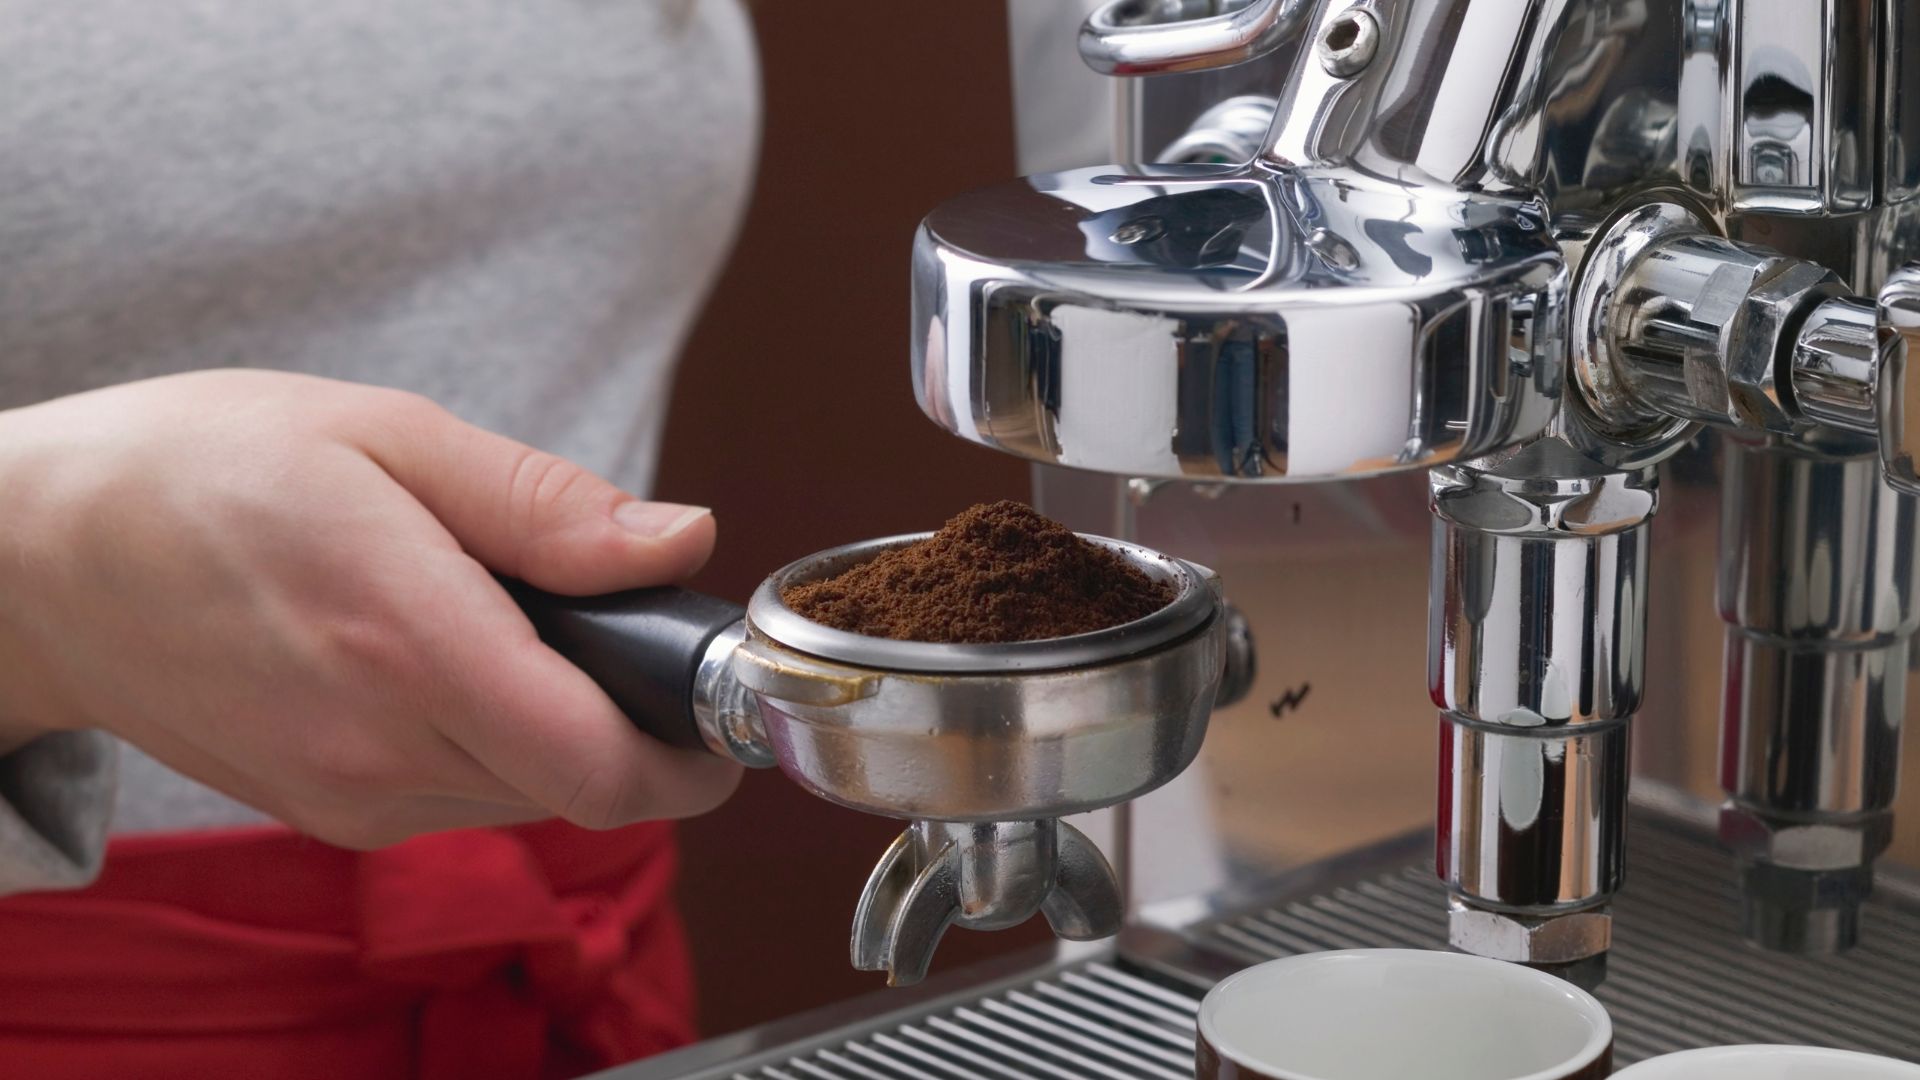
Unlike other coffee machines, espresso models have a portafilter which is a device with a handle that your machine pours water through. It holds the portafilter basket which is where your coffee grounds are, which means it quickly gets dirty.
"You can start cleaning the espresso machine by flushing the group head. Run the espresso machine with just water to flush out any remaining coffee grounds," says Polya Petrova, a cleaning and home improvement professional at Fantastic Services.
After that clean the portafilter and basket, to do this remove the portafilter and gently clean out with warm soapy water. You can use a soft brush or toothbrush to clean the filter basket, which will ensure you get any hard-to-reach places.
2. Clean away coffee residue
Now that the portafilter is taken care of, the next step is to tackle the group head and gasket to remove any coffee residue or oils.
Catherine says, "If your machine has a backflushing feature, use a blind portafilter basket and insert it into the portafilter. Add the recommended amount of cleaning detergent to the basket and run a backflushing cycle according to the machine's instructions. Repeat this process with clean water to rinse."
When it comes to cleaning detergent we'd recommend using this Urnex Cafiza Espresso Machine Cleaning Powder from Amazon for £12.60. It will make quick work of any residue stuck in the group heads, valves and machine lines.
3. Wipe steam wand
Whilst keeping on top of wiping your steam wand could be a daily habit to keep your house clean and tidy, there is sometimes no avoiding a build-up. Catherine says you should start by wiping the wand with a damp cloth to remove any milk residue.
"If there's stubborn buildup, soak it in warm, soapy water then scrub it off, washing up liquid is perfect for this," she continues.
4. Descale your machine
As was recommended with both bean-to-cup and pod machines, when you're cleaning it's a great time to also run a descaling cycle. The method will depend on what brand of machine you have, which is why it's important to read your manufacturer's instructions and only use a solution they suggest.
No matter what solution you use, Catherine recommends filling the water tank with the solution and running a descaling cycle, then flush the machine with clean water to remove any residue. Because like when descaling a kettle, limescale can build up.
Experts generally agree that you should be aiming to descale your kettle every month so that it boils more efficiently, in turn reducing your energy consumption. The same could be said for your coffee machine in that case.
5. Clean tank and exterior
You might've guessed it, but once all the internal cleaning has been done you can start on the outside of the machine. A wipe-down with a non-toxic multipurpose spray will have the machine looking its best and suitably ready for tomorrow's coffee fix.
FAQs
How often should you clean your coffee machine?
Sometimes it can be hard to decipher how often your appliances need a good clean, unlike how often you should clean your home the dirt isn't always as easy to spot. Like how often you should clean an oven or clean a microwave, it all depends on how often you use the appliance.
"Often people will keep the outside of their machine in tip-top condition and forget about the upkeep of the parts they can’t see. A regular cleaning schedule which is tailored to the type of coffee machine you have and how often you use it is an essential part of any coffee connoisseur’s routine," says Mark Green, coffee expert at JURA.
There are some cleaning rules however that will apply to all coffee machines no matter the type.
Mark explains, "You should be cleaning the milk system and drip trays daily, as well as replenishing the water tank to maintain a barista-quality coffee. Then a more thorough clean cycle should be carried out monthly to avoid coffee, milk residue and limescale building up inside your machine which will impact the taste of your morning brew."
If you leave cleaning your machine, both internally and externally, for too long it can cause residue build-up which will cause clogging and blockages that will decrease water flow through the machine, making it less efficient to run and even shorten its lifespan.

How do you know if your coffee machine needs descaling?
Aside from cleaning, how often should you be descaling your coffee machine? It's certainly not as regularly as you'd want to clean the water tank or wipe down the exterior but there is an ideal time frame.
The easiest way to figure out if your machine needs a descaling is to taste the coffee it's producing.
"Your coffee may have a bitter, off or metallic flavour, in extreme cases you may even see light-coloured deposits floating in your coffee. You may notice changes to your machine such as a noisier operation, or it stops working altogether," explains Mark.
Some coffee machines may also alert you that the machine needs to be descaled, which is very handy.
If you're looking for ways to make your kitchen smell good staying on top of your appliance's cleanliness is one of the best places to start.
If you're still unsure how to tackle the big clean for your coffee machine then it's always best to first check the manufacturer's recommendations. Past that, there aren't many mistakes you can make, other than cleaning with baking soda or vinegar which will probably do more harm than good.

Emily joined woman&home as a staff writer after finishing her MA in Magazine Journalism from City University in 2023. After writing various health and news content, she now specialises in lifestyle, covering unique cleaning hacks, gardening how-tos, and everything to help your houseplants thrive.
