How to blow-dry hair: easy steps to achieve a perfect salon blowout at home
Always wanted to know how to blow-dry hair like a professional hairstylist? We give you proper tips and tricks for your most impressive blowout yet
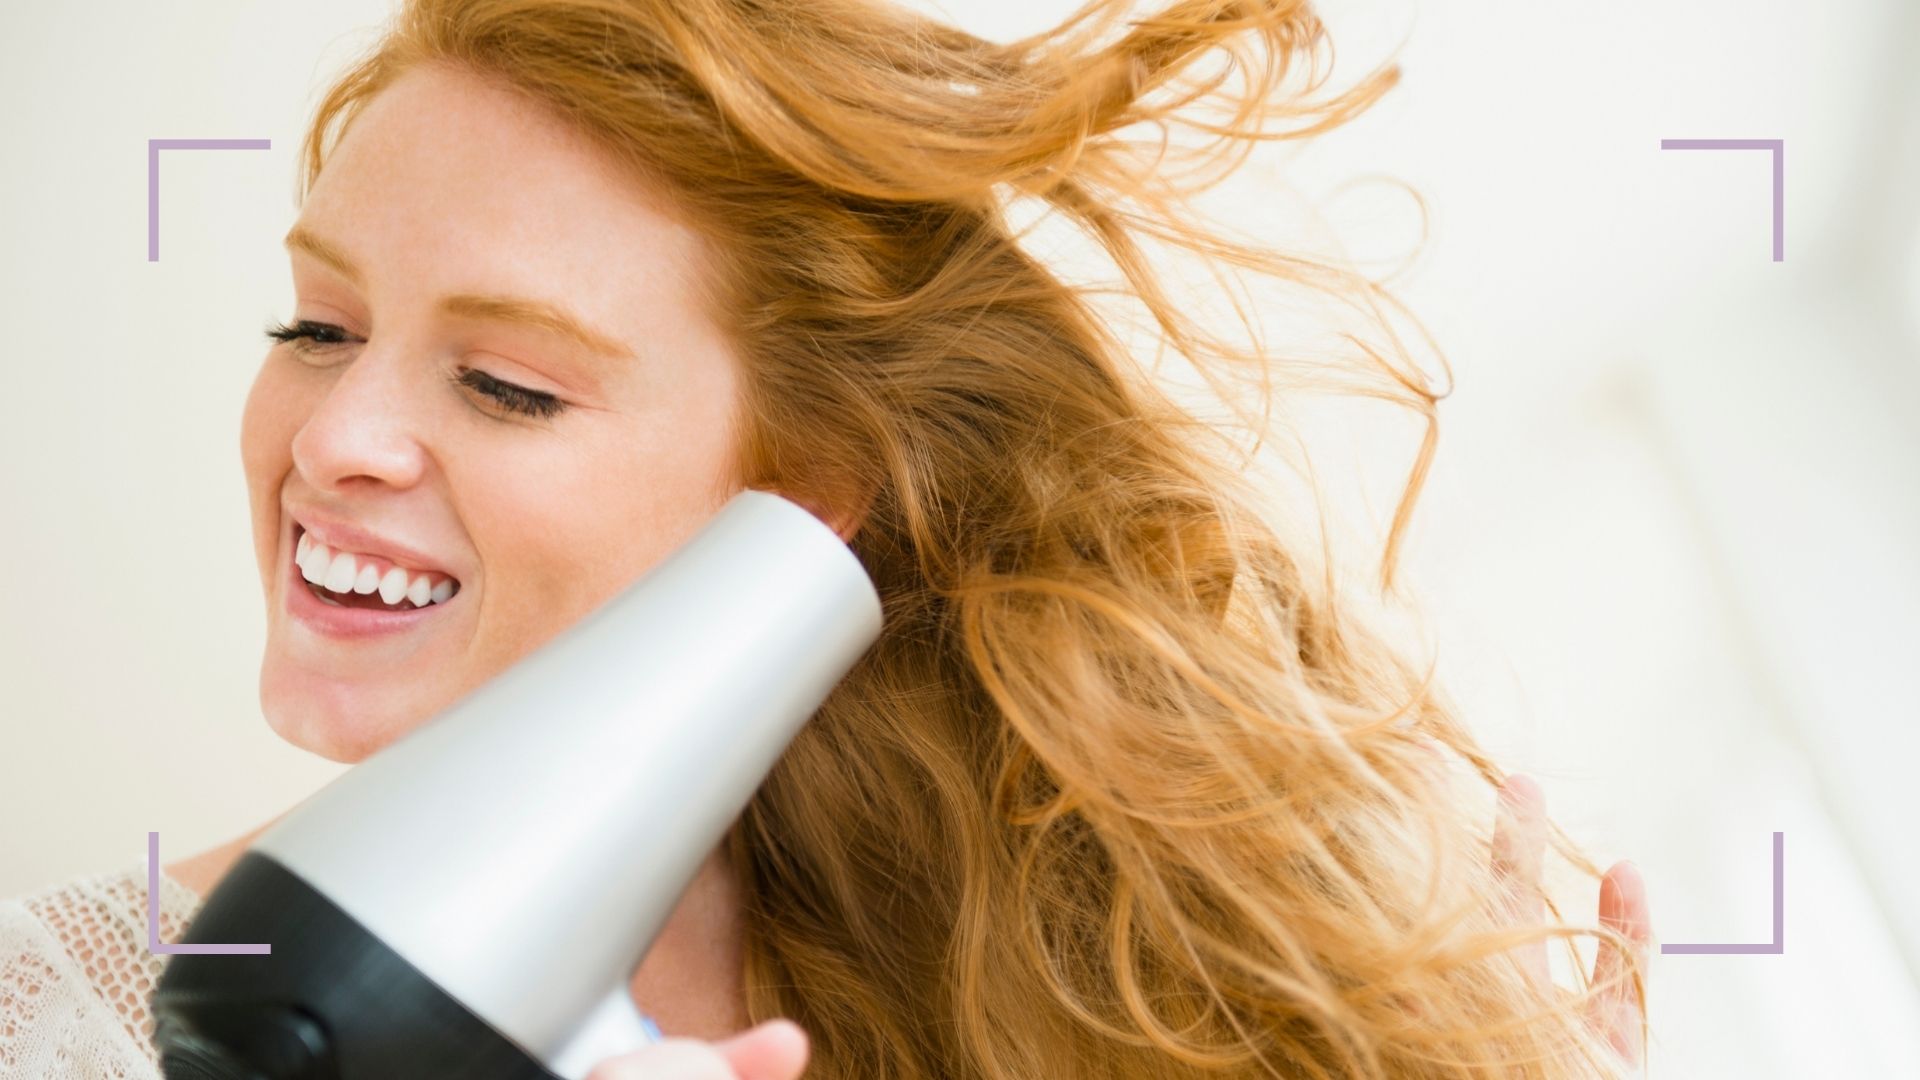

Ever wondered how to blow-dry hair at home and get pro results? You're not alone: Now that the benefits of DIY have come more and more to the fore, many people have taken it upon themselves to learn the skills involved in a professional-grade blowout. And with good reason: Not only does knowing how to blow-dry hair yourself save time and money, it also gives you more insight into your hair type and what products and techniques work best for you.
As always, careful prep is everything. Before anything else, ensure your hair is clean, washed, and that you have the best hair dryer or best hair dryer brushes for the job. It's also a good idea to make sure you have other proper tools on hand, as this definitely makes a difference in the process and affect the quality of your results.
Specifically, we recommend having a detangling brush or comb, sectioning clips, heat protection spray, a vented brush or a round brush, and if desired, a gentle hairspray or any holding product of your choice.
How to blow-dry hair at home: a step-by-step guide
We spoke with celebrity hairstylist Lyndsey Harrison and asked for some expert tips and tricks:
1. Rough-dry hair after washing
The first step in knowing how to blow-dry hair like a pro? Washing like one. Start by rough-drying your hair after washing (this means just using your hands and blow-drying hair with general all-over movements) on a medium-speed setting until damp, or until approximately 80% dry.
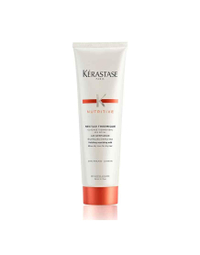
You can also add a heat protecting spray or balm, like Kérastase Nutritive Blow-Dry Primer, at this stage to work in conjunction with a hair dryer (we like the Drybar Buttercup Blow-Dryer) to maximize hair health when styling.
Kérastase Nutritive Nectar Thermique Blow-Dry Primer for Dry Hair
Great for all hair types (straight, wavy, curly, and coily hair), this leave-in cream is applied onto dry or almost-dry hair before heat-styling, offering up to 85% less breakage from styling tools. Linseed oil makes hair shinier and smoother, much like an at-home keratin treatment, making this perfect for those learning how to blow-dry hair at home but are super wary of damage.
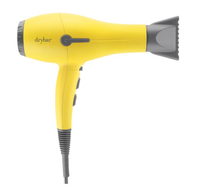
Drybar Buttercup Blow-Dryer
This best-seller promises a shiny, frizz-free blowout by virtue of its 1875-watt motor and ionic technology—all in an irresistibly cheerful body that also dries 20% faster than the competition.
2. Part hair
Prep the hair by brushing through and creating your part with a fish-tail comb for precision.
Sign up to our free daily email for the latest royal and entertainment news, interesting opinion, expert advice on styling and beauty trends, and no-nonsense guides to the health and wellness questions you want answered.
3. Dry the front sections first
“I tend to recommend drying the fronts first because these are the sections that will naturally dry quickest,” Lyndsey says, “so we need to style them before they completely dry.” Blow-dry the front sections, then pin with “no dent” clips to hold in place.
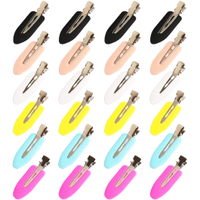
Messen 24 Pieces No Bend Hair Clips
Nifty to have on hand for any budding home stylist, these non-denting clips are super useful when sectioning hair during blow-drying.
4. Part the rest of the head and begin drying
Part hair from ear to ear, divide into smaller sections with clips, and then proceed to dry the hair with a large round brush. Roll the large brush at the end of each section to create a smooth curl. We like the volumized yet smooth results we get from Moroccanoil Ceramic Round Brush.
Ed's tip: If you're feeling a bit more advanced and already know how to blow-dry hair, you can split the top forehead section into smaller parts. The technique remains the same: Take hair from closest to the root with the brush underneath (careful not to singe your scalp, blow-dryer nozzles can get hot), and gently tug upwards and outwards, rolling the brush underneath as you go. Work from one temple to the other.
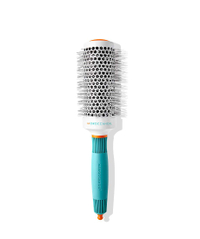
Moroccanoil Ceramic Round Brush
A must-have in your hairstyling arsenal, round ceramic brushes do a fantastic job of distributing heat throughout the hair shaft during a drying session. We love the firm premium feel of this particular brush, as well as how it left our strands shiny and smooth.
5. Angle downwards
When drying, always make sure your dryer is angled down, as this will make the hair cuticle smooth and shiny.
6. Finalize the front section
Finally, finish off by drying the top front section near the forehead and crown by splitting hair into two along the parting. We find that blow-drying hair away from each side of the face gives more flattering results, since it opens up your features.
7. Finish with hairspray
Want to master how to make your blowout last longer now you've painstakingly created it? The trick is in the finishing products. Remove the clips and spritz with a flexible-hold hairspray for locks that have natural movement and control. We like the brushable finish we get with L'Oréal Elnett Hairspray.
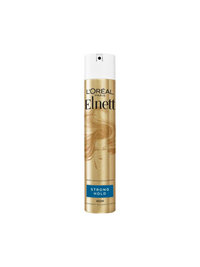
L'Oreal Elnett Hairspray
Few hairspray formulas come close to the integrity offered by L'Oreal's top-selling hairspray, which is a mainstay backstage and is also a favorite at weddings. The fine-misting spray gives strong hold, but with flake- and crunch-free results. Score!
How to blow-dry hair at home: dos and don'ts
Do: Pre-treat hair with a mask
Before attempting your blow-dry, it's a good idea to indulge dry, damaged strands with one of the best hair masks prior. Exposure to high heat can leave your hair looking stressed and feeling parched, and if your hair is already dry or damaged, you'll struggle to get that shiny, healthy-looking finish.
Using a nourishing mask, like Briogeo Don't Despair, Repair!, apply a small dollop of product on the mid-lengths to ends and let sit for five to ten minutes. Rinse with cool water for silkier-feeling strands.
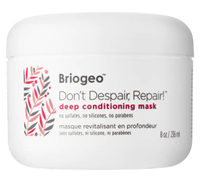
Briogeo Don't Despair, Repair! Deep Conditioning Hair Mask
When learning how to blow-dry hair, a protective mask is paramount to offset any damage. Sulfate-, silicone-, and paraben-free, this vegan strengthening mask helps protect strands against future damage, making it super ideal if you're a frequent mechanical styler.
Do: Always use a thermal protectant
Although heat is a necessary evil when creating a sleek, beautiful blowout, it can wreak havoc especially on strands that have been put through their paces. Heat protection is a must. It acts as a protective shield or layer (pretty much like potholders on a hot casserole): It prevents singeing and any "hot spots" from forming on the shaft, and a lot of today's formulas also help detangle and act as pre-styling leave-ins too.
Do: Try a new tool
If you struggle with using brushes and a dryer, you're not alone—there’s a reason we visit salons for a blowout; they're trained experts who spend years in school perfecting this very technique, after all.
However, all is not lost: If you are all fingers and thumbs, try a hot rotating brush, which basically takes most of the manual labor out of the blow-drying process by having the brush head automatically rotate for you.
One of our go-tos is Revlon One-Step Hair Dryer and Volumizer Hot Air Brush, which blasts out hot air and emulates the nifty rotations of a hairdresser’s hands. It grabs each section of hair, rolls them up, then dries them, releasing your locks in beautiful volumized sections. Worth a shot!
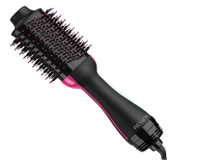
Revlon One-Step Hair Dryer and Volumizer Hot Air Brush
Over 265,000 (!) ratings from the US store alone, this is pretty much a must-have in the world of plug-in brushes. It dries and volumizes hair in one step, at 30% less frizz than regular drying—so if time is usually of the essence for you when styling, then this is a no-brainer.
Do: Tame flyaways and frizz with a hair oil
If you have fine, dry, or frizzy hair, you’ll want to reach for a hair oil either before or after your blow-dry (we're partial to Kérastase Discipline Oléo-Relax Oil). Fine types should use oil sparingly on damp hair to lightly smoothen, while thick, curly, or natural-textured hair can benefit from some oil after hair is already dry to encourage more manageability and shine.
Ed's tip: Styling fine hair can be difficult and requires specialized tools. Check out our guide for the best hair dryers for fine hair on the market.
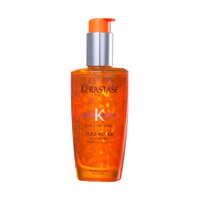
Kérastase Discipline Oléo-Relax Oil
A gold standard in hair oils, this provides superior frizz control. If your hair is on the finer side, it's best used near the ends; otherwise, thicker, drier, curlier, and more damaged hair can benefit from applying this on damp hair as an effective pre-styling treatment.
Do: Boost volume with a thickening spray
Who doesn’t want a bit of extra va-va-volume and oomph? Help your blow-dry skills along by using a weightless styling spray that bulks up your roots with lasting volume.
We like the lightweight formula of Aveda Pure Abundance Style-Prep, which thickens strands from root to tip and smells amazing to boot. It's perfect for those with finer hair as, unlike many volume-boosting products, it won't weigh hair down. Spray liberally on to damp hair after rough-drying and before picking up that round brush.
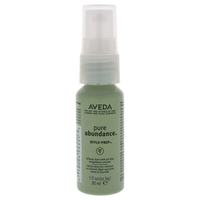
Aveda Pure Abundance Style-Prep
Providing weightless volume for those who aren't fans of mousse or volumizing foams, this natural blend contains acacia gum, passion fruit, rice bran, açaí oil, and certified organic aloe, as well as a corn-derived polymer, to help give fine hair a boost. Ed's tip: We like using it in lieu of dry shampoo for an extra shot of volume during those crucial non-wash days too.
Do: Relax and embrace the air-dry
Don’t go in all guns blazing straight after you’ve washed your hair—if you have time, have straighter hair, or have hair that's pretty responsive to heat-styling, you can afford to wait a while and learn how to air-dry hair and embrace your natural texture. This helps reduce the amount of heat your hair is exposed to (ergo, less damage) and bonus, save you some effort too. Section your hair in half (top and bottom), and, depending on how thick it is, leave it until it’s about 80% dry before picking up your hairdryer.
Do: Give your roots extra lift
To stop the dreaded midday limpage and to achieve a big, bouncy blowout that lasts, you need to create height at the crown. Do this by keeping the brush as close to the roots as possible, and, following it with the hairdryer, pull hair upwards. Make sure you use small sections, and thoroughly dry each one from roots to ends.
Again, be mindful of not getting too close and accidentally scalding yourself with hot air at the scalp.
Do: Use light styling products for a power-dry
If you have a big night out and need a power blow-dry to last, Sian Quinn, hair expert at Headmasters, suggests using a light volumizing shampoo and conditioner instead of a super-nourishing one, which could weigh your hair down. This helps keep your hair feeling light, so it won’t have any barrier to products. We like the wispy, naturally bouncy results we get from OUAI Fine Hair Shampoo and Conditioner.
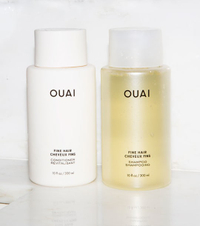
OUAI Fine Hair Shampoo and Conditioner
This fresh-scented (Italian lemon, Turkish rose, jasmine sambac!) duo from celebrity hairstylist Jen Atkin is targeted towards boosting volume on fine, thin hair, but we'd buy it for the revitalizing afterfeel alone. The formula gently hydrates and strengthens locks and protects against dryness and damage.
Do: Give your hair blow-dry “memory”
“Use a blow-dry lotion,” says Sian. “This helps give your hair some memory once it's been blown into shape, and will stretch your blow-dry out for a few extra days.” We like TIGI Bed Head Superstar Blow Dry Lotion for volume, shine, and hold.
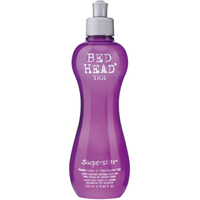
TIGI Bed Head Superstar Blow Dry Lotion
If the inviting citrus berry scent doesn't do it for you, its superior volumizing capabilities definitely will. All it takes is a small amount of this gel-like serum applied onto damp hair to result in a long-lasting, shiny, pumped-up hold for both updos and blowouts alike.
Do: Twist hair overnight to help your blow-dry last longer
One of Sian’s top tips in learning how to blow-dry hair correctly and making sure it lasts during the night is to loosely twist it into a messy bun and use a light-hold clamp or silk headscarf to secure. Don’t use a hair band or strong clip as this can leave a dent the hair.
When you wake up and let your hair down, give it a loose shake and it should maintain that voluminous bounce for an extra few days.
Do: Prevent frizz with a silk pillowcase

Aftercare and our hair habits in the interim are equally as important. “Sleeping on a silk pillowcase helps reduce friction between your hair and pillowcase, thus preventing unwanted frizz,” says Sian. It also helps ensure your blow-dry is left nice and smooth when you wake up.
Don't: Use strong-hold hairspray
...Or at least avoid it when you can for everyday, as it can give a more shellacked look. For more natural daytime control, a flexible-hold or medium-strength hairspray gives great results, as it keeps your blowout in place but with less build-up.
woman&home thanks Lyndsey Harrison and Sian Quinn of Headmasters for their time and expertise.
A lifelong creative writer and beautyphile, Eunice Lucero-Lee graduated from De La Salle University in 2002 and was hired a year later to front all beauty coverage for Pink Magazine. A beauty, astrology, and pop culture obsessive and insider for over 18 years, Eunice is an internationally published editor (and now certified astrologer) whose work has been featured in publications such as Cosmopolitan, Esquire, and The Numinous, among many others.
