I gave myself a French mani at home using just 3 polishes, no tools or fiddly brushes - and it actually looked good
With natural nails proving so popular, I wanted to cheat the look at home and, in the process, cracked the code on a chic and short French mani.


I never thought I'd say this, but I managed to give myself an at-home French manicure, one that was actually compliment-worthy, using only polishes, no tools or tiny brushes.
With the 2026 nail trends being a wash with subtle and barely-there looks, like coconut cream nails and rosewater-like tints, I too found myself wanting to embrace the natural nail movement. Alas, though, I had a somewhat rough and ready canvas to work with after months of back-to-back gel appointments, and so decided to try a French manicure. Though notoriously tricky to do on yourself, my thinking was that this tip-enhancing design would help cheat the look of very uniform and healthy-looking bare nails, without them actually having to be either of those things.
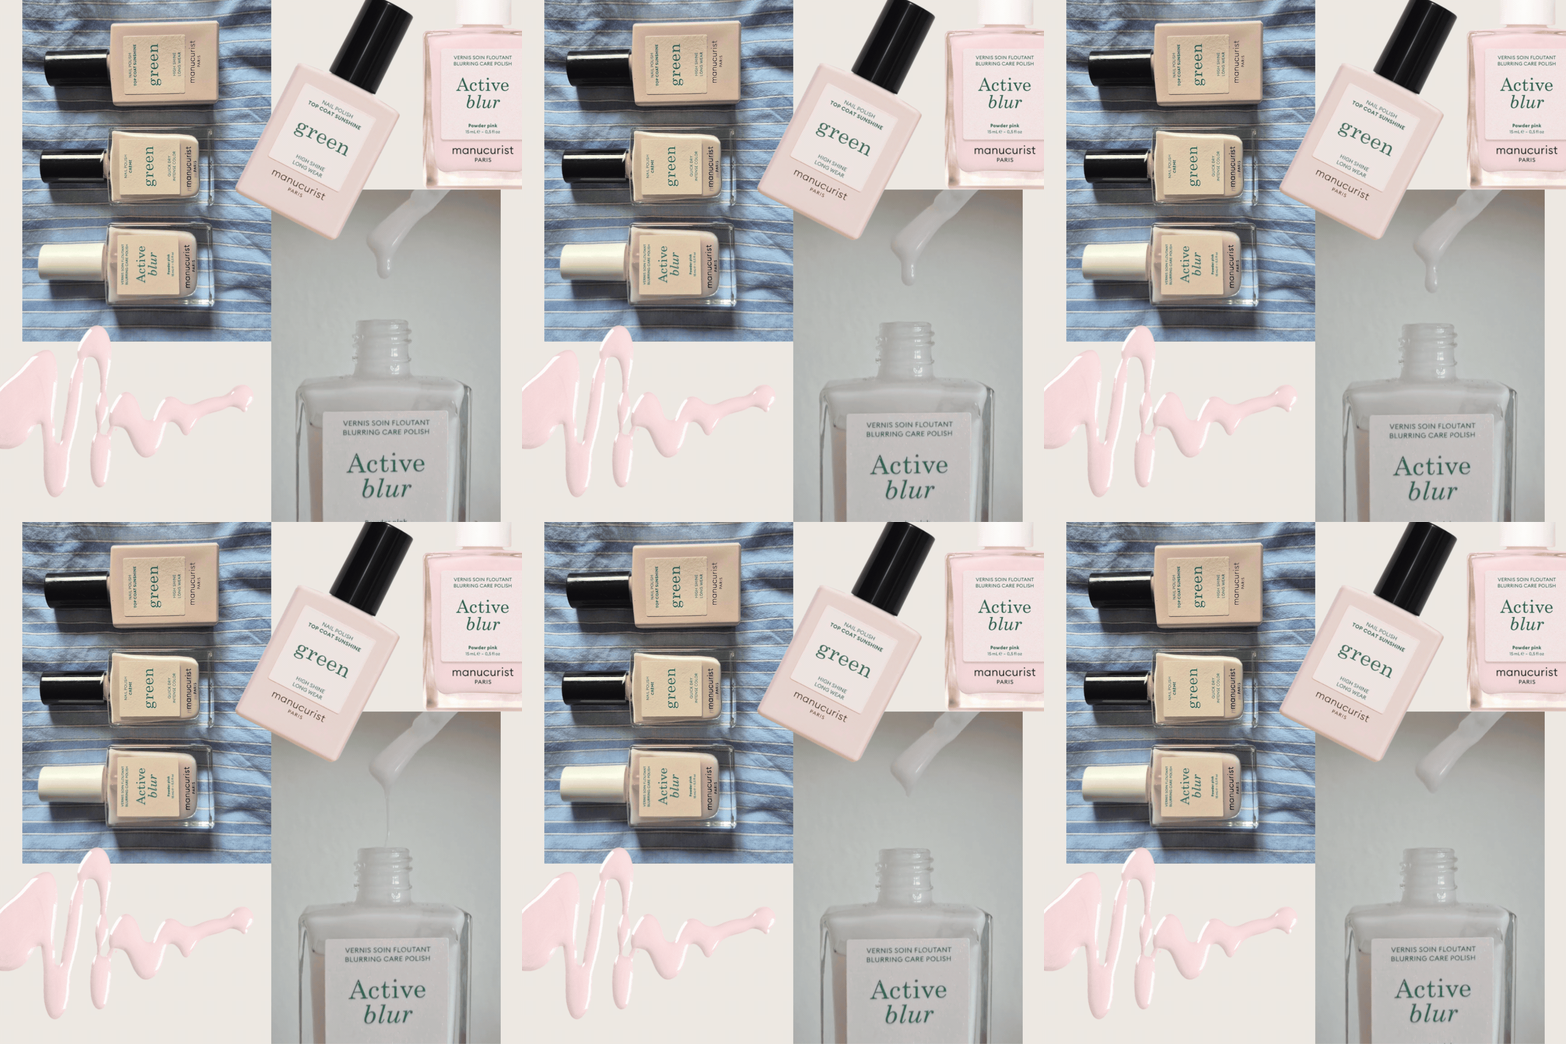
I got to work with three Manucurist polishes, no stampers or tiny brushes involved, because A). I didn't have any and B.) I have no patience for them anyway. To my surprise, this little faux-natural-nail experiment worked. So well, in fact, that my fellow beauty team members actually thought I'd had them done in-salon. Here's how I did it and everything I used...
A beauty writer's simple at-home French mani, in three polishes

Enriched with ingredients like chestnut extract, niacinamide and AHAs, this fast-drying polish nourished your nails, whilst simultaneously delivering a blurring wash of powdery-pink to your nails.

Instead of a bright white, I opted for the milky, vanilla-like shade from Manucurist. The formula is cruelty-free and vegan, as well as being quick-drying and buildable.

One of the best and glossiest top coats I've ever used, this clear polish is actually designed to react with natural UV light to speed up the drying time of your Green nail polish, whilst delivering a gel-like shine, without the LED curing.
The real foundation of these at-home Frenchies of mine is Manucurist's Active Blur. Not only does it feature an array of nourishing ingredients that my nails desperately need, but it also affords a blurred, soft-focus effect. It smooths over any ridges, marks and discolouration with a wash of sheer, powdery pink. I used it as my base coat, before also layering it over the tip shade, to create a soft blend between the two, but more on that later.
I also opted for a cream nail polish for the signature tips, as opposed to the more traditional crisp white, because I wanted the finish to be very subtle - a real my-nails-but-better sort of situation. The look was then polished off (literally) with the brand's Sunshine top coat, the shine of which was one of the key things my colleagues commented on.
Throughout the process, I only used the brushes that the polishes came with, no additional tools, though the way I applied them played a crucial role in the look's overall blurred effect.
How to do my blurred French mani, step by step
Now onto how I, a nail novice, achieved a good-looking French tip manicure. First of all, I kept my nails short and squoval, meaning I didn't have loads of space or a tricky curved edge to toil over. I also buffed the surface of my nails and tidied them up as best I could to ensure a very clean and fresh look. As with most things, prep is the most important step.
I then applied Manucurist's Active Blur as a base coat, before painting the Crème shade with its accompanying brush, along the edge of each nail. I essentially just followed the existing natural white tip but tried my best to keep the line fairly straight.
Now comes the real trick: I applied two more coats of Active Blur over the top, which smoothed over the tips, creating a softer, more natural transition and masking any slight wobbles in my lines.

I think the pairing of the Crème polish and the blurring, powdery-pink tint of Active Blur affords such an elevated look. Neither is obvious, but they quietly lend a more uniform and healthy effect, especially once I'd added a final layer of the Sunshine top coat. The latter also helped ward off chips for days, which is no small feat with a manicure that consists of multiple layers of traditional, air-drying polish. In my experience, more coats tend to lead to more chipping and lifting, but not in this case.
I'll admit, even I was surprised by how well this manicure turned out, and I left the office the following day feeling like I'd really cracked the code to a chic at-home French mani; such were my team members' reactions.
So, if you're keen to try your hand at it too, here's the process broken down into easy steps:
- Trim/file nails to desired length and shape (I recommend short and squoval or squared), before gently buffing their surface.
- Apply a base layer of Active Blur.
- Use Crème (or another milky nail polish) and carefully brush it across the tip of your nails. I held the polish brush so that the long side brushed along my nail edge, not the end of the brush.
- Ensuring the tip colour is completely dry, apply two more coats of Active Blur over the top.
- Add a layer of the Sunshine top coat.
- For a finishing flourish, add a few drops of cuticle oil and apply one of the best hand creams.
