How to use a KitchenAid food processor: a step-by-step guide
Learn how to use a KitchenAid food processor - a kitchenware essential...
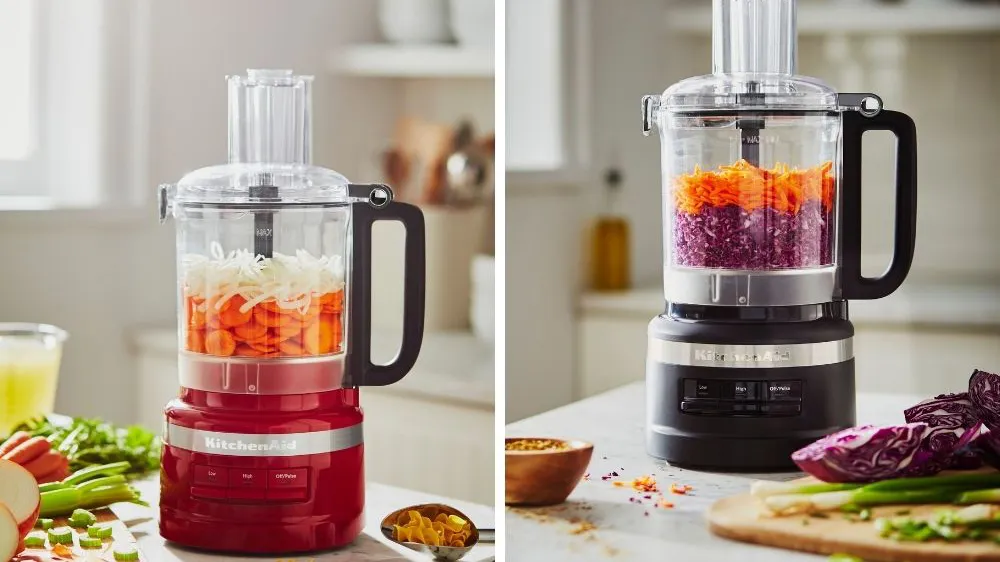
While there are plenty of big kitchenware brands on the market these days, KitchenAid is known for making arguably the best food processor out there (although there is some pretty stiff competition). In addition to being packed full of useful functions that make mealtime prep super simple, these particular machines add a little extra colour to culinary endeavours, coming as they do in a wide range of fun shades! This may have been the thing that sold you on the KitchenAid, but now that you have it standing proudly in your kitchen, you need to know how to get the best out of it.
Beyond the obvious areas, where a food processor can save you valuable prep time – slicing and grating being just two examples – there are all sorts of other recipes you can make with your KitchenAid food processor that you might not yet have thought of. Put the main blade to work making meatballs, letting the machine combine all the aromats with the meat, or make a dough for post-dinner cheese biscuits.
Learning how to use a KitchenAid food processor properly can only be a good thing – watch monotonous prep work disappear at the flick of a switch. If you’re ready to get started, follow our step-by-step guide below.
NOTE: While all models vary of course, they generally work in roughly the same way. We’ve tried to cover the methods for the most commonly bought machines in this guide. If you’re uncertain about anything, it never hurts to refer to the manufacturer’s instructions for your particular KitchenAid model.
Step 1: Plug it in
Without power, nothing else is happening. Unwind the cable, and check that both the plug and socket are clean and dry before plugging in the base in a convenient space in your kitchen.
Step 2: Fit the jug to the base
Your food processor will have two main parts – the base and the jug. After having plugged in the base you’ll have to attach the jug. This typically goes on by clipping straight on the top of the base, or fixing with an anti-clockwise motion to lock it into place. The handle on most models aligns to the right-hand side of the base.
Step 3: Choose your attachment
The attachment you choose to use with your food processor will depend on the recipe you’re making. The main blade, which is the most commonly used too, slots over the middle of the jug where the base protrudes upwards in line with the central motor. If using the main blade, wiggle into place and fix with a slight anti-clockwise motion if needed. The dough blade fits in a similar way. If you’re using one of the slicing or grating discs you’ll have to first attach the drive adaptor to raise the central mechanism. Once this is in place you can slide the desired grating or slicing disc on top by aligning the shape of both the disc and the adaptor.
Sign up to our free daily email for the latest royal and entertainment news, interesting opinion, expert advice on styling and beauty trends, and no-nonsense guides to the health and wellness questions you want answered.
Learn more about the different types of food processor attachment here.
Step 4: Replace the lid
Note: If you’re using the main blade you may want to add your ingredients immediately after the attachment has gone in, so that they can quickly be blitzed once the lid is on.
On smaller models, the lid of a KitchenAid food processor clips into place with a hinge movement; tilt the lid towards the handle and clipping it into the groove before pushing down and securing the opposite clip to secure the lid to the bowl at both sides. With the larger models you may have to twist the lid on using an anti-clockwise motion.
Step 5: Turn on your food processor
The smaller, more commonly used KitchenAid food processors have three functions, while the larger ones have a dial which you can move to various speed settings. Switch on your food processor to your desired speed, pressing the buttons or moving the dial clockwise, depending which applies.
Step 6: Blitz your ingredients
Now for the fun part; processing your ingredients. If you’ve already added these to the jug to use with the main blade or dough hook, you won’t have to do anything additional after step 5. If you’re using one of the slicing or grating blades, however, you’ll have to add your ingredients through the funnel, using the guard to help you push everything through to be processed. This funnel guard is also useful if you’re making something with the main blade and need to add more liquid or additional ingredients to create the perfect mix; simply pour everything through the funnel.
Step 7: Remove your ingredients
Once you’re happy with the contents of the processing jug, having sliced, grated or chopped them, it’s time to get them out of the food processor so you can continue cooking. If you’ve used a slicing disc or grating attachment, now’s the time to remove this. Then, tip out whatever you’ve made into a suitable receptacle and either get ready to pack everything away, or fit a different blade if you still have more preparation to do for your recipe. Be careful when tipping up your jug if you’ve used the main attachment – watch that the blade doesn’t fall out. If you’ve finished using the KitchenAid, it may be easier to remove this first and then shake everything out safely.
Step 8: Clean your food processor
To keep your KitchenAid food processor in tip-top condition, we’d suggest cleaning it after every use. To clean, carefully remove the attachment or blade you’ve been using and wash in warm soapy water. Do the same with the jug and lid, washing in warm soapy water and rinsing well before drying carefully and popping everything away. With the smaller models all the attachments fit inside, while the bigger units have separate attachment cases where everything can be neatly stored.
And if you love KitchenAid appliances and want to add more to your kitchen, see our guide to the best hand mixers, which includes some of their best.

Rosie Conroy is a food and drinks journalist with over a decade of experience working for big-name titles in both print and online. Formerly the Digital Food Editor of woman&home, Rosie went on to head up the team at SquareMeal, reviewing the best London restaurants and hunting out emerging culinary trends. With previous experience in food styling and recipe development, Rosie knows what to look for in a good piece of kitchenware and has extensive experience testing consumer goods—from kitchen electricalz and cooking accouterments through to new foodie treats.