These dirty household items are secretly driving up your energy bills – here's how to stop them
Cleaning these often neglected household items could make a big difference to your energy bills


While there’s plenty to celebrate as autumn rolls in — golden leaves, cosy jumpers, pumpkin spice lattes — one thing guaranteed to kill the mood is the arrival of soaring energy bills. As shorter, colder days put extra demand on our heating, lighting and power, we're always eager to find ways to mitigate the costs – and one you might not have thought of is cleaning.
It turns out that letting dust and dirt pile up doesn’t just make your home look messy; it can actually make your appliances and heating less efficient. The good news? It’s an easy fix.
So before you declare a household ban on touching the thermostat, or start wearing three jumpers, grab a duster and tackle our hitlist to help save energy around the home.
8 dirty household items driving up your energy bills
Simple cleaning habits can help improve the efficiency of your home. “A little maintenance goes a long way,” says Queen of Clean Lynsey Crombie.
“The small jobs we're suggesting take just a few minutes each, but together they’ll help your home stay clean, warm, and energy-efficient all season long.”

Lynsey Crombie is a cleaning expert, TV Presenter and regular on ITV This Morning's. Her best-selling book 'The 15 Minute Clean' is available for £12.99 at Amazon.
1. Radiator grills
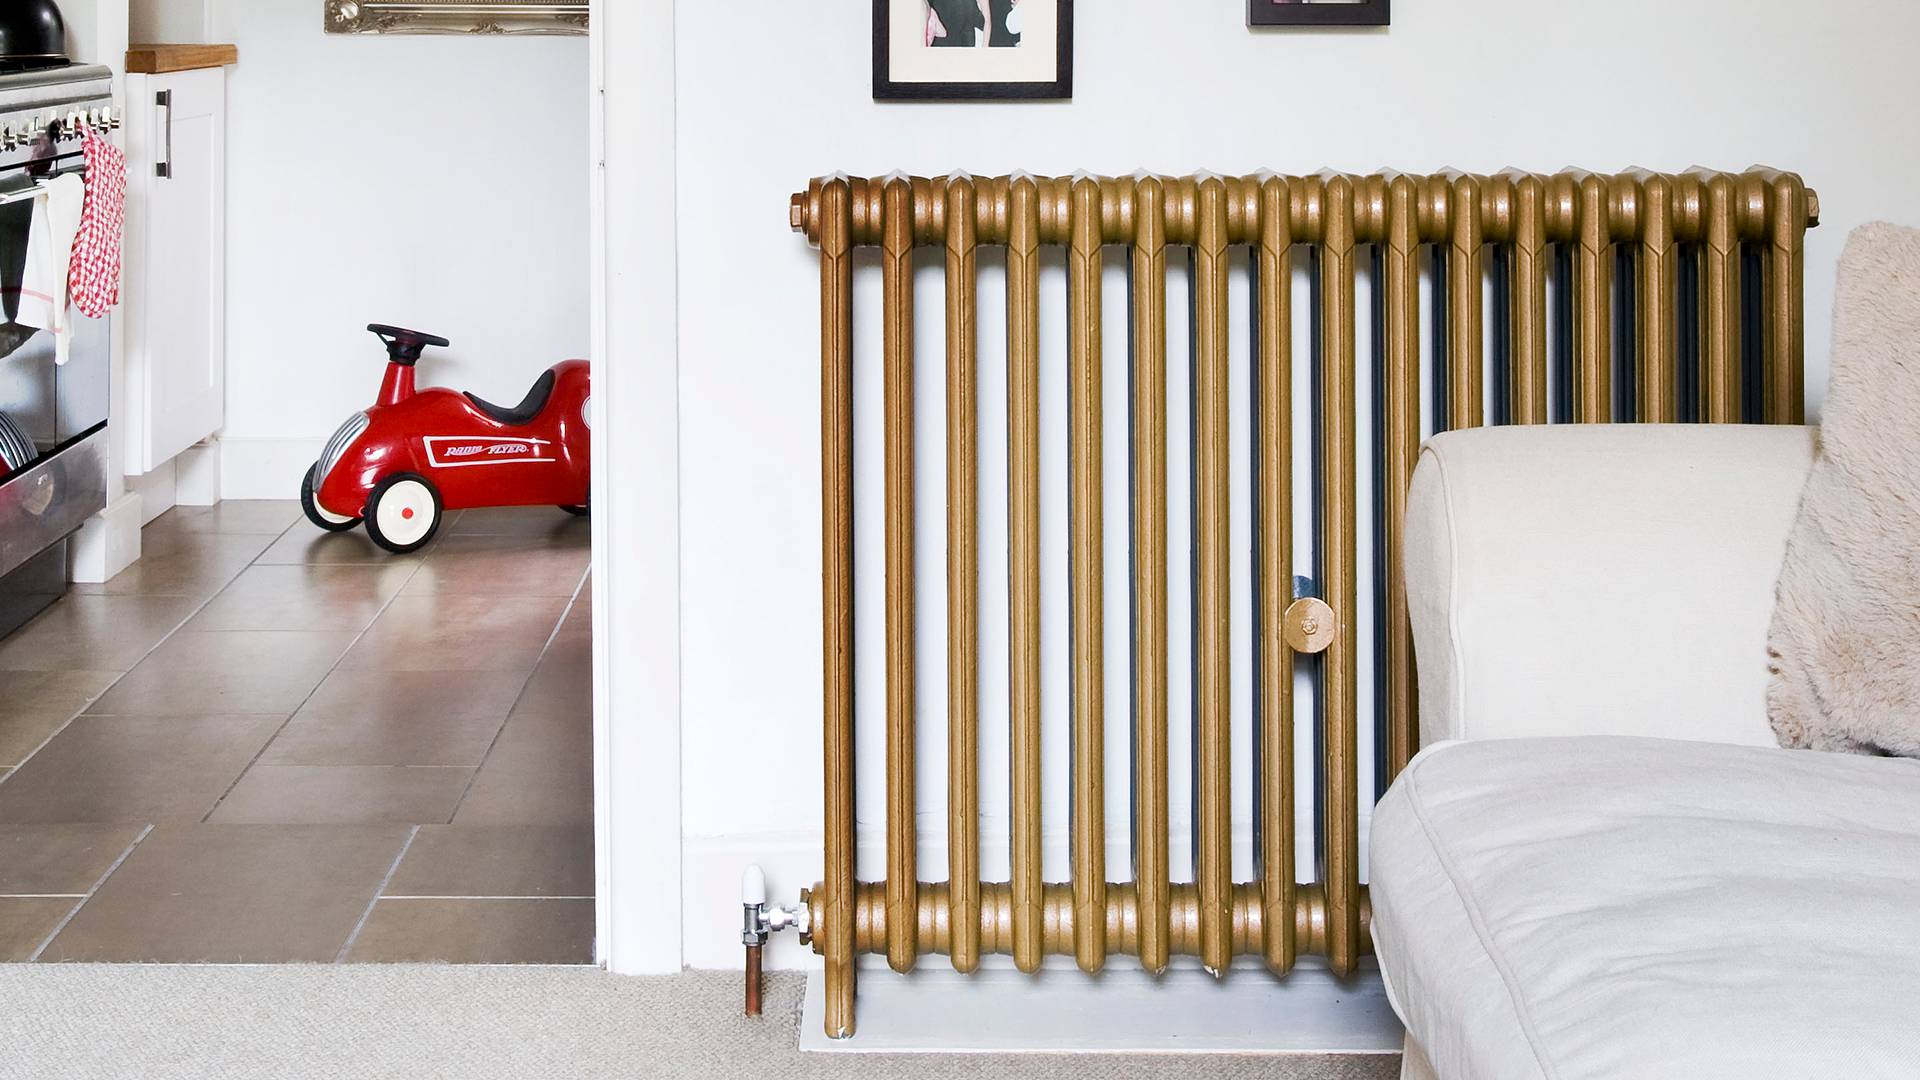
It's not really surprising that radiators tend to slip under the radar when it comes to cleaning, hidden behind furniture and only revealing their true, dusty selves when the temperature drops.
"That dust acts like insulation, trapping heat inside the radiator instead of letting it circulate into the room. That means your heating works harder to reach the temperature you’ve set on your thermostat," says Catherine Green, cleaning expert for eco-friendly detergent brand Smol. "A quick vacuum before heating season and a light tidy once a month during use will keep things working more efficiently."
Sign up to our free daily email for the latest royal and entertainment news, interesting opinion, expert advice on styling and beauty trends, and no-nonsense guides to the health and wellness questions you want answered.
“Even a small layer of dust can reduce your radiator’s heat output by a quarter, which means your boiler must work harder for longer to heat your room," confirms Isabella Forgione, small appliances expert at AO.com.

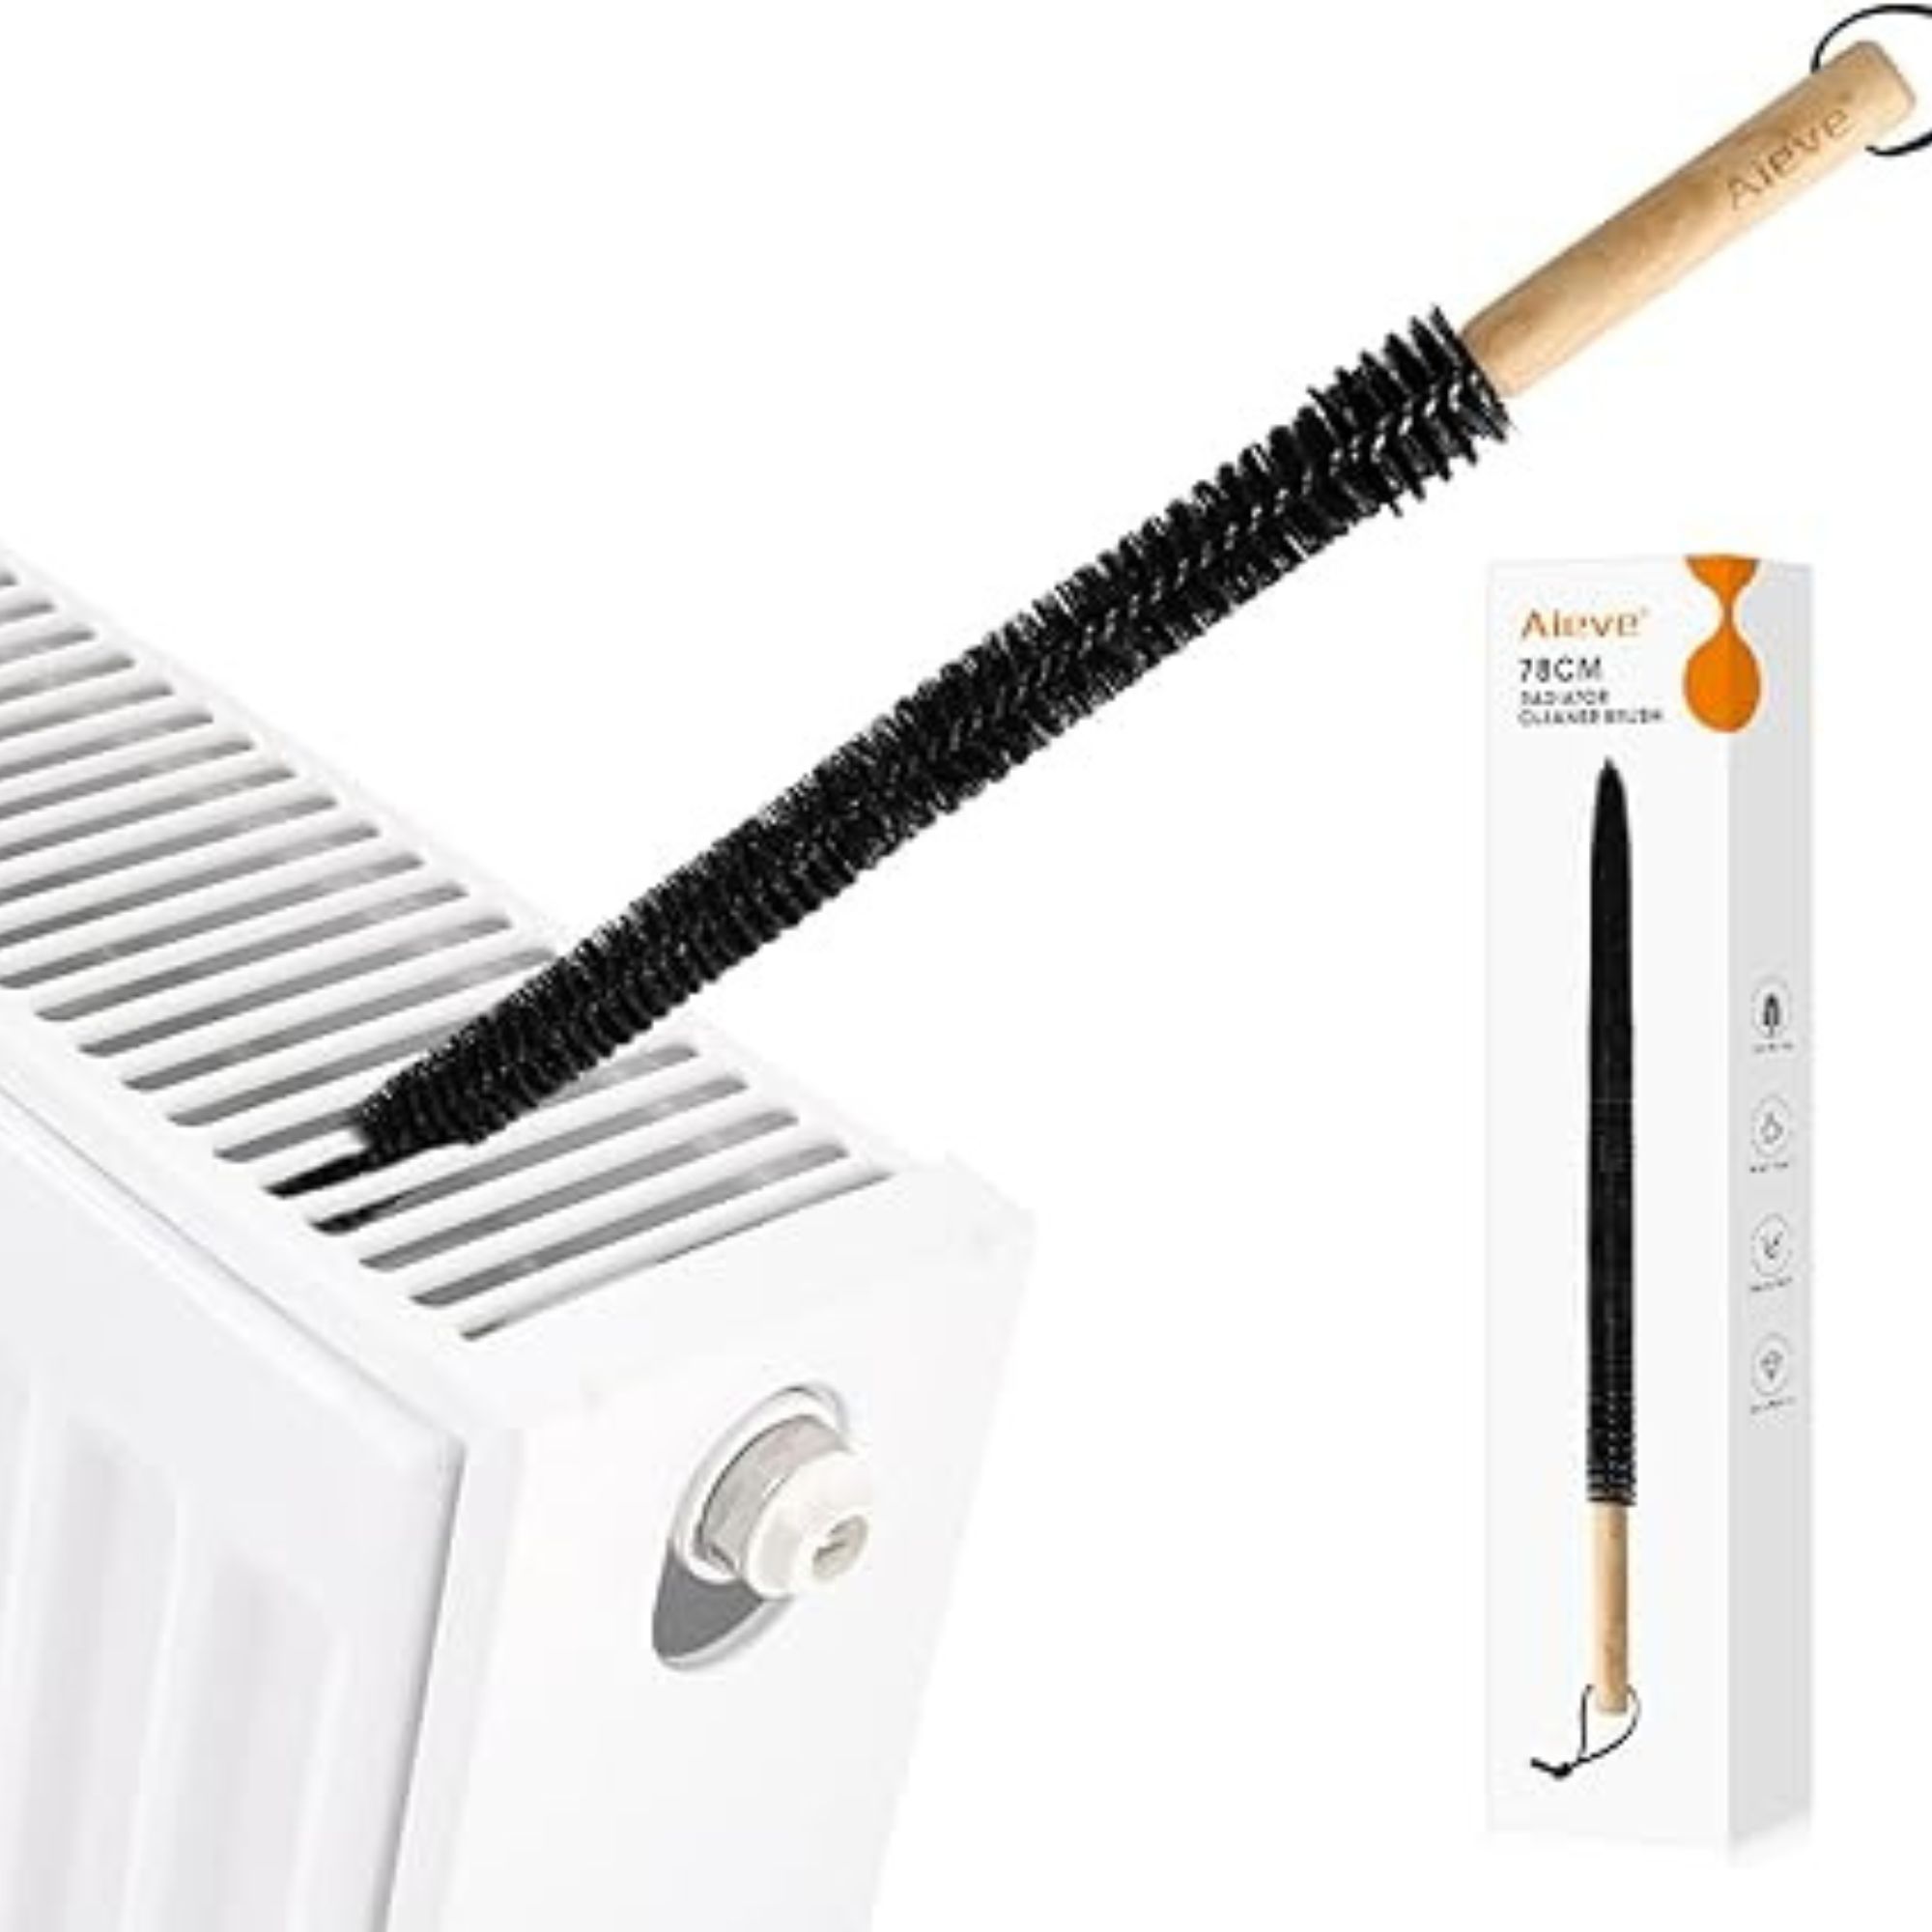
To clean your radiators, start by turning your heating off and letting them cool. Next, use a vacuum with an upholstery brush attachment and run it over the front grill to suck up loose dust. You can then slide a radiator brush or a long-handled duster between the fins and pull out trapped fluff.
Finally, wipe the visible grill and back down with a damp cloth, using a solution of mild detergent like washing-up liquid if it's greasy. Finally, dry with a cloth, and then turn your heating back on.
No radiator brush? Try Lynsey's clever hack. "Use the cool setting on your hairdryer to blast the dust out – just pop a towel underneath first to catch it all," she suggests. "You can also use a handheld steam cleaner for a deeper clean. A dust-free radiator doesn’t just look better, it gives off heat more efficiently, keeping you toasty for less."
2. Air vents and extractor fan covers
"When vents get clogged, air can’t flow freely, so your extractor, heating, or cooling systems have to work harder and use more energy just to keep up," says Catherine, who also notes that this build up can shorten their lifespan. "Like radiators, vents and extractors tend to blend into walls or ceilings, so it’s easy not to notice until airflow drops or smells linger."
Start by turning the appliance off at the switch – if you're unsure, you could head to the fuse box and shut off the whole circuit for peace of mind. Then unscrew or pop off the vent/fan cover.
"Use a duster or vacuum brush weekly to keep things clear," says Lynsey.
"If grimes built up, grab a recycled make-up brush to get right into those grooves and corners."
"Wash the cover in warm soapy water, using a toothbrush for slats and crevices, rinse and dry completely," adds Catherine. "Don’t push water toward the fan motor, though."
If the motor is very dirty or noisy, Catherine advises hiring a professional to take a look .

Catherine has been on a mission to revolutionise the way we tackle chores since the dawn of smol. With over a decade of hands-on experience of working with sustainable cleaning solutions, Catherine has tested hundreds of hacks to make tackling chores easier, safer, and better for the planet.
3. Fridge and freezer door seals and coils
Next up on our list of chores is cleaning your fridge. “Your fridge freezer is one of your appliances that continuously uses energy, yet if its coils become filthy with dust or dirt, then you could see its energy usage increase by 20%," says Isabella. "Cleaning your coils should be a priority – to do so, turn your fridge off first."
"Give them a gentle clean with a soft brush or the nozzle attachment on your vacuum," suggests Lynsey. "It only takes a minute, but it helps your appliances run cooler and last longer."

"You should also use this time to check your fridge’s door seals for grime because if its seal isn’t tight, then cold air escapes and its efficiency drops even further," adds Isabella.
"It’s also a wise idea to defrost your freezer regularly to help it run smoothly and reduce its energy consumption.” Use the same method as you would for cleaning the rubber seal on a washing machine.
"Because the seals are tucked away in the door folds, we tend to ignore them," agrees Catherine. "A quick monthly check keeps them sealing properly and stops your fridge from overworking. Mix warm water with a little washing-up or baking soda. Then, using a cloth or brush, gently work the solution into the gasket folds to lift grime and mould. For stubborn mould, use a vinegar spray."
To check for an even seal, Catherine suggests running a sheet of paper around the edge: if it slides out easily, the seal might need replacing.
4. Light bulbs and fixtures
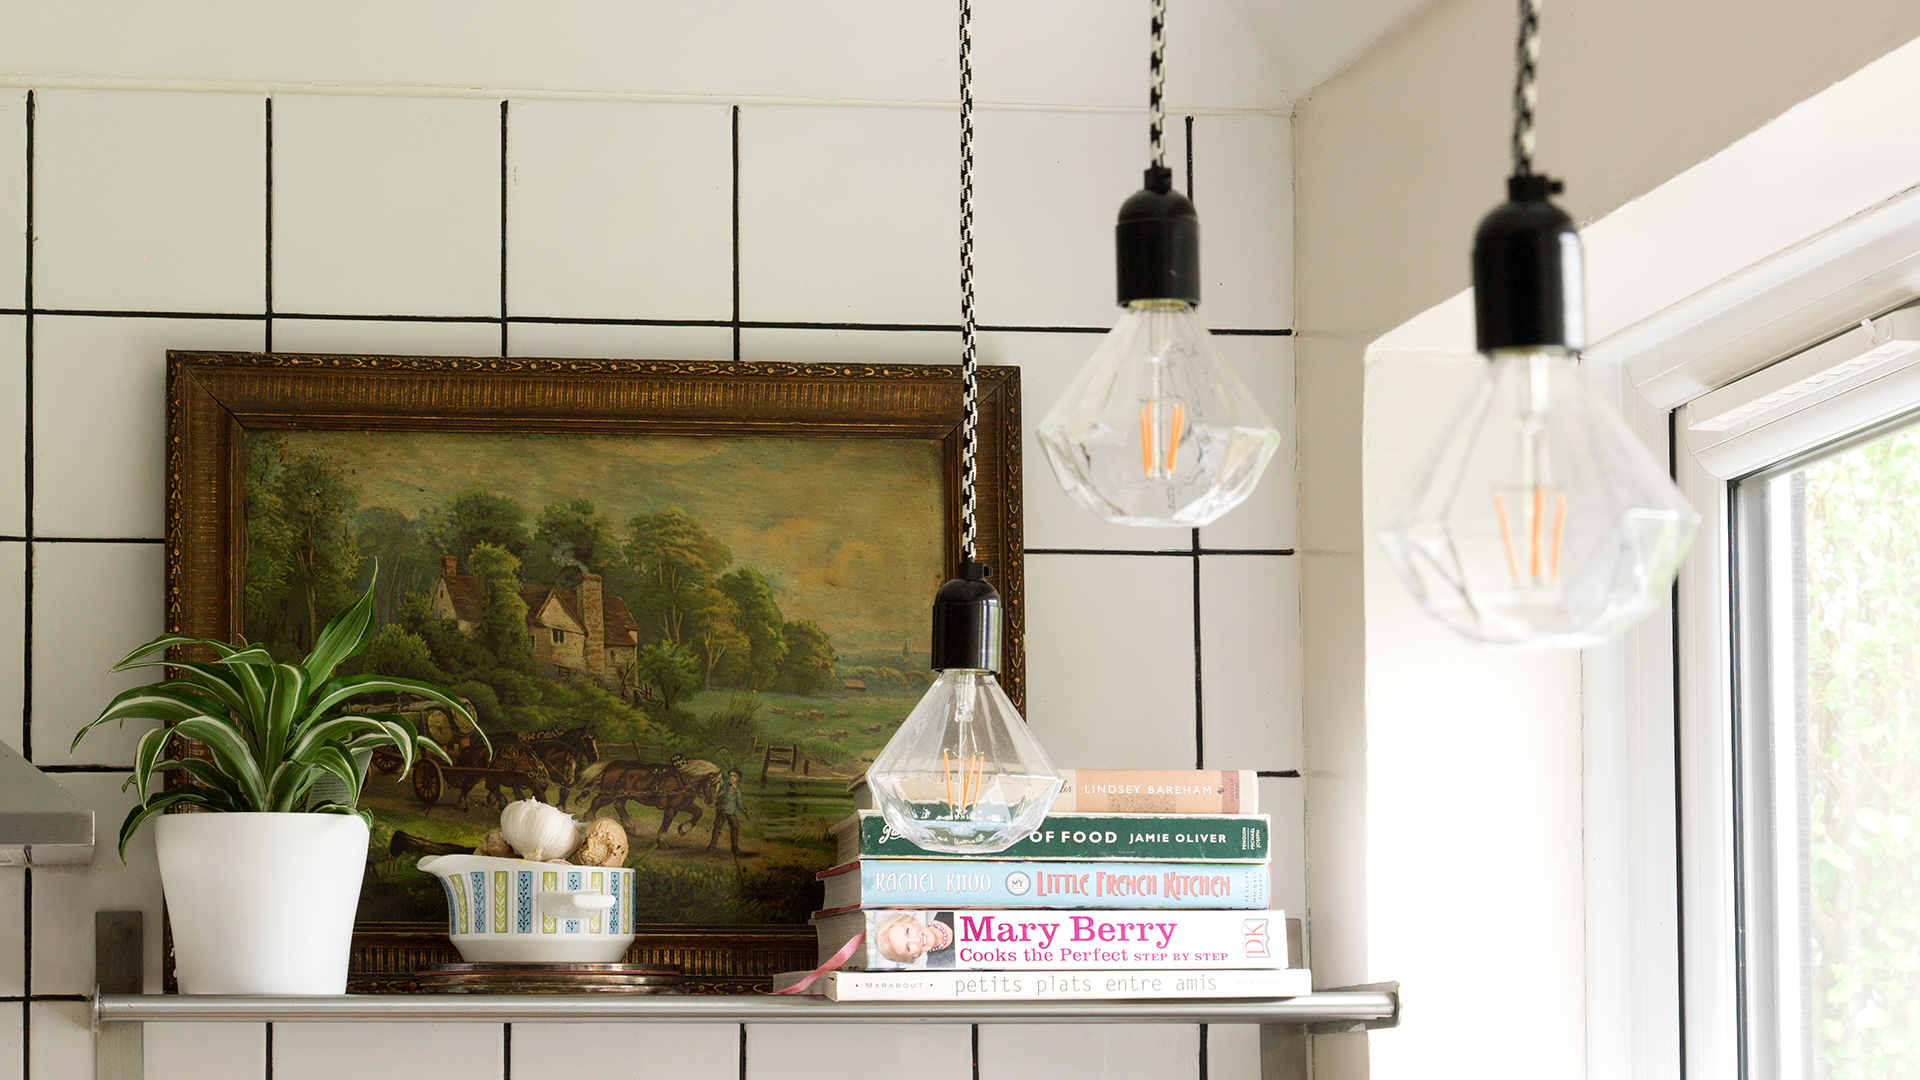
When was the last time you cleaned your light fittings? "Dusty bulbs and fittings can make your rooms look dimmer and duller," says Lynsey. Therefore, you may be tempted to switch on more lamps, or to run the dimmer switch higher than needs be – yes, you guessed it, wasting energy.
"Wipe lampshades and ceiling fittings with a dry microfibre cloth, or if they’re grimy, use a mix of vinegar and water. For delicate areas, a recycled make-up brush is perfect for whisking dust off light bulbs and tricky corners."

5. Smart thermostats and sensors
“Even these nifty devices can contribute to wasted energy if they’re covered in dust," says Isabella at AO.com. "Dirty sensors can give inaccurate readings, which may lead to unnecessary use of your central heating.
Gently dust your sensors and keep the area surrounding your thermostat as clear as possible. Essentially, a clean, unobstructed thermostat helps keep your heating precise and energy bills under control.”
6. Kettle
It’s easy to underestimate limescale, but even a thin layer can insulate the heating element, reducing efficiency and making it work overtime to heat up. Meaning you might want to increase how often you descale your kettle to save energy.
"Over time, that means higher electricity use for every cuppa," says Catherine. "It’s easy to forget because the kettle still 'works', but regular descaling a kettle keeps it running efficiently and prevents those pesky crunchy limescale flakes from ruining your morning brew."
To descale a kettle, start by filling halfway with equal parts water and white vinegar (or use 1-2 tablespoons citric acid in a full kettle of water).
Boil the mixture, then turn off and leave for 30-60 minutes (longer if heavily scaled). Tip out the solution and discard any loosened scale. Rinse thoroughly, then boil fresh water and discard to remove the vinegar taste. Repeat rinse if needed.
7. Ovens and hobs
As we ditch salads and sandwiches for something more warming, our ovens and hobs are called into action far more frequently. A hob – particularly a ceramic or induction design- will be slower to heat up with a film of dirt across the top, while elements caked in grime will take longer to reach the correct temperature. Therefore, cleaning an oven or cleaning an induction hob becomes more significant.
"Make sure your oven and hob are clean and ready to work their magic," says Lynsey. "Wipe down your cooktop and cooled oven cavity after each use with a warm, soapy cloth, and for a deeper clean, mix bicarbonate of soda with washing-up liquid to form a paste. Let it sit for a while, then scrub away to lift grease and burnt-on food. Your oven will heat evenly, smell fresher, and work much more efficiently."
8. Washing machines and tumble dryers
Both your washing machine and tumble dryers can be big energy guzzlers if not cleaned properly, with the failure to clean filters being a common forgotten step.
"Clogged lint filters in both can add up to half an hour of extra usage, which mounts up to a lot of wasted power across the year," says Isabella at AO.com. "You should remove and clean your lint filters after every couple of uses and vacuum out the vent area to get to those hard-to-reach places."
"If the lint filter feels waxy (which can happen from detergent/fabric softener residue) then wash it in warm soapy water and leave it to dry before reinstating it," says Catherine. "Smol washing-up liquid is a perfect grease remover in this instance!"
"It’s also a good idea to run a hot empty wash once a month with white vinegar to keep any limescale at bay," says Isabella. "Ultimately, the longer the heater element works efficiently, the faster the cycle will be.”
FAQs
Do I need to be careful when cleaning appliances?
Absolutely. When cleaning any electrical appliance, it's imperative that you make sure it's turned off at the wall first. If you're unsure if power might still be running through it, unplug it. if that's not possible, switch off the appropriate circuits from your fuse box.
It's always a good idea to dig out the instructions (or find them on the manufacturer's website if they're lost). Following the care instructions there will ensure you don't accidentally void any warranties by using the wrong cleaning products.

Amy is a PPA award-winning Digital Editor who has been working in the wonderful world of interiors for over 16 years. She has worked on titles including Inside Readers’ Homes, Inspirations for Your Home, Country House & Home and 25 Beautiful Kitchens magazine. After a stint on Beautiful Homes, she joined Ideal Home in 2010 as a Consumer Editor, then Technology Editor where she was better known as 'Girl About Tech' to prove her credentials as a product expert before landing the role of Digital Editor of Ideal Home in 2017. She has gone on to work as Group Digital Editor at Ideal Home, Homes & Gardens & Livingetc, Head of Homes Audience at Future, and Homes Editor at Saga.
Amy now works freelance across leading world-renowned Homes & interior, Lifestyle and Tech titles such as Saga, Tom's Guide, Digital Trends, Homes & Gardens, Real Homes and Ideal Home.
You must confirm your public display name before commenting
Please logout and then login again, you will then be prompted to enter your display name.
