How to apply concealer: expert-approved tips to cover spots, scars, and dark circles
Everything you need to know about how to apply concealer - from formulation to application.

Nearly everyone has a little blemish-camouflaging tube, pot, or stick in their make-up bag, but do you really know how to apply concealer?
When poorly done, concealer can cause creases and caking - often exaggerating the appearance of those spots, scars, or dark circles you were trying to hide in the first place. Applying too much product, not using the right tools, and skipping the prep steps are some of the main culprits.
But when done right, concealers can make skin look clearer and fresher. They can even negate the need for even the best foundation in some cases, saving us a triple-whammy of time, effort, and money.
To help you get the most out of your products, we’ve put together an expert-approved guide covering when, where, and how to apply concealer.
How to apply concealer
Cover dark circles
“With under eyes, you want to make sure the area is moisturized so the skin is smooth, but not so much that you leave a greasy film, as then the concealer will travel,” says make-up artist Ruby Hammer.
Light, hydrating, creamy concealers are best here, as anything too heavy is likely to cake and crease.
This less-is-more approach can be taken with application too. “Fingers and a light buffing brush are great for under the eye,’ adds Ruby.
Sign up to our free daily email for the latest royal and entertainment news, interesting opinion, expert advice on styling and beauty trends, and no-nonsense guides to the health and wellness questions you want answered.
Concealer not quite cutting it? “Concealer alone can sometimes struggle to disguise dark circles,” explains Warren Dowdall, Senior Pro Artist at Bobbi Brown. “I love to apply a color corrector to neutralize and balance any darkness first, and then apply a skin tone colored concealer for a fresh, wide-awake look. Choose a bisque corrector with a pinky undertone for blue/purple circles or a peach corrector for brownish-green circles.”
PRODUCTS TO TRY:
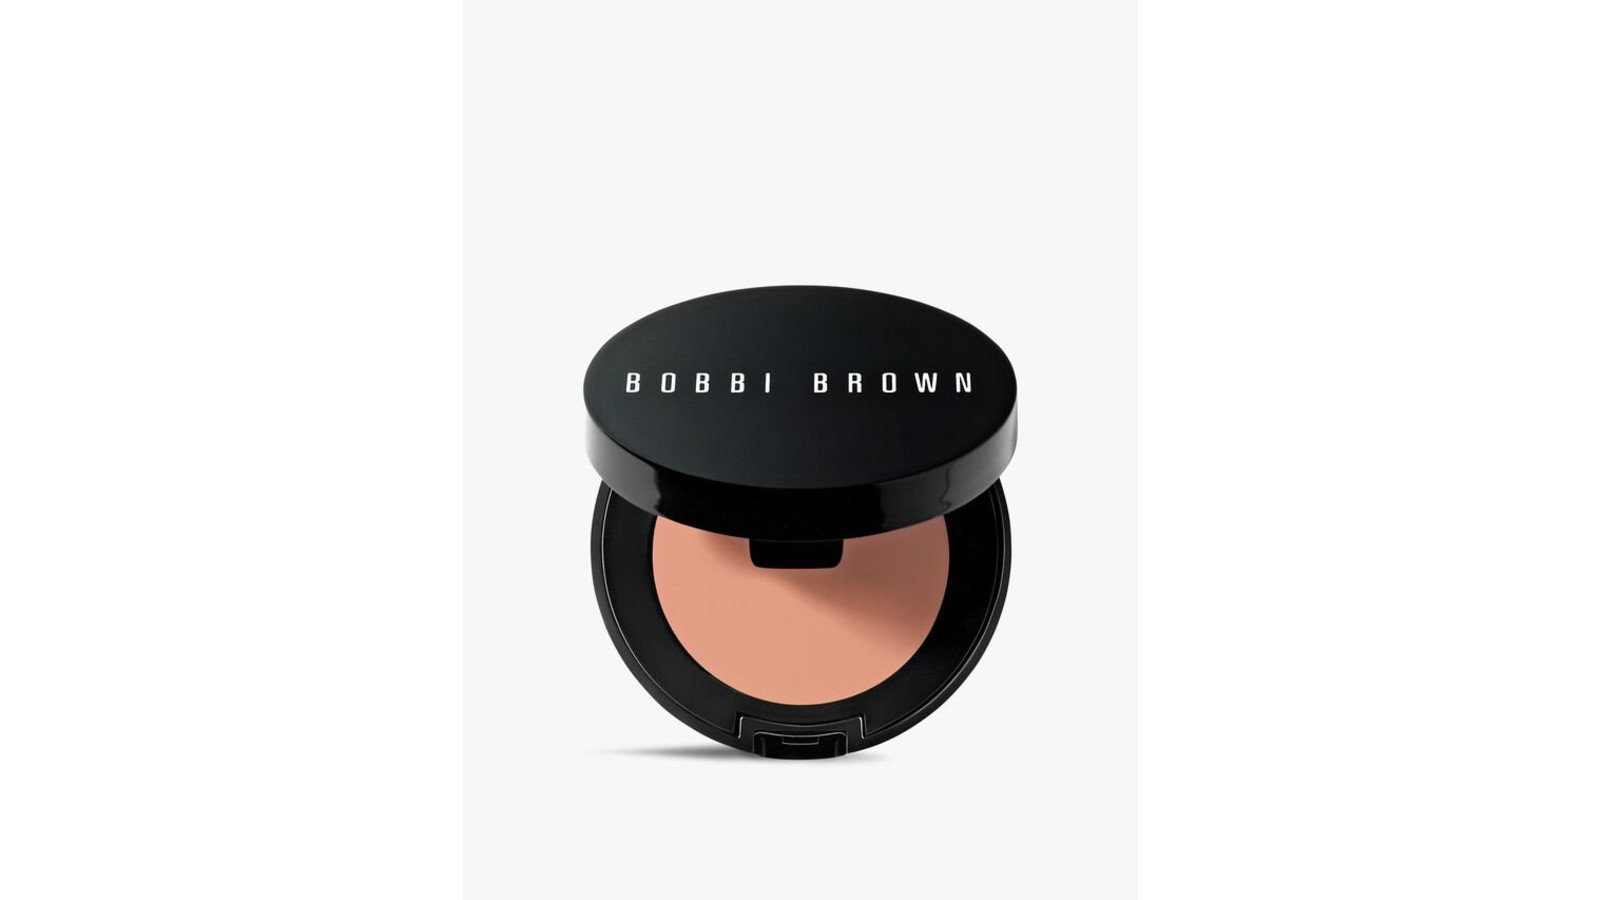
Bobbi Brown Corrector
Specifications
So much more than your average concealer, these carefully curated shades use a touch of pink or peach to help blur tired, dark rings. Wear beneath your normal concealer for maximum coverage.
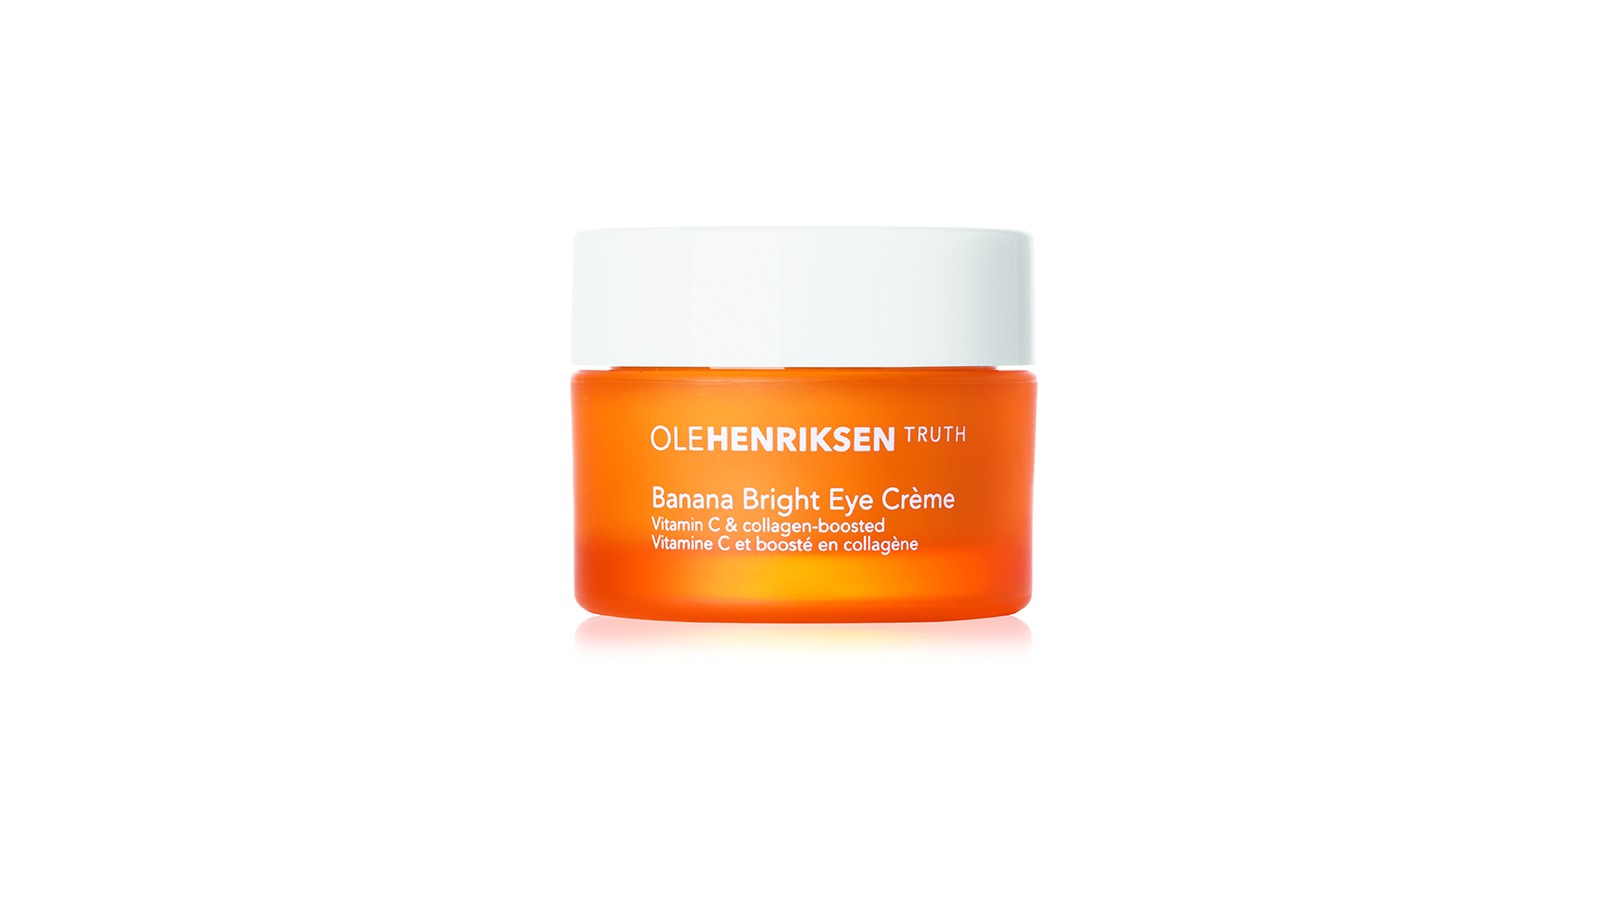
Ole Henriksen Banana Bright Eye Crème
Specifications
If you can't manage a full 8-hours, this is the next best thing in the quest for wide-awake-looking eyes. In fact, it's one of the best eye creams we've tried. Apply sparingly with your ring finger to create a smooth canvas for concealer.
View our full Ole Henriksen Banana Bright Eye Cream review here.
Disguise redness
Redness caused by everything from rosacea to sunburn can be difficult to dial down and has a frustrating tendency to glow through standard concealers. The solution? Double up with an additional, cooler-toned concealer.
“If redness is a concern, be sure your concealer has a more yellow undertone, as this will help disguise the redness,” says Warren. “Avoid using pink-based products as this can make the redness more obvious.”
If you have large areas of redness, there’s a tendency to be heavy-handed with concealer, but it pays to go slow and work in light layers for a soft, natural finish.
“Use a small amount of concealer on a fluffy brush spritzed with a fixing spray and lightly buff over the redness before applying foundation. This will add a little extra coverage and neutralize the redness at the same time,” explains Kaytlin Scott, Senior Pro at M·A·C Cosmetics UK.
PRODUCTS TO TRY:
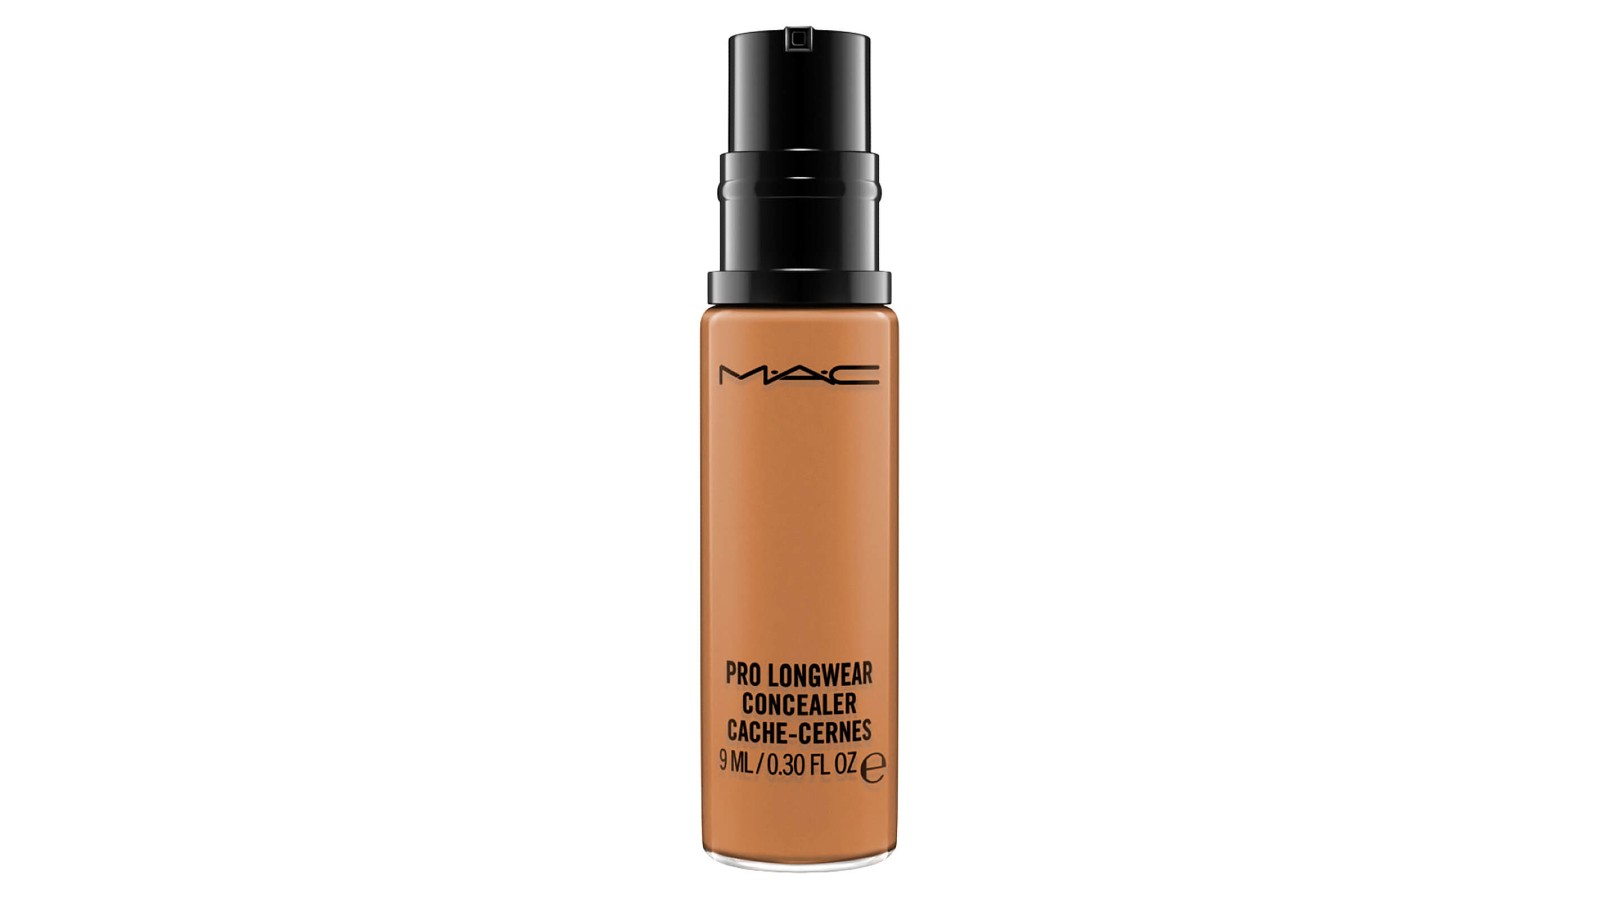
MAC Pro Longwear Concealer
Specifications
For a concealer that won't budge, Mac's Pro Longwear is an excellent choice. The coverage is pretty full-on, but the finish isn't too flat or matte, so the end result still feels nice and natural.
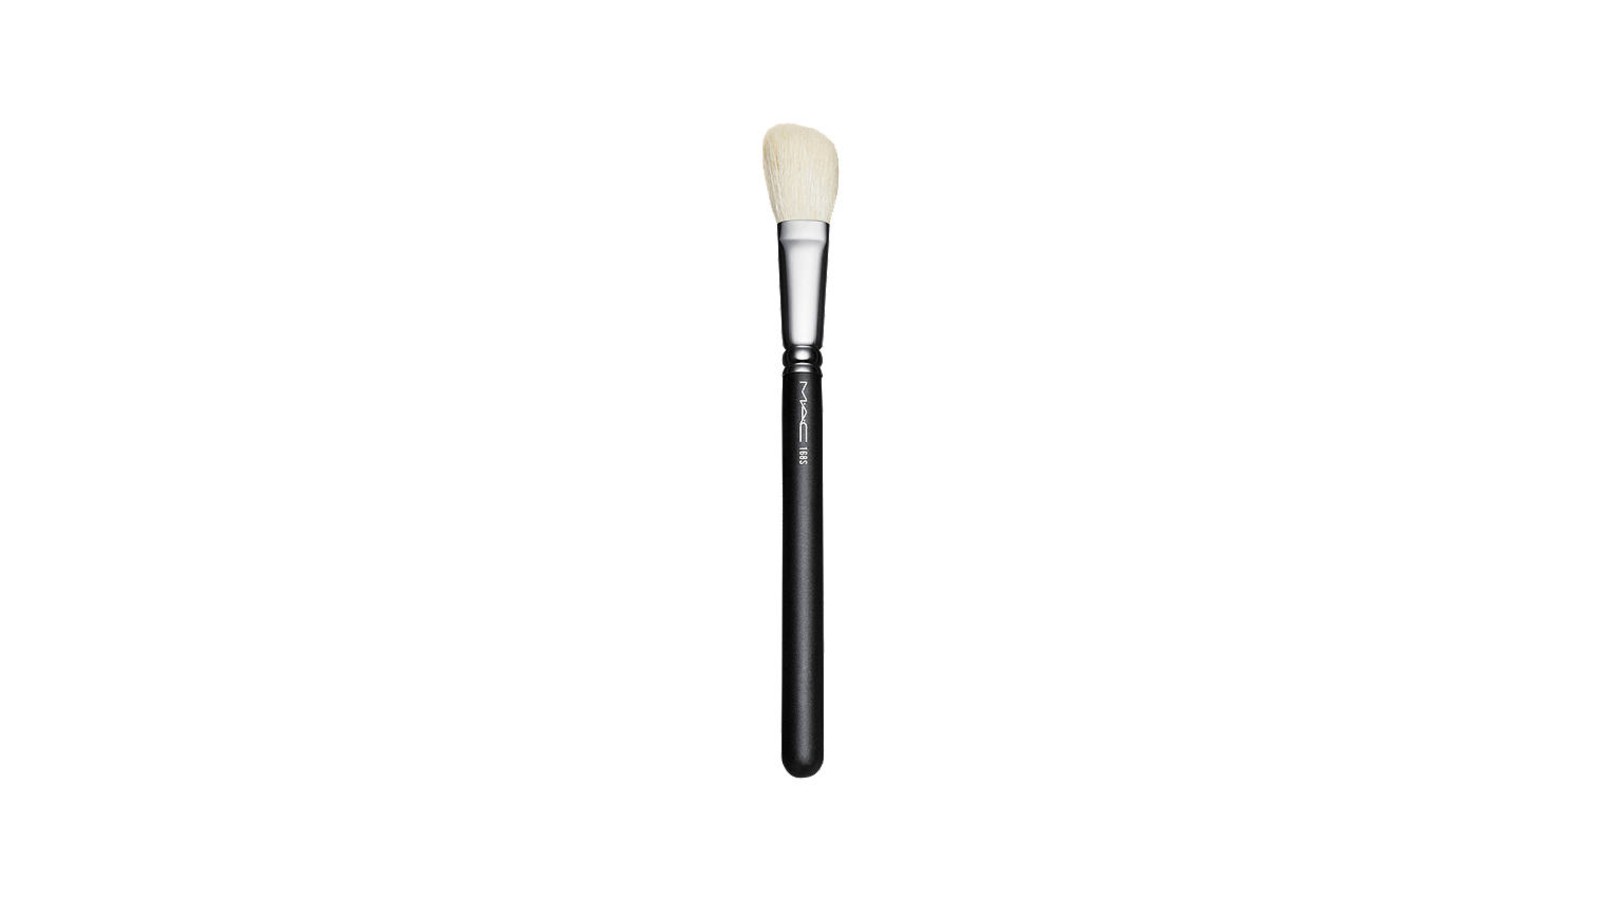
MAC 168S Large Angled Contour Brush
Specifications
The fluffier the brush, the lighter the color pay-off will be, and the bigger the brush, the more surface area you can cover in a couple of swoops—this brush ticks boxes for both, camouflaging large sections of redness in a jiffy.
Hide spots
If your spots are red and angry, follow the same color-correcting principles as above. The only real difference is in the texture of your concealer, as you’ll need something thicker - like a stick or cream. The good news is you don't have to spend a lot to get a thicker, richer texture - many of the best drugstore concealer formulas are of the thick, opaque cream variety.
“When concealing spots, I use a blending brush and a cross-hatch layering technique to minimize the look of texture,” advises Warren. “Apply light layers of concealer using a downwards stroke first and then a sideways stroke over the blemish until you’ve built up enough coverage. Finally, using a small eye blender brush, set in place with a tiny amount of loose powder. Be sure to use a soft matte or satin finish concealer here, as a light reflective concealer will only draw attention to the area.”
PRODUCTS TO TRY:
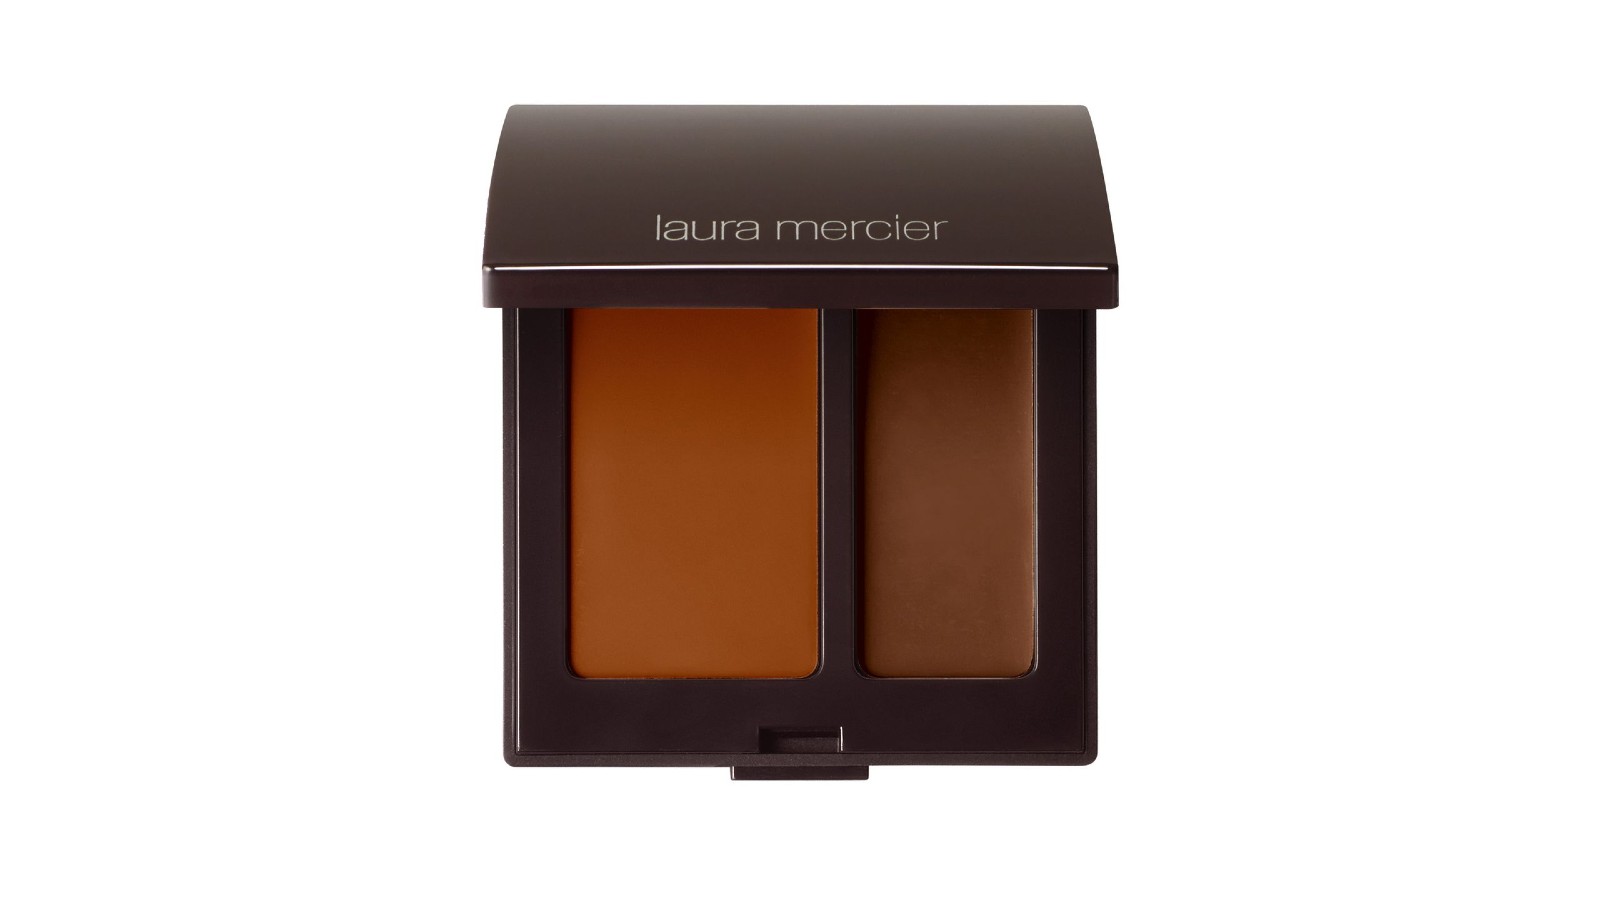
Laura Mercier Secret Camouflage Concealer
Specifications
A top pick from Ruby Hammer, this concealer negates the need to splurge on two shades in order to find your perfect match. Blend together or use one at a time, depending on the type of blemish you're covering and the time of year. You might need to go lighter in the winter and darker come summer.
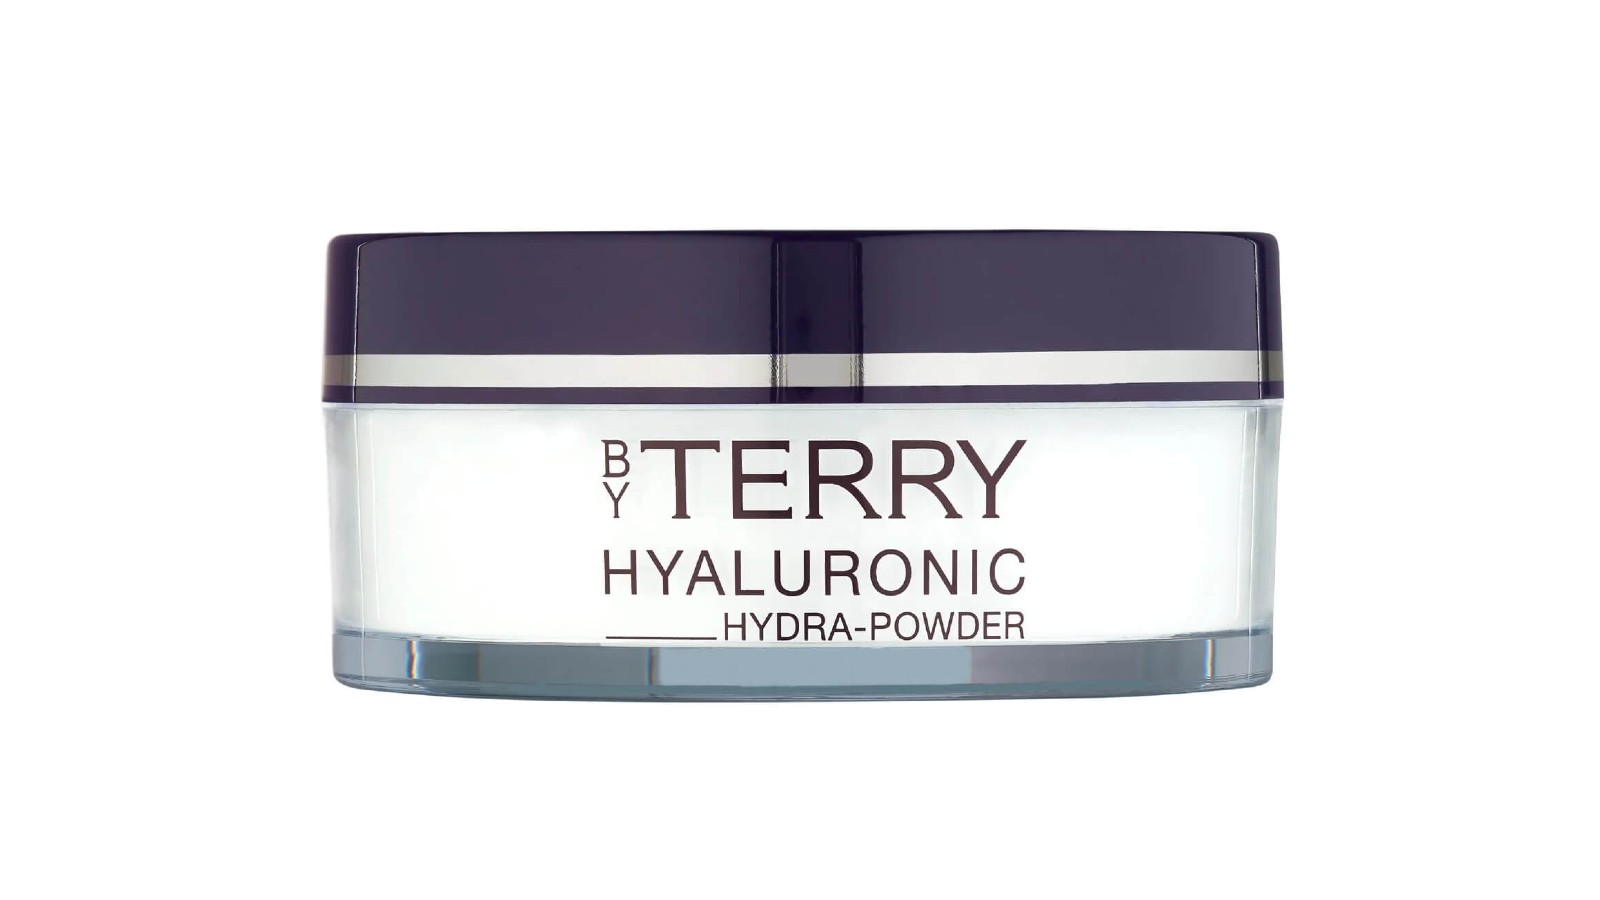
By Terry Hyaluronic Hydra Powder
Specifications
Gently does it when locking concealer in with powder - too much, and you'll end up cakey or dislodging the color beneath. A nice loose powder like this one will help you steer clear of a mishap.
Conceal scars
Scars come in different forms, so don’t be afraid to mix-and-match techniques depending on your needs.
“With scars, sometimes the concealer has a hard time gripping,’ says Rachel Hardie, Lead Artist at Nars. “If the scar is textured, prep the area with a primer like Nars Instant Line & Pore Perfector to create a smooth surface. I find using a concealer with yellow undertones will help knock any redness from the scar. Layering with powder will help even out the skin and help the make-up to stay put.”
PRODUCTS TO TRY:
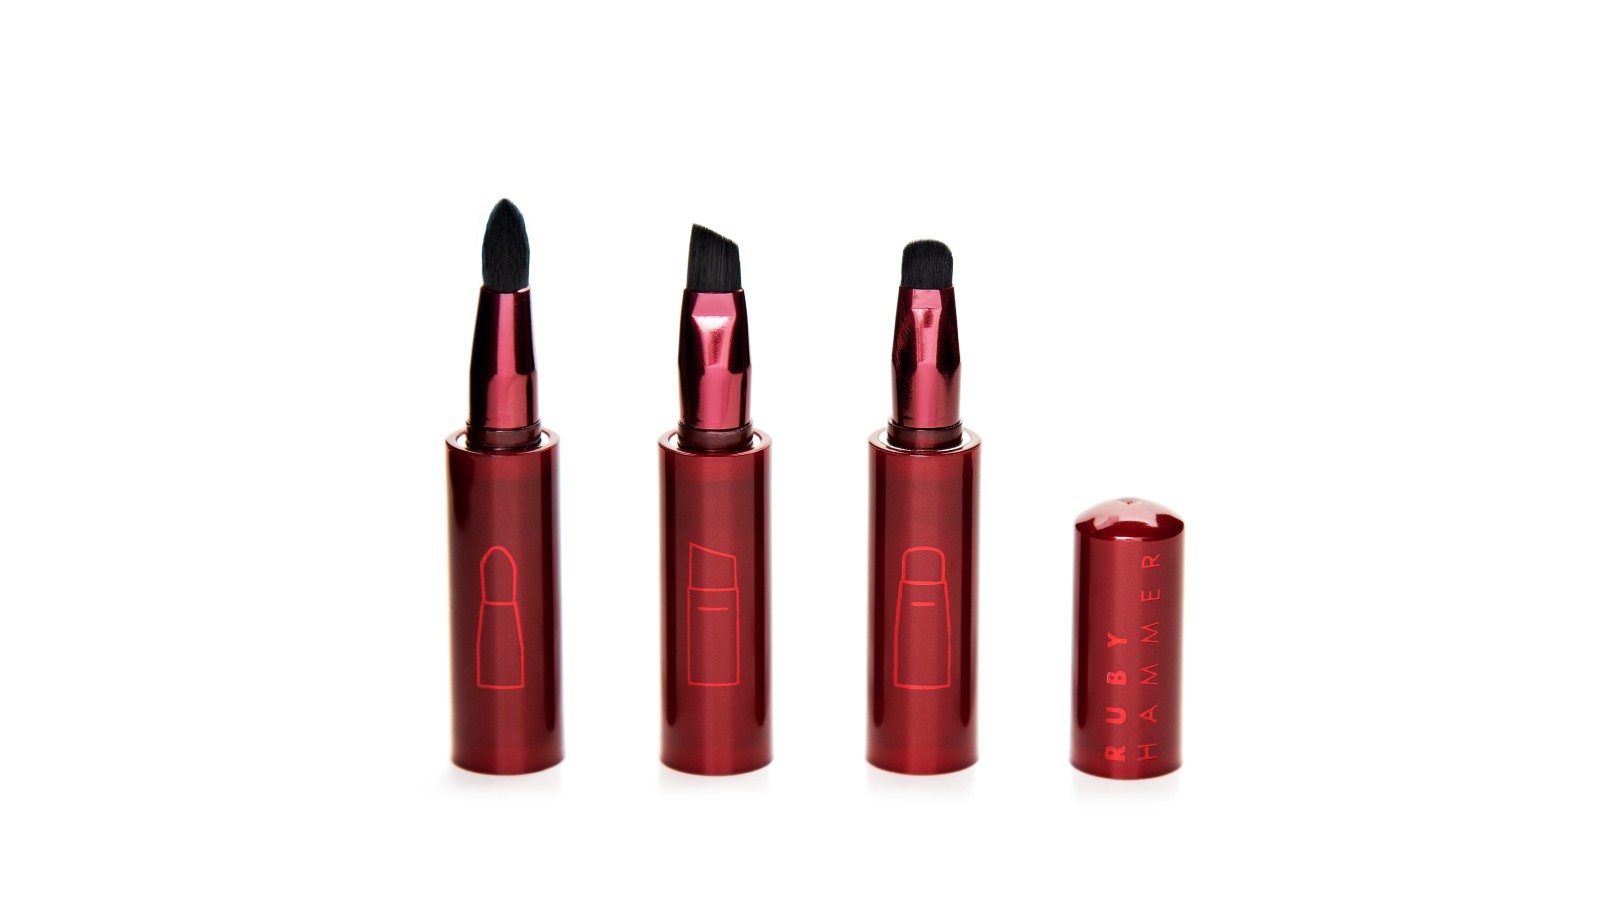
Ruby Hammer 01 Magnetic Brush Set
Specifications
"A point brush (like the one available in my Magnetic Brush Set 01) is best used for precise placement over spots, marks, or scars," says Ruby. Use the smudge brush for eyes and lips and the angled one for brows and eyeliner.
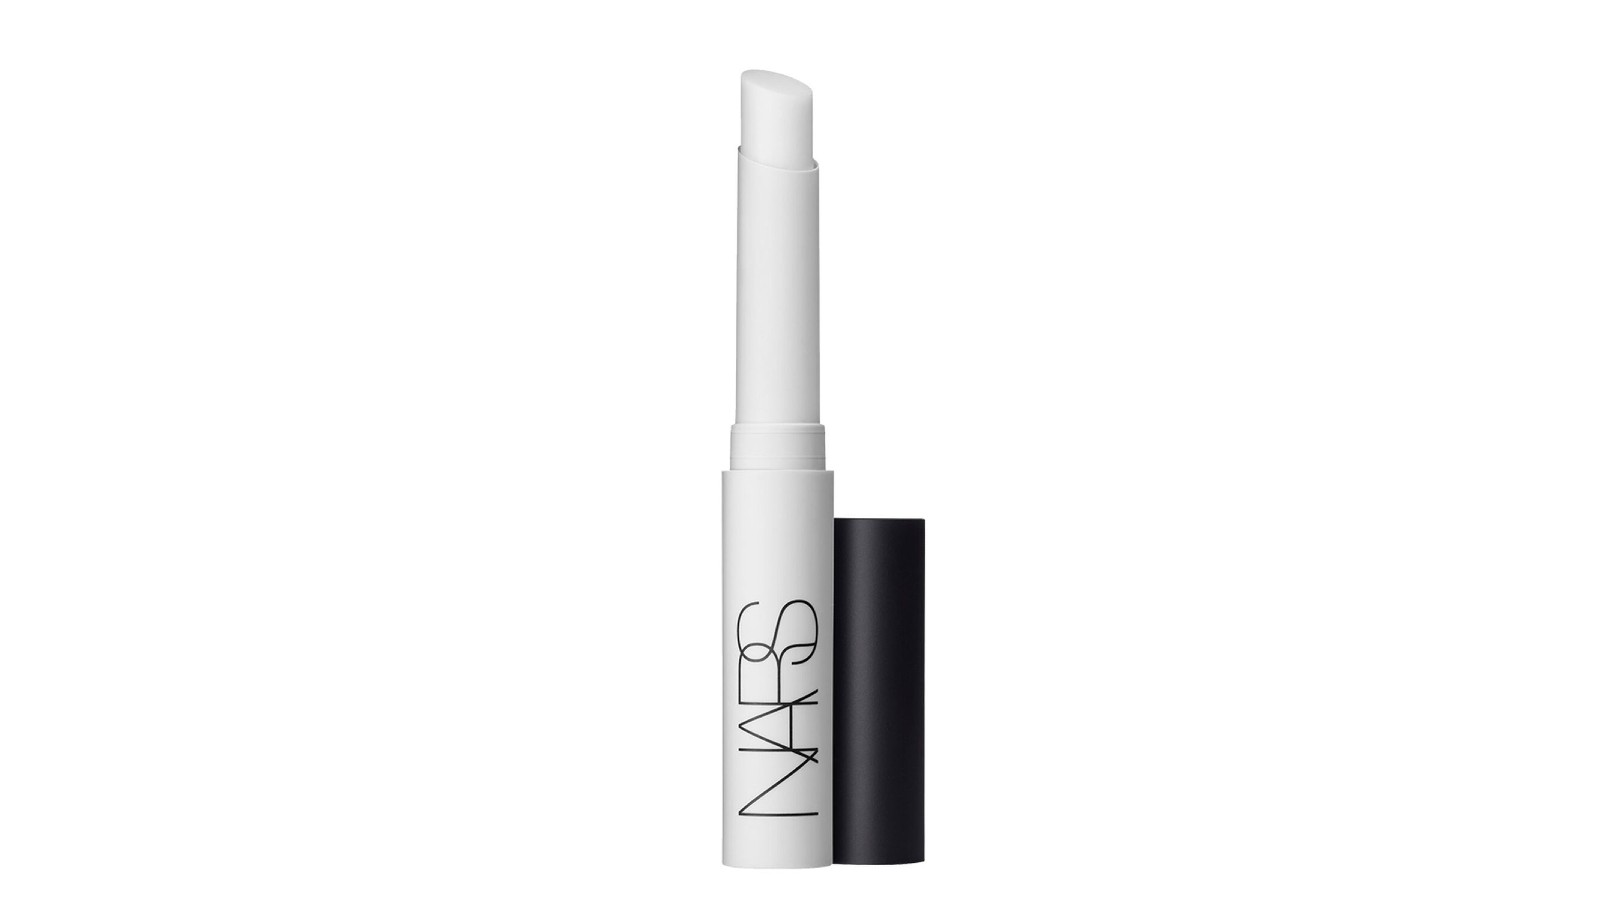
Nars Instant Line & Pore Perfector
Specifications
Instead of smearing a dollop of primer all over your complexion, this clever stick lets you target where you really need it. Roll over scars, pitting, or uneven patches to smooth. Tiny microspheres will fill gaps, while hydration hero hyaluronic acid plumps.
Should you apply concealer or foundation first?
It’s an age-old question, and the jury is still out on which comes first - foundation or concealer.
“With ordinary concealers, I always apply foundation first because once you’ve applied the foundation, you might have already corrected some of the areas you wanted to target,” says Ruby. “Applying a base of foundation allows you to really see where the concealer is needed, and then you can just apply to specific areas.”
In the opposing corner, Warren conceals dark circles first. “I always start by applying corrector and concealer under the eye before using any foundation, as the first thing our eye is drawn to when we look in the mirror is dark circles. Once the eye area is brightened, the complexion looks instantly fresher, and we won’t be inclined to go too heavy with our foundation application.”
There are pros and cons to each, but ultimately, it’s all down to personal preference. As Kaytlin says, “you’re the master of your own make-up bag.” Hear, hear.
How can you stop concealer from creasing?
According to Kaytlin, the key to preventing creasing is in three little words. “Less. Is. More. The less product you have on, the less product there is to crease! Using a fluffy brush will maintain coverage but apply the product in thin layers. Top with a light layer of powder, and your concealer will be unlikely to budge.”
“But just remember your face will always be full of life and expression, and there is nothing wrong with that. I often crease around my mouth because a smile a lot. Don't be embarrassed or ashamed of your face telling a story.”
Can you apply concealer to active spots?
Lucky for us, the experts see no real problem with topping an active spot with a little concealer. That is, of course, unless you’ve been picking, and in which case, leave well alone until it’s no longer a wound.
“Ideally, letting an active blemish heal before applying makeup is a good idea, but that’s not always practical, so applying a little concealer won’t hurt,” explains Warren. “Go for a full coverage opaque concealer and apply with a clean concealer brush.”
“Just be very careful with reusing the brush,” adds Rachel. “Bacteria can easily spread to other areas of the face. My top tip is to wash your brushes frequently.”
Jess Beech is an experienced fashion and beauty editor, with more than eight years experience in the publishing industry. She has written for woman&home, GoodtoKnow, Now, Woman, Woman’s Weekly, Woman’s Own and Chat, and is a former Deputy Fashion & Beauty Editor at Future PLC. A beauty obsessive, Jess has tried everything from cryotherapy to chemical peels (minus the Samantha in Sex and The City-worthy redness) and interviewed experts including Jo Malone and Trinny Woodall.
