How to use a diffuser on curly hair, according to hairdressers
A beauty editor breaks down how to use a diffuser on curly hair, with step-by-step tips and pictures on her own curls
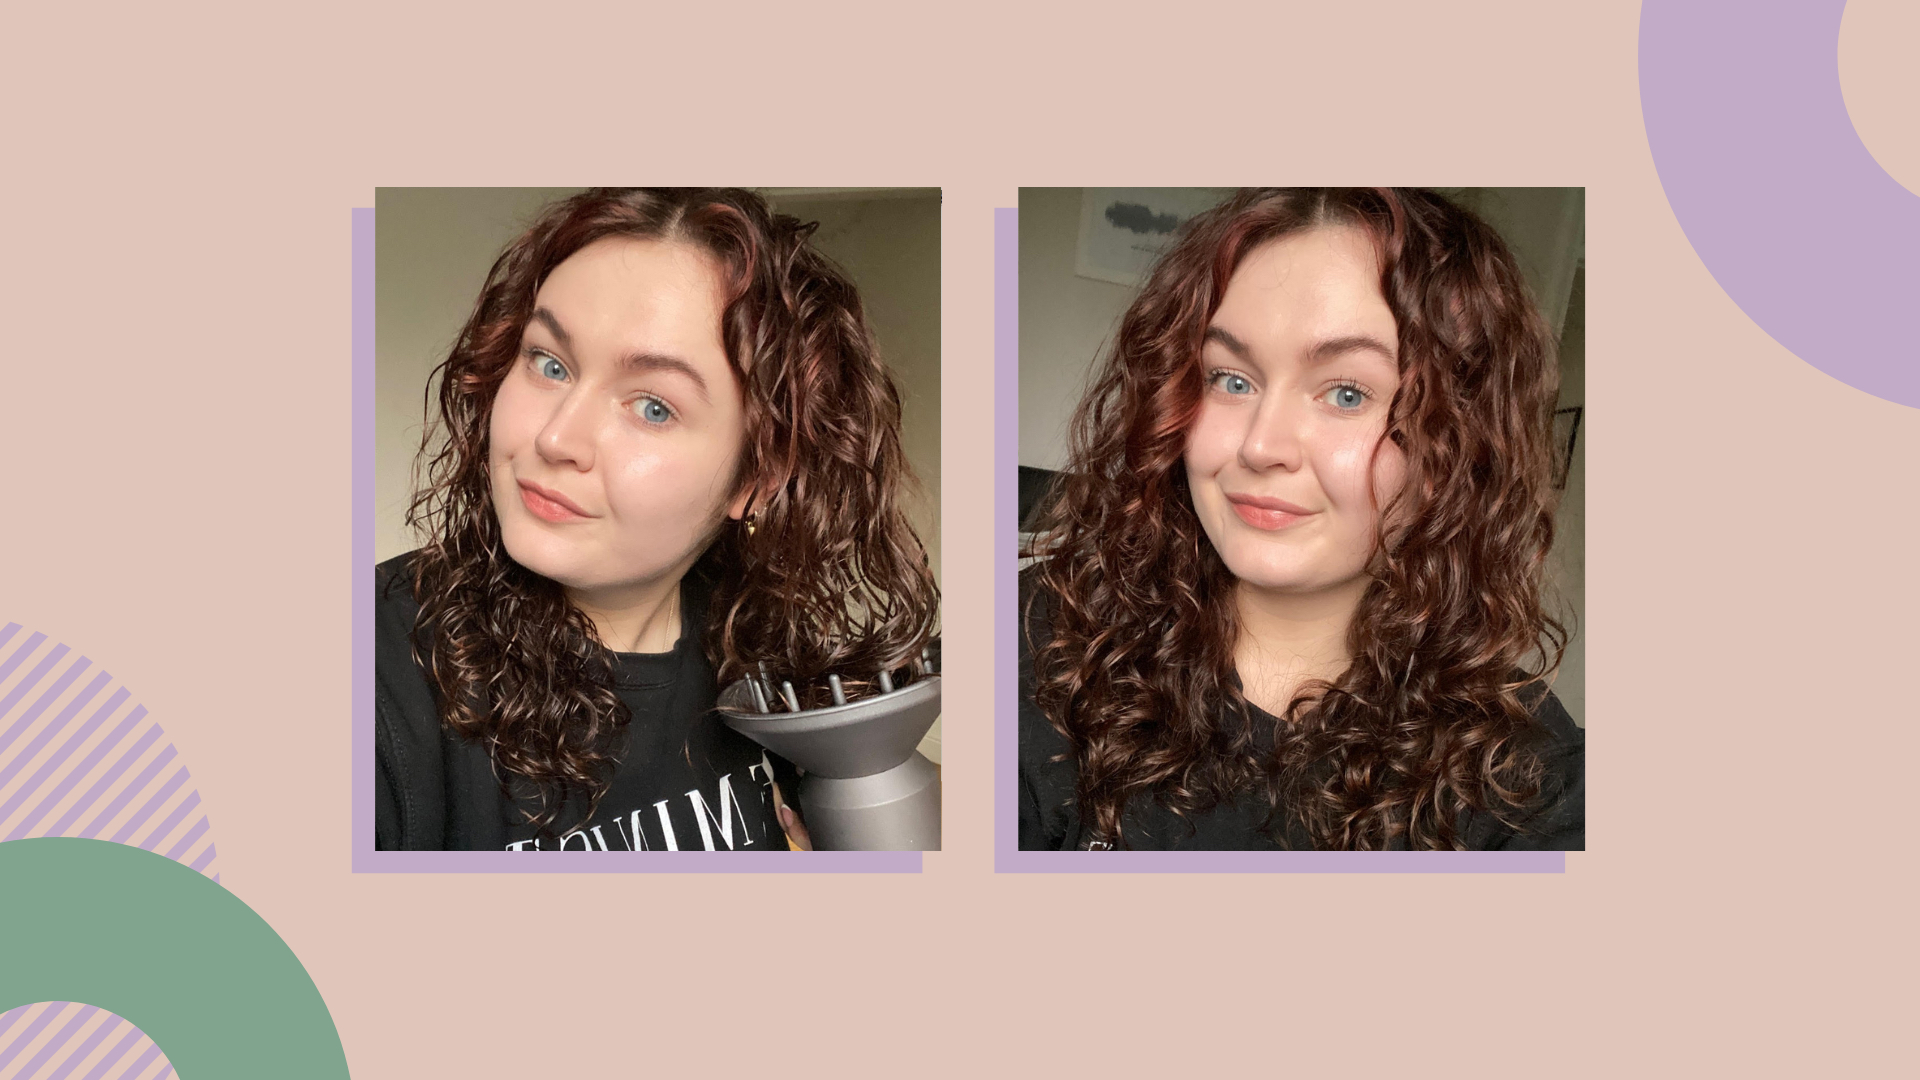

Learning how to use a diffuser will leave your curls beautifully defined and bouncy, whether you're new to styling naturally curly hair or have decided to add this hair dryer attachment to your beauty arsenal. Doing so also makes for a much gentler drying experience and is considered better for your strands.
An add-on that comes with many of the best hair dryers, a diffuser is a bowl-shaped tool that clips onto the nozzle of your dryer to disperse the air more evenly. But buying one of the best diffusers for curly hair is one thing, knowing how to use it for the best results is quite another – and these unusual-looking attachments aren't exactly self-explanatory to a complete beginner.
So, if you’re after defined and luscious curls but aren't sure where to start with this haircare gadget, we've listed some techniques to help you keep your curl pattern intact while drying – as well as boost volume and shine – with next to no effort.
How to use a diffuser on curly hair: our step-by-step guide
1. Don't roughly towel dry – squeeze instead
Celebrity hairstylist, curly hair specialist, and founder of her very own Afro hair-texture cutting course, Jennie Roberts knows a thing or two about the dos and don’ts of how to use a diffuser. It turns out that, mastering a diffuser is much the same as other hair tools – the fundamentals begin before you've even left the shower.
“It might be tempting to towel-dry hair if your curls are dripping after you’ve washed them, but resist the urge. Towel-drying will pull your gorgeous natural curls apart, plus hair needs to be very wet to really mold curls and retain their shape." According to Roberts, It’s when your hair is saturated that you can truly capture the curl, so, "gently squeeze excess moisture out of your hair in the shower instead.”
2. Prep with your curl products
Applying the right curl products (such as those used in the curly girl method) to wet hair will give curls weight and definition. Without products, Roberts explains, curls are liable to “dry out or get blown out.” The perfect curl-defining product, however, depends on your curl type and hair texture. Roberts prescribes a few options when it comes to curl enhancers.
“You need to ‘cast’ the curls before diffusing for them to really last. Curl types 2 and 3 (wavy and curly) might need a spritz of leave-in conditioner topped with a mousse or a glaze."
Sign up to our free daily email for the latest royal and entertainment news, interesting opinion, expert advice on styling and beauty trends, and no-nonsense guides to the health and wellness questions you want answered.
“Type 4 curls (tight coils) will require a heavier product, such as a coiling paste," she continues. "Afro-textured curls especially need more hydration as well as a glossy topcoat."
Everybody has their go-to curl products, and it takes a bit of trial and error to find the products that work best for your unique hair type. However, a general rule of thumb is that tighter and more structured curl patterns can take more moisture, while less structured patterns need more hold. And of course, all curl types need some form of heat protection for hair before you take to them with a diffuser.
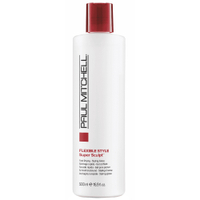
Paul Mitchell Super Sculpt Glaze | RRP: $18.50/£21
"I love Paul Mitchell Super Sculpt for definition," says Roberts, and we agree. This light glaze creates a beautiful shape without stickiness.
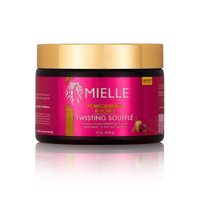
Mielle Organics Pomegranate & Honey Twisting Soufflé | RRP: $12.99/£14.50
Another favorite of Roberts, who recommends using his for type 4 curls. "I especially love Mielle Organics Twisting Soufflé for both nourishing and creating hold," she says.
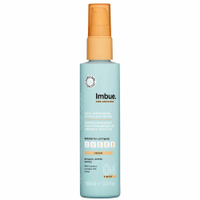
Imbue Curl Energising Hydration Serum | RRP: $12.99/£7.99
This light yet ultra-nourishing serum would make an excellent prep product for anyone learning how to use a diffuser on dehydrated curls.
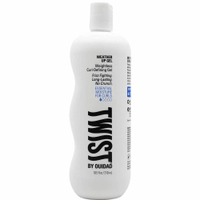
Twist by Ouidad Weather Up Curl Defining Gel | RRP: $9.99/£12.99
Don't be put off by the fact this is a gel, it's not remotely sticky or crunchy. Instead, it offers hold, humidity resistance, and hydration in one step.
3. Use a big diffuser
By and large, many of the best hair dryers for curly hair include diffusers, or at least the option to buy an attachment. So what should you look for? Size is Roberts' criteria for choosing a curl-maximizing diffuser. “The best diffusers have a wide dish in which to dry hair quickly and evenly without you having to touch, move, or manipulate curls with your hands. Look for lots of air holes within the diffuser bowl, and bear in mind that your diffuser is only as good as the hair dryer that it’s attached to - look for variable speeds and heat settings to achieve the best results.”
Roberts' favorite combo is a Parlux hair dryer teamed with a DIVA diffuser and favors the DIVA XXL Pro Diffuser because of its generously-sized dish, as well as the fact that it’s both ergonomic and universal (as in, it fits most hair dryer models). Meanwhile, hairdresser and ghd ambassador Michelle Thompson recommends the ghd diffuser paired with the Helios Dryer
Read our ghd Helios Hair Dryer review and our Parlux Alyon hair dryer review for an in-depth guide to these two hairdresser-recommended tools
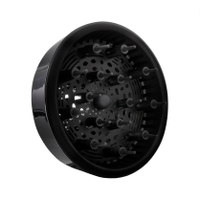
Diva Pro Styling XXL Diffuser | RRP: £24.99
This large and deep-bowled diffuser fits on most hair dryers, making it a great choice for anyone who already has a dryer and wants to up their curl styling game.
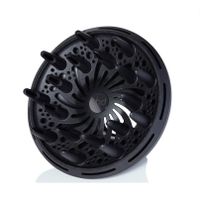
ghd Professional Hair Dryer Diffuser | RRP: $30/£29
This is quite a large diffuser, so fits an impressive amount of hair into the bowl with every go and creates excellent root lift and volume.
4. Use low heat and speed settings and circulate the diffuser
Ask any hairdresser for their top diffusing tips and they'll tell you that the slower and lower your settings are, the better your results will be. The more time you spend diffusing, the better your definition will be.
"If you don’t have time, a medium speed if you have it or a hotter heat setting will help you speed up the process, however, this can cause a little more frizz," explains Jonny Eagland, stylist at John Frieda Salons in London.
Then, the first step to drying perfectly defined curls involves not touching the hair with the diffuser at all. "Semi-dry the roots by using the ‘hover method’ and slowly circulate around the curls towards the ends," Thompson says. "This will help to prevent frizzy hair during the drying process." She recommends doing this until the hair is around 60% dry.
5. Cup the curls in the diffuser
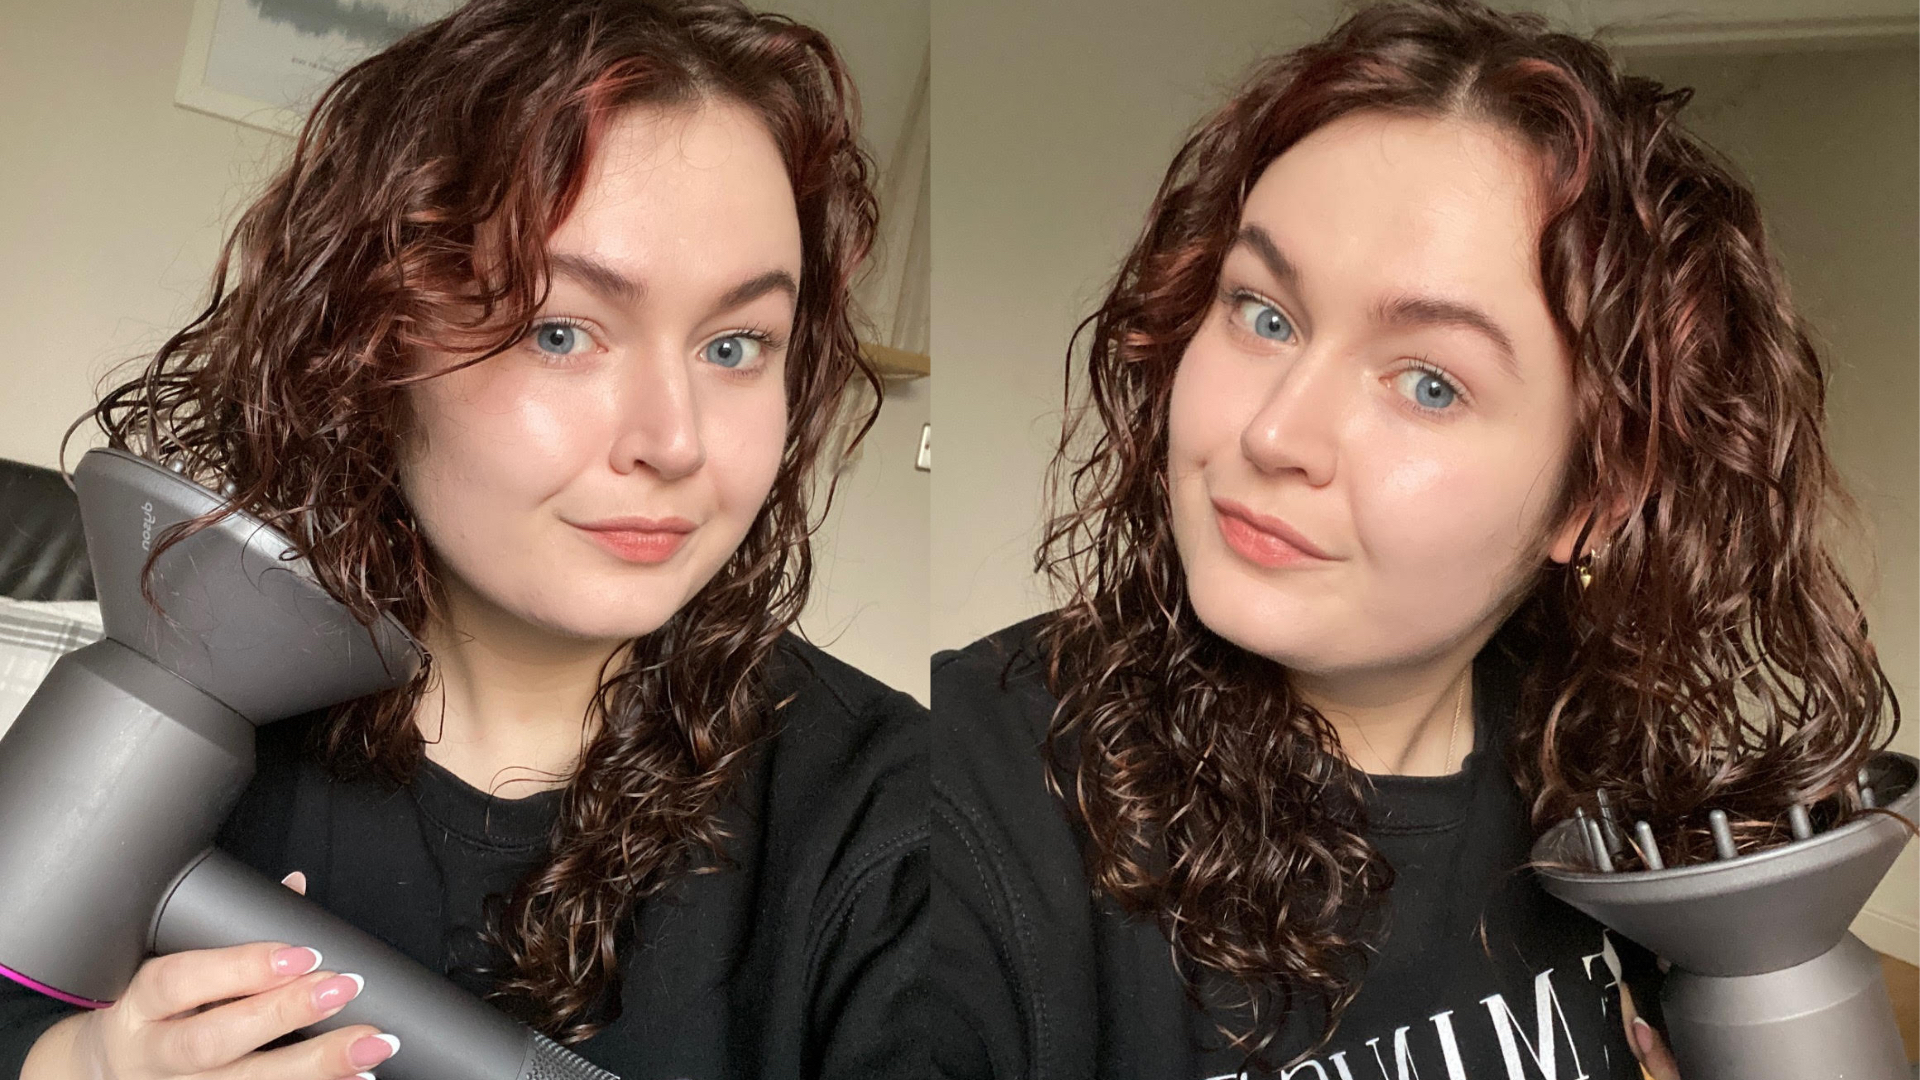
Freelance beauty editor Lucy demonstrating how to use a diffuser on her curls
Roberts has a “don’t touch” policy when diffusing. “Scrunching hair with your hands as you dry, or moving it around too much, will destroy the integrity of the curl. Diffuse your hair with as little movement as possible, tipping hair into the diffuser bowl as you go. Gently work your way around your head until each section of your hair is dry. Allowing hair to fall into the diffuser, rather than forcing it, will help you retain your lovely curl texture.”
Charlotte Mensah, hairdresser and ghd ambassador, agrees: “A top tip to create a more even curl pattern is to make sure the ends of the hair are in the diffuser first and slowly move the hair dryer up towards the roots. Keep moving the diffuser slowly around your head in sections until you have created the desired look."
Depending on how much natural volume your hair has, once your curls are starting to feel dry you could flip the hair over to get more air into the roots from different angles. "If you lift the curls up and away from the head and flip your head upside down you will create more volume and body, but if you diffuse the hair whilst upright it will cause less volume at the root area," Eagland explains. "If you want definition then you will want to be very gentle and let the air travel through without disrupting the curl pattern."
6. Once dry, shake it out
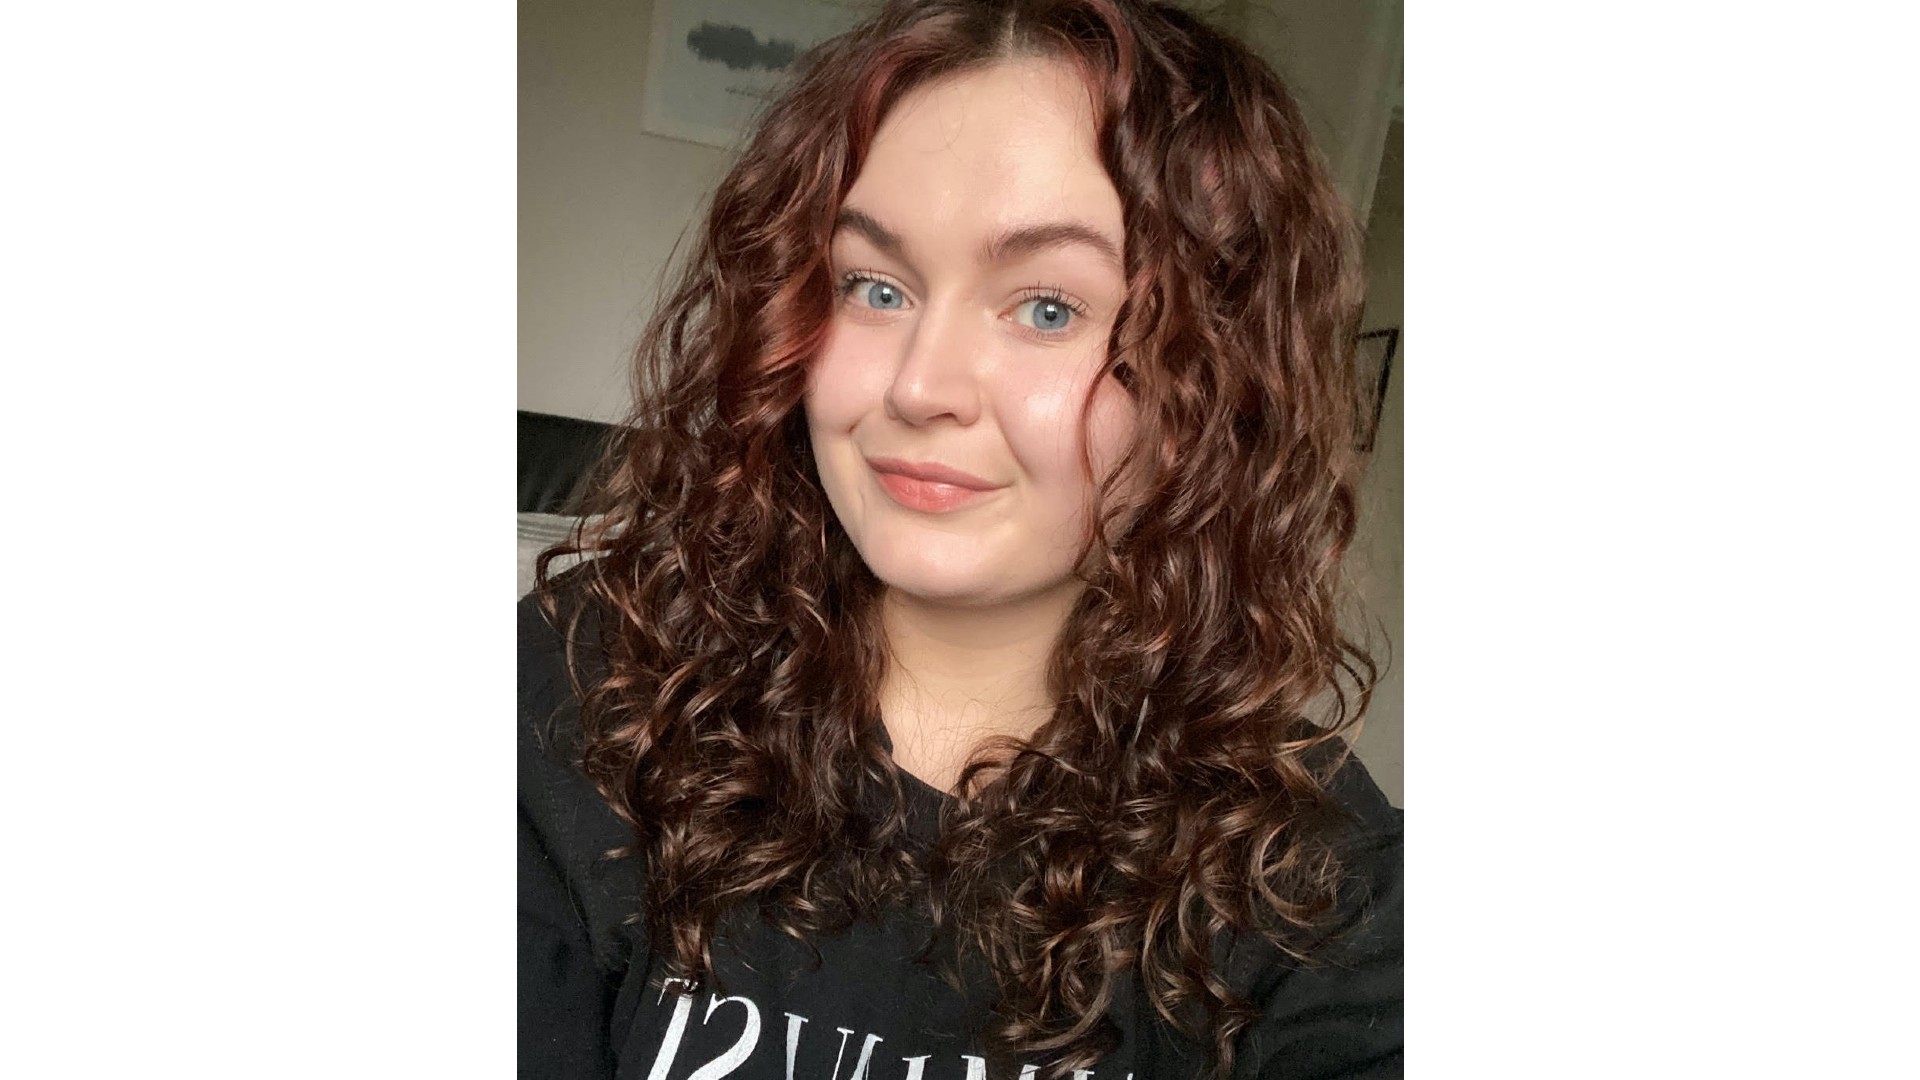
Lucy's curls after using a diffuser
Hair all dry? Now’s the time for some handiwork. “Once you’ve finished diffusing your hair, you can softly scrunch and break it up with your fingers to create more volume.” Roberts adds that “a head massage is ideal for zhuzhing roots and increasing fullness.”
If your hair is especially dense or heavy, she has another styling trick up her sleeve: “Lift hair up gently with an Afro pick to allow air to get into hair and create body without disturbing your natural curl.”
Then, check for any remaining damp patches that may need a little more attention with your diffuser, and if all's dry give your curls a bit of scrunching and shaking at the roots as needed. From there, you’re done – if you have natural hair in a very tight curl pattern that feels or looks dry, a mist of oil will add final-stage shine and help lock in moisture.
Consider your crash course on how to use a diffuser on curly hair, complete.
Lucy is a UK-based beauty journalist who has written for titles including Marie Claire, Glamour and OK!, as well as contributing to woman&home. Her work covers everything from expert skin and haircare advice to beauty trends and reviews of the latest products. During her career she regularly speaks to the industry's leading hairdressers, dermatologists and make-up artists, has covered backstage at London Fashion Week and interviewed many a celeb about their beauty routine.
