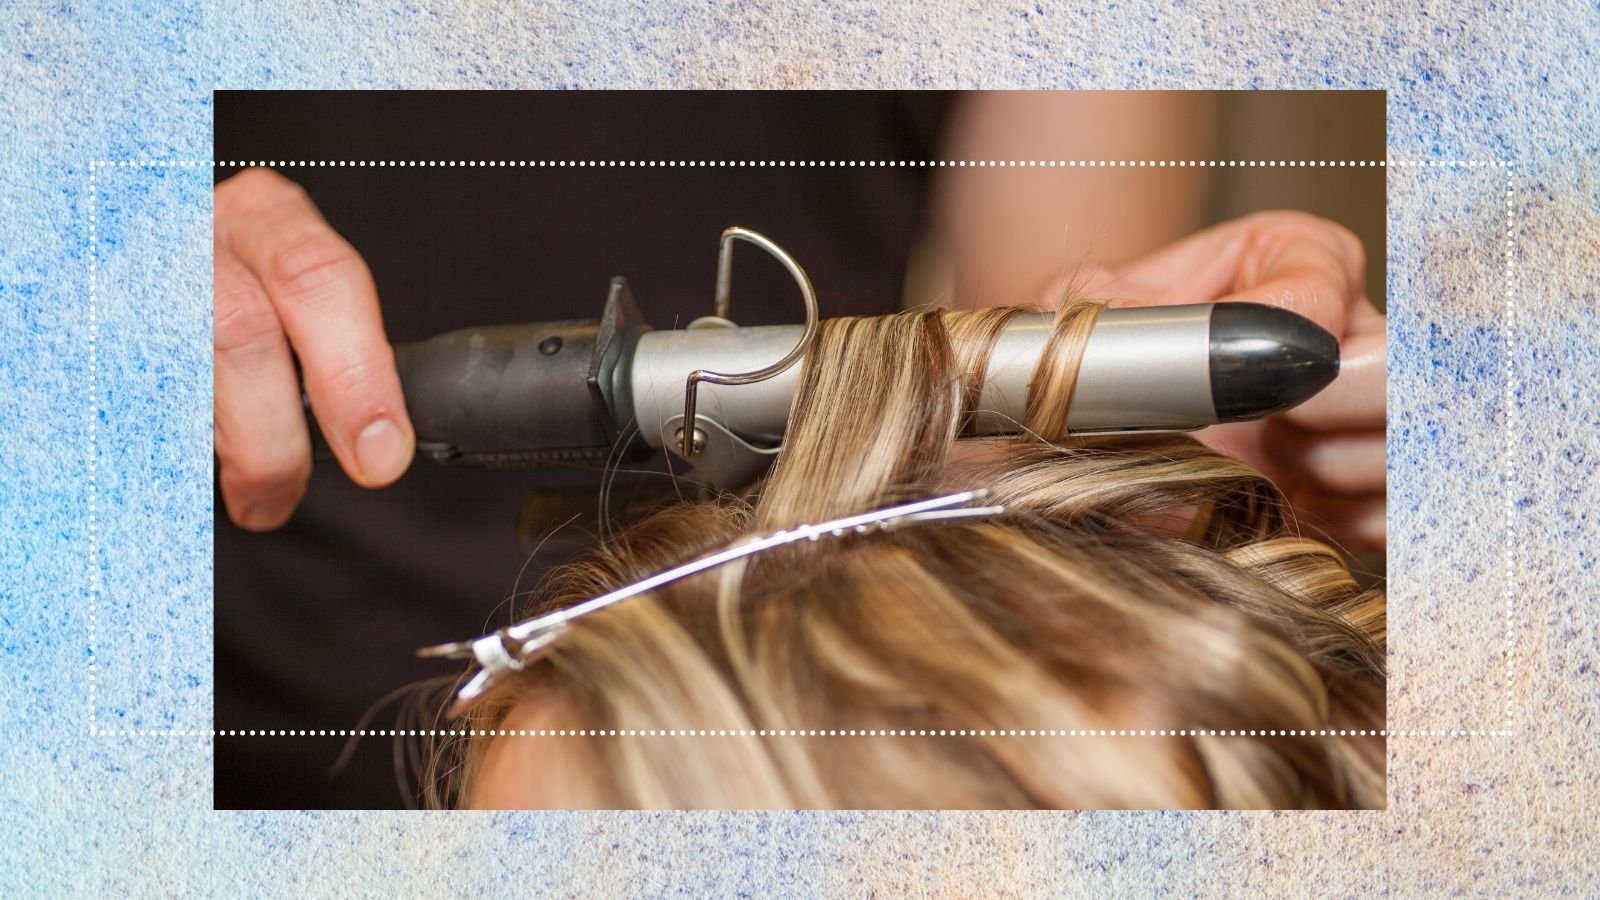
How to clean a curling iron in a few easy steps
Learn how to clean a curling iron easily and thoroughly and prolong the life of your trusty hot tools


Knowing how to clean a curling iron is one of those things you don't think about when your purchase is shiny and new. However, it’s only a matter of time before product debris, oil, and buildup from your hair start collecting on your hot tool.
Cleaning your tongs properly can help extend the life of your them and prevent any malfunctions (particularly important if you've splurged on one of the best curling irons on the market). And, regularly cleaning your curling iron can keep your hair healthier and cleaner too.
Think about it: Before you even turn on your curling iron, you’ve probably already used a heat protectant, a styling cream, or a leave-in conditioner. Then, there's that strong-hold hairspray you're spritzing all around the device to hold your curls in place...
Yes, your everyday hot tools have to contend with a lot of products, so it would be remiss to ignore the hygiene of your iron. And this simple guide will help you keep your curling iron perfectly clean and pristine for the next use (if you also need to clean your flat iron too, we've got a separate guide about how to clean straighteners fyi.
How to clean a curling iron—a step-by-step guide
Step 1: Turn off your curling iron
This may seem like a no-brainer, but double-check to make sure the iron is turned off and unplugged first and foremost—that way you can spray liquid cleaner on it and scrub with a better grip without worrying about electrocution or burning your hands. It's also a sensible idea to ensure the iron has completely cooled before you start cleaning.
Step 2: Gather your ingredients
Depending on the severity of the residue on your curling iron, you may be able to just wipe it clean with a Clorox wipe or a multi-purpose cleaner you have around the house. If there’s a bit more buildup, grab a soft cloth or paper towels, and a small brush (like an old toothbrush) if you think you’ll need to put a bit of muscle into it. You will need:
- Your curling iron
- A clean cloth or wipe
- Cleaning solution (homemade or shop bought)
- A toothbrush
- A clean, dry towel
Step 3: Make your own cleaning solution (or grab an all-purpose cleaner)
You can create your own non-toxic solution by mixing one part baking soda with two parts water. You can put it in a spray bottle if you have one, or just a jar that you turn over onto your cloth or paper towel. Since baking soda is abrasive, you’ll be able to scrub off stuck-on hairspray or hair product particles that have attached to your curling iron.
Sign up to our free daily email for the latest royal and entertainment news, interesting opinion, expert advice on styling and beauty trends, and no-nonsense guides to the health and wellness questions you want answered.
If you’d like your baking soda mixture to be a bit thicker, cut back on the water you add or stir in more baking soda a little at a time.
If you don't want to make your own solution, you can use a regular multi-purpose cleaner. Although any will work to clear your curling iron of dust, dirt, and germs, if your cleaning product of choice contains strong chemicals, there may be a lingering odor on your curling iron which can be unpleasant, especially as you're doing your hair.
Remember to check your manual for instructions and guidance before you use any new products on your curling iron.
Step 4: Scrub along the barrel
Once you have your preferred mixture and washcloth on hand, it's time to get scrubbing. Wet your washcloth and rub it gently along the barrel and the clamp, first focusing on removing visible stains.
For stains that are harder to remove, consider using an old toothbrush. This will help concentrate the scrubbing power to break down hairspray particles faster.
To clean the hinges, dip a Q-tip into the mixture and run it along smaller, hard-to-reach places. Remember to avoid the electric cables and switches.
Step 5: Allow to dry completely
Once you have cleaned your curling iron to your liking, make sure to dry it off right away with a towel. You should wipe it off with a dry towel rather than letting it air-dry because you don’t want excess water seeping into any openings in your curling iron, which could damage it. Make sure it’s completely dry before you clean up your station and especially before you turn it on for use.
How often should you clean your curling iron?
Because curling irons get hot, this kills the majority of bacteria lingering on your curling iron. So you just want to focus on scrubbing off any product debris and build-up on your tongs.
Giving it a good wipe-down with the baking soda mixture mentioned above about once a month is a great way to extend the life of your curling iron and for it to be effective at providing gorgeous barrel curls (still not mastered the perfect curl? Read our guide to how to curl hair).
Brittany Leitner is an award winning journalist and poet whose work has been published in Palette Poetry, Bustle, Shape, Byrdie, and more. In 2019 her reporting received a Digital Health Award and poems from her book "23 Emotions" have won the Sequestrum new writer award. She has over eight years of experience working in print and digital media, and previously held senior editorial positions at Elite Daily and The Dr. Oz Show. She now specializes in health, beauty, and travel journalism. She studied magazine journalism at Syracuse University and currently lives in Brooklyn, New York.
