
When it comes to a sleek manicure or pedicure, achieving whatever nail designs your heart desires has never been easier.
Many of us have figured out how to do an at-home pedicure, especially because nail polish on our toes seems to be able to survive even the most vigorous of activities chip-free (we're sure even surfers could get away with a once every two months pedi). At-home gel manicures may be a little trickier to get right, but with a few expert tips and the best at-home gel nail kits you can achieve a glossy pro-style mani, no salon appointment required.
These days it's possible to DIY with everything from foolproof gel kits to hybrid polishes that deliver the same glossy look without UV, time-consuming removal, and an expensive in-salon price tag. Here's how.
How to do gel nails at home
Prepare nails for at-home gel application
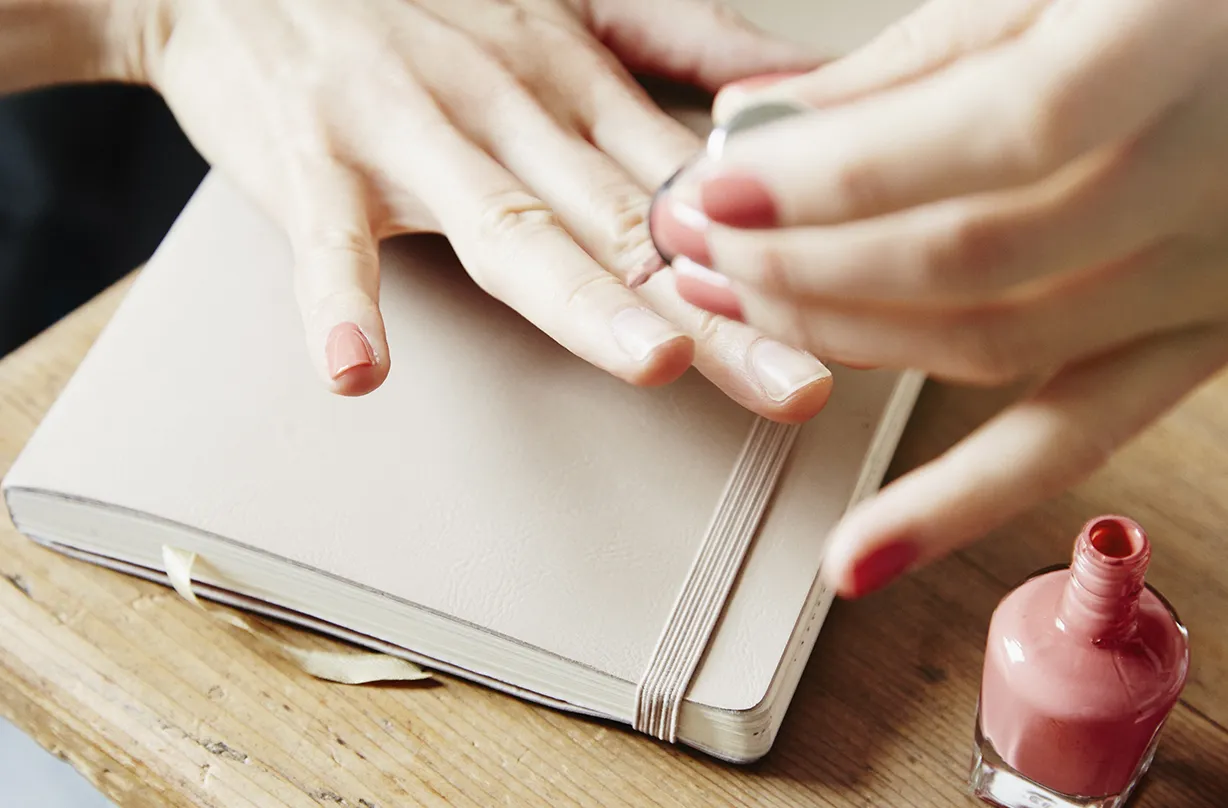
Of course, as with all things beauty, preparation is key. If you want a home manicure that goes the distance you will need to ensure you have a clean and tidy nail plate. Here's how to prime your nail plate at home...
- It may sound obvious but always start by washing your hands, especially if you have recently used nail vanish remover, this will give your new application of varnish longevity.
- File your nails into your desired shape - square, oval, squoval or pointed - but be careful to only shape the free edge (the white section). Resist the temptation to go further as it will weaken the nail's structure and increase the chances of snapping.
- Once your nails are clean, apply a small bead of cuticle cream to each cuticle and massage it into the surrounding skin gently. Next, take a wooden manicure stick and rub the slanted edge of it across the nail plate in circular motions to lift away any dead cuticle and flaking nail. Tip: Apply minimal pressure. If you press too hard you risk denting your nail plate or jabbing the delicate skin surrounding it.
- Use a cuticle nipper to carefully trim away any dead cuticle, skin or over hanging nail which has lifted. Be careful not to cut into the eponychium (healthy skin above the cuticle).
- Finally, wash your hands a final time to remove the dust from filing and any cuticle cream residue.
Your nails are now ready for your polish application, and we've compiled the very best gel kits and hybrid gel-like lacquers for a long-lasting home manicure...
Our favourite gel nail products to try
Best for gel colour choices

An easy-to-use kit that comes with everything that you need, even wipes and a cuticle stick.
We love this gorgeous summery coral shade, but the Sensationail has huge selection of colours, including chromes and glitters for those who really want to show off their abilities.
SHOP NOW: SensatioNail Starter Kit, £49.99, Boots
Best for travelling

As DIY gel kits go Le Mini Macaron is completely adorable, but it's also eminently practical - the little macaroon-shaped device works in 30 seconds per nail, plugs into any USB port and the polish is a one-step base, colour and top coat all in one.
So all you need to do is swipe it on, wait for 30 and hey presto! Beautiful, glossy nails that won't chip off when you're doing the dishes (although no need to tell your other half that)
There are nine kits to choose from, each containing one shade of polish to get started with and you can also buy the polish separately.
SHOP NOW: Le Mini Macaron Gel Manicure Kit, £34.99, Feel Unique
Best for a salon-like finish

Quick and easy to use with a large lamp so you don't risk knocking and smudging any of your curing nails, this set comes with a massive selection of colours to choose from and will last you a long while until it starts to chip.
SHOP NOW: Mylee Gel Polish Led Manicure Kit, £59.99, Feel Unique
Best gel-like nail polishes

Combining the deliciously plumped effect of gel nails with the luxurious high-shine finish insiders know they'll get with Dior Vernis.
This pretty purple polish is a just-as-chic but definitely more interesting alternative to red.
SHOP NOW: Dior Vernis in Mirage, £22, John Lewis

You can never go wrong with a deep red mani, and this plumping polish is as classic as it gets.
The rich hue smooths over ridges, dials up shine in just two coats, and only sets you back £7.50 - all the more excuse to stock up on the other chic shades.
SHOP NOW: No7 Gel-Finish Nail Colour in Deep Wine, £7.50, Boots

Jessica's Phénom Vivid Colour system was a hit when it first came out back in 2016 and we can see why people were hooked on its easy to apply glossy and durable texture.
Our favourite shade is Outfit Of The Day - an elegant mauve that has a slightly more pink shade for a touch of playfulness.
SHOP NOW: Jessica Phénom Vivid Colour, £13.50, John Lewis

The kind of shade that makes your nails appear naturally flawless, this soft, pastel pink is more opaque than the shade in the bottle implies.
What does this mean for your nails? To name a few benefits; additional shine, a pleasing plumpness and a hue that makes all hands appear more groomed. You'll want to wear it every day.
SHOP NOW: Sally Hansen Miracle Gel Duo, £14.99, Boots
How to remove gel nails at home
We'll let you into a secret, it's actually really easy to remove gel nails at home.
What you'll need to remove gels at home
- Nail polish remover
- A nail file
- A cuticle stick
- Cotton wool pads
- A sheet of kitchen foil (yes really)
How to remove gel nails
- First file over the top of your gels, make sure to go right to the edge - this breaks the seal and removes the glossy topcoat. Be careful not to catch the delicate surrounding skin.
- Wash your hands to remove any dust left over from filing. Your colour should now be completely matte as you've filed off the glossy topcoat.
- Next cut your round cotton wool pads into half moons, or if you used square pads, into quarters. Soak them in the acetone nail polish remover.
- Pop a piece of soaked cotton wool over each nail and wrap your finger tip in foil. Make sure you cut the pieces of foil big enough to wrap the whole finger top so they stay on.
- Leave on for 15 minutes to enable the acetone to lift the gel off from your nail plate without damaging it.
- Finally remove the foil/cotton wool and use a cuticle stick to gently remove the lifted gel.
Extra words by Coral Rickard
