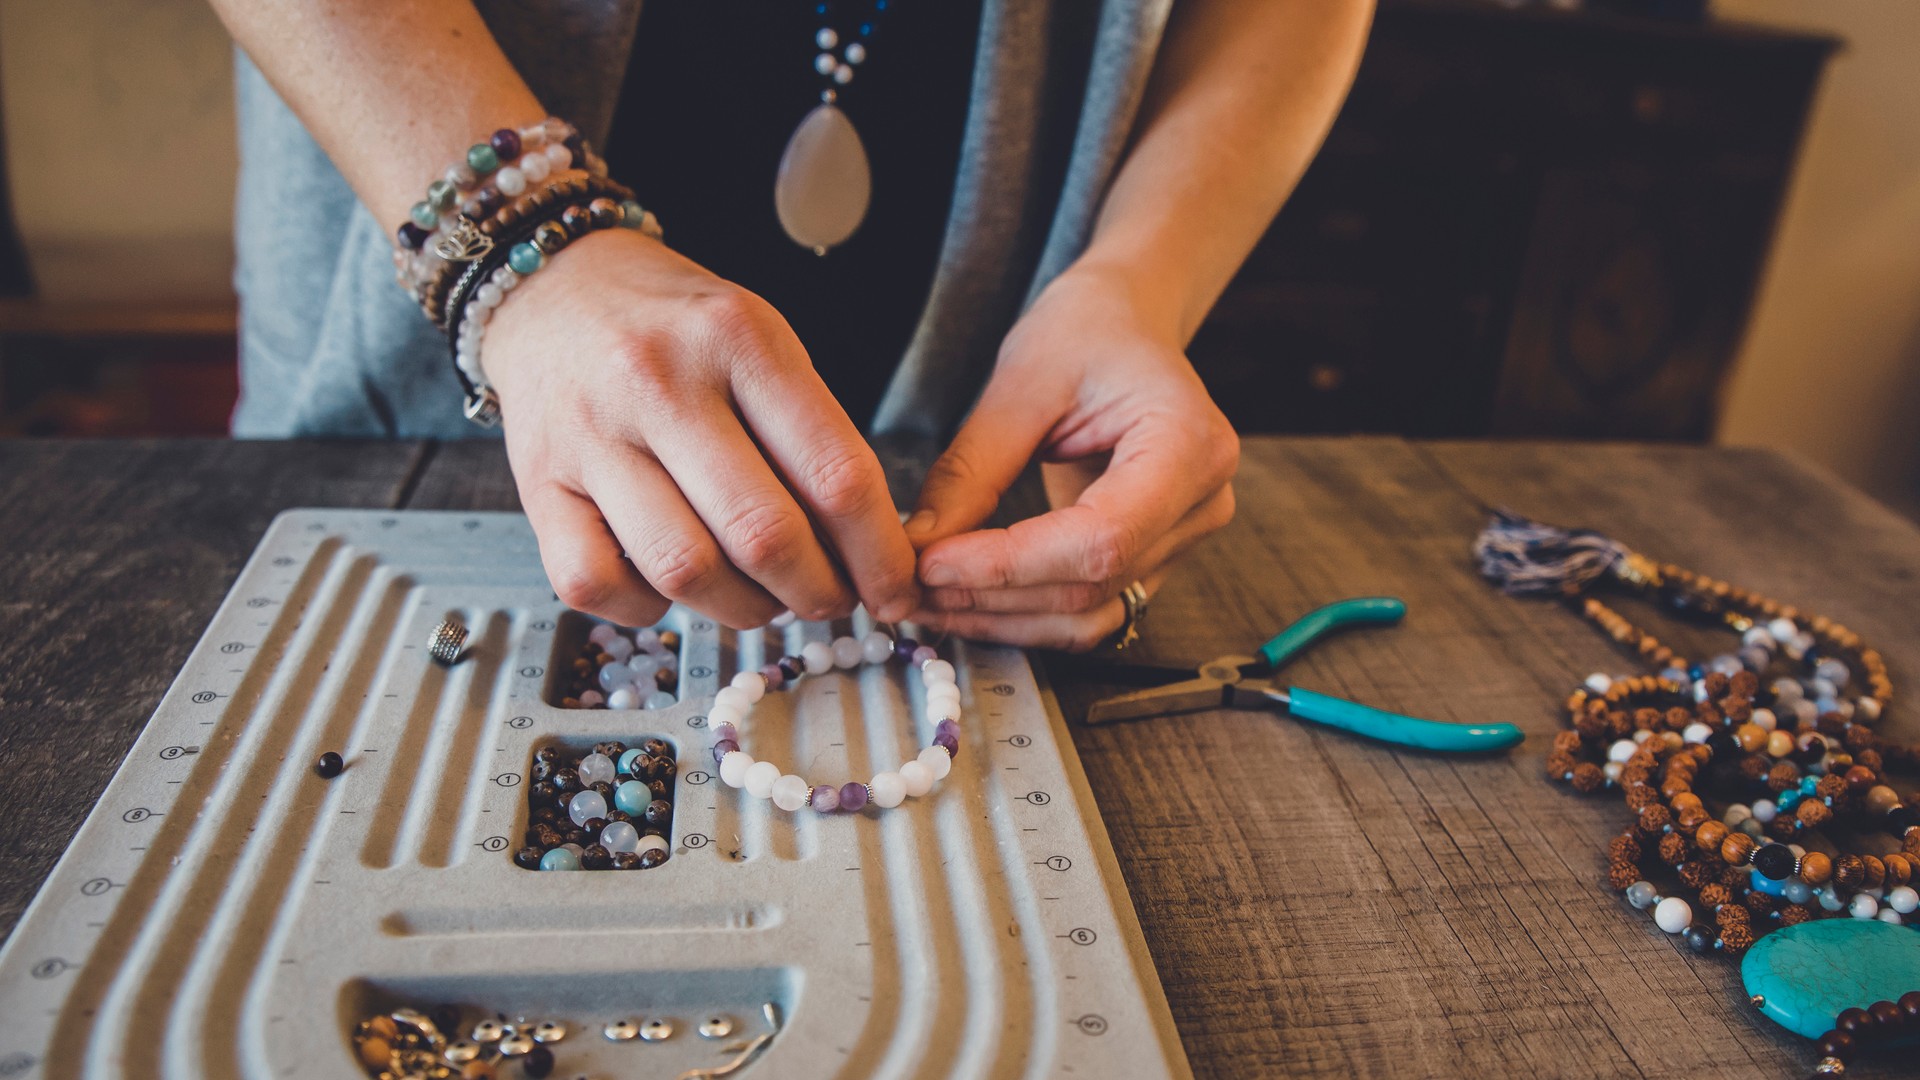
How to make a bead bracelet: the ultimate guide to getting started
The best hobbies not only keep you entertained, but provide you with a tangible outcome… jewellery making anyone?

If you love jewellery yourself, or like presenting your loved ones with one-of-a-kind personalised gifts, beading may be the perfect hobby for you. And, in light of COVID-19, you’ll be in good company for taking up crafts. In 2020, the UK crafts industry was predicted to generate £3 billion for the national economy. That’s a lot of crafting going on, keeping us entertained during lockdowns.
Whether you’re a total beginner, or have a little jewellery making experience, if you're ready to embrace your new hobby, we have all the information you need. From our guide to the best jewellery making kits, to tips to help you get started with a smaller project, like a bead bracelet, there’s help on hand…
Selecting your materials
When it comes to materials, do-it-yourself projects provide plenty of options. Wander the aisles of popular craft stores, and you’ll see a diversity of choices on the shelves. From wires and strings to beads in every shape and size, selecting a starting point can be overwhelming.
Another upshot of all this choice is that, depending on the materials you select, your project can also vary in difficulty and cost. The best thing you can do it plan your project in advance – it helps to eliminate uncertainty, wasted materials and disappointment in an outcome that doesn’t match your expectations.
READ MORE:
- Everything you need in your jewellery starter kit
- How to make earrings – quick ideas for beginners
- Charming ideas for homemade gifts, that are just as fun to make as they are to give
Find the perfect bracelet band
If you’ve settled on making a bracelet band, the primary materials you’ll need are elastic or wire.
Elastic
Elastic comes in many different thicknesses and material types; thick elastic cord is perfect for bracelets with chunkier beads, while clear elastic is lighter and better suited for small projects. Beginners may enjoy working with elastic as tying off a bracelet is simple — you just form a knot! However, it’s worth noting that these types of bracelet are prone to breakage, and may not last long.
Sign up to our free daily email for the latest royal and entertainment news, interesting opinion, expert advice on styling and beauty trends, and no-nonsense guides to the health and wellness questions you want answered.
Wire
Although wire is a bit more of an investment, it offers a more durable piece of jewellery. Shiny silver or gold can add a classy touch to your project, and both pair nicely with larger beads. Although beading wire is flexible, these projects can’t be finished with a knot – they will require a clasp or crimp. This may add some complexity to your project but will also provide a little extra flair (and style) to your creation.
Identify the ideal beads
After you've selected the foundational materials for your bracelet, it's time to choose your beads. This is where you can really let your creativity shine. Beads are made of different materials, such as stone, wood, plastic and glass. If you have a hard time deciding, you can even mix-and-match your options for a more interesting textural effect.
As you choose your beads, it's important to ensure that your chosen band is capable of holding the weight (and overall style) of your design. Elastic wiring may offer inadequate support for heavier beads, while flashy wire may outshine delicate glass gems. The perfect pairing will help you create a durable, attractive piece.
Assembling your bracelet
Now that you have your materials gathered, it's time to assemble them to form your new wear-everyday accessory. This is the most exciting part of the project – putting the beads to the band! In order to work through the process smoothly, and bring your vision to light, it's important to carefully map out your design.
Create your pattern
To give your bracelet a polished, professional look, you may want to create a pattern with your beads. Whether you alternate the colours, organise by shape or follow a more complex pattern, laying out the beads in advance will allow you to easily visualise the finished product, before transferring anything to your band.
One key thing to remember as you establish your pattern is that the beads will create a loop on your wrist. As such, you’ll want to make sure that you have sufficient space – and enough beads – to continue the pattern all the way around. This will reduce the risk of repeated colours or incompatible bead neighbours.
Measure your band
In order to get the perfect fit, measure your band by looping the material around your wrist. Remember, elastic bands will require a bit more wiggle room, as you'll use the excess material to tie off the bracelet at the end. In this case, it's best to err on the generous side. Loose strings can be easily clipped after your project is completed, while a band that’s too tight can’t be altered.
That said, wire bands should be cut fairly close to your measurement. When planning your design and bracelet size, remember to leave room for a clasp or crimp. A perfectly sized wire should elegantly rotate around your wrist without falling off over your hand.
Bonus — a personal touch
You can easily incorporate personal touches to your design. In fact, this is a great way to make a gift especially memorable or add your signature style to the piece. Charms with initials, birthstones or significant dates can serve as the finishing touch to each new accessory.
No matter your project, you're sure to end up with a fun, personalised piece as well as a host of new skills. The possibilities are endless when it comes to beading, so it could be the start of something big!