How to do ombre nails: our step-by-step guide with pictures
We break down how to do ombre nails, with easy-to-follow pictures to help you create this trending look at home
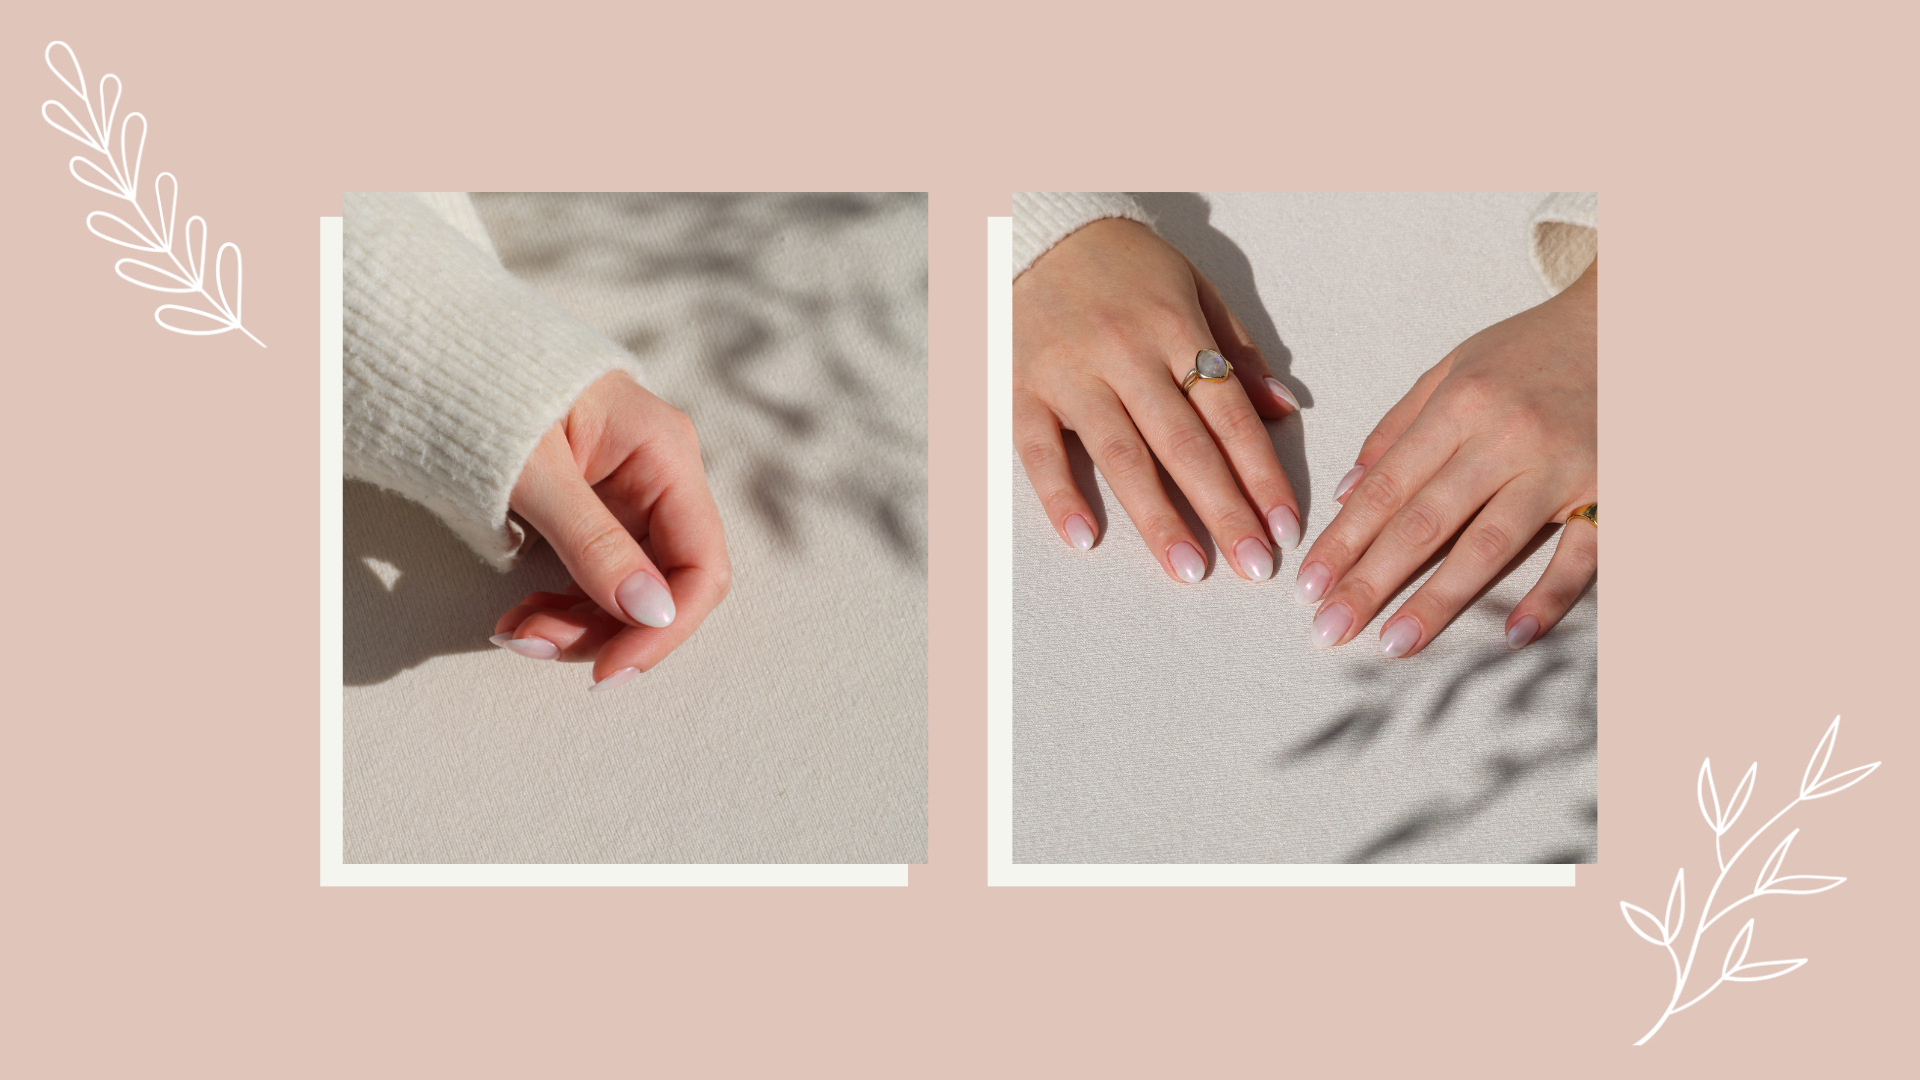

If you love a mani and keep up with beauty trends then ombre nails are probably on your radar. But knowing how to do ombre nails yourself at home? That’s another matter entirely.
While they aren’t the easiest of nail designs to master right off the bat, we’ve grilled the experts and taken snaps of the ombre nails process to help you create a seamlessly blended two-tone manicure at home. But first, a little intro to the basics. "An ombre nail is where two colors are blended into each other," says celebrity manicurist Jenni Draper. "It can be done with light or dark colors and works well as a French ombre," (where a nude pink nail design transitions into white at the tip)
You can learn how to do ombre nails with either polish or techniques such as Bio Sculpture nails and dip powder nails and, as Jenni has touched on, the joy of this design is that it’s compatible with lots of different color combinations. Whether you want to keep things simple with nude-and-white nail designs, go all-out with bold or neon hues, it works for most preferences. The key is to stick to shades that are close enough to blend, such as pastel nail shades or tones of the same color.
How to select your ombre nails design
As one of the key nail trends 2023 has in store for us, ombre is pleasingly adaptable as long as you know what tones to look for. “Color combinations are key with ombre nails,” advises celebrity manicurist Michelle Humphrey. "If you choose colors that completely clash you may find it hard to get them to blend flawlessly. For example, pink or yellow blends well into orange or red, blue blends well into green or purple – but if you try something like green into red, it’s going to be a struggle to achieve a smooth blend.”
“The best and easiest way to create a flawless ombre is to pick two or three colors that complement each other, such as all-pastel shades or colors in a gradient,” agrees Isabel Surtees, nail artist and founder of Nails-Luxe. “You can use cheap, disposable makeup sponges to blend colors together, which are affordable and easy to get your hands on. This method helps to sheer out the colors, which makes blending easier and creates a more seamless ombre.”
Unless you’re already a dab hand at nail art, DIY ombre nails may take a bit of practice. To guide you further, we visited luxury nail destination Townhouse, to take snaps of their ombre nails creation process. There are a few different methods you can try, but this should give you a good idea of how to do horizontal ombre nails at home.
How to do ombre nails in five steps
1. Prep, file and shape
It goes without saying that you need to start with nail care and a clean canvas before creating fresh ombre nails. Ensure that all polish or gel from previous manicures is removed before you get started, then file your nails to your desired length and shape.
Sign up for the woman&home newsletter
Sign up to our free daily email for the latest royal and entertainment news, interesting opinion, expert advice on styling and beauty trends, and no-nonsense guides to the health and wellness questions you want answered.
2. Apply base coat
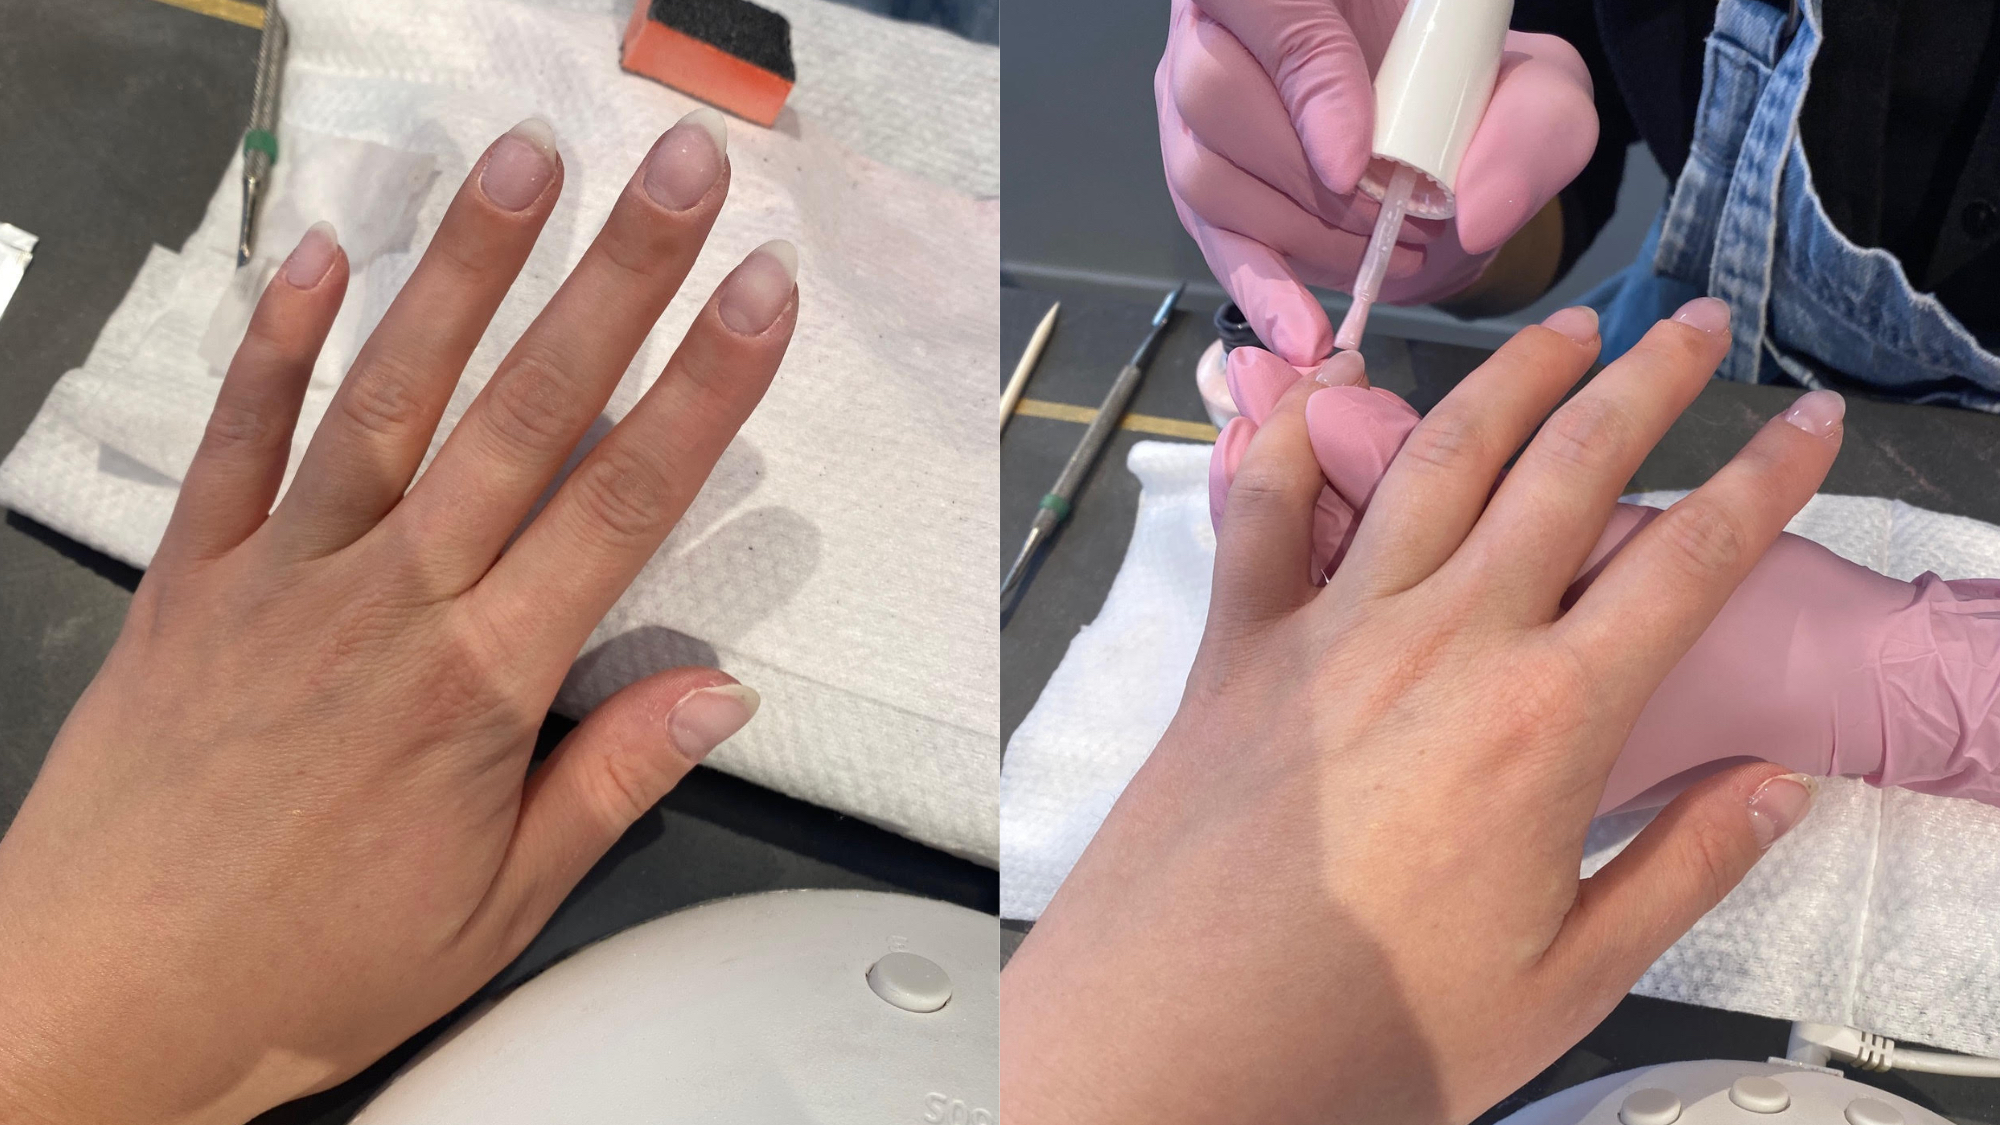
Lucy's nails being prepped for an ombre design
The first step of any good at-home mani is to apply base coat. This will protect your natural nails from staining and help to make the colored polish last longer. My natural nails are very weak so I also had builder gel – also known as BIAB nails – applied, but this isn’t a must when creating ombre nails.
3. Apply one color all-over
Now for the color application – for a horizontal ombre, begin with your base coat. Townhouse's Champagne Pop glazed nail ombre design features a sheer pink shade (OPI's Love Is In The Bare), but you can of course choose whatever color combination suits you. While manicurist Ioanna used gel polish here, she confirmed the method would still work with any polish for DIY jobs. So if you don't own an at-home gel nail kit, don't stress.
4. Sponge on your second color
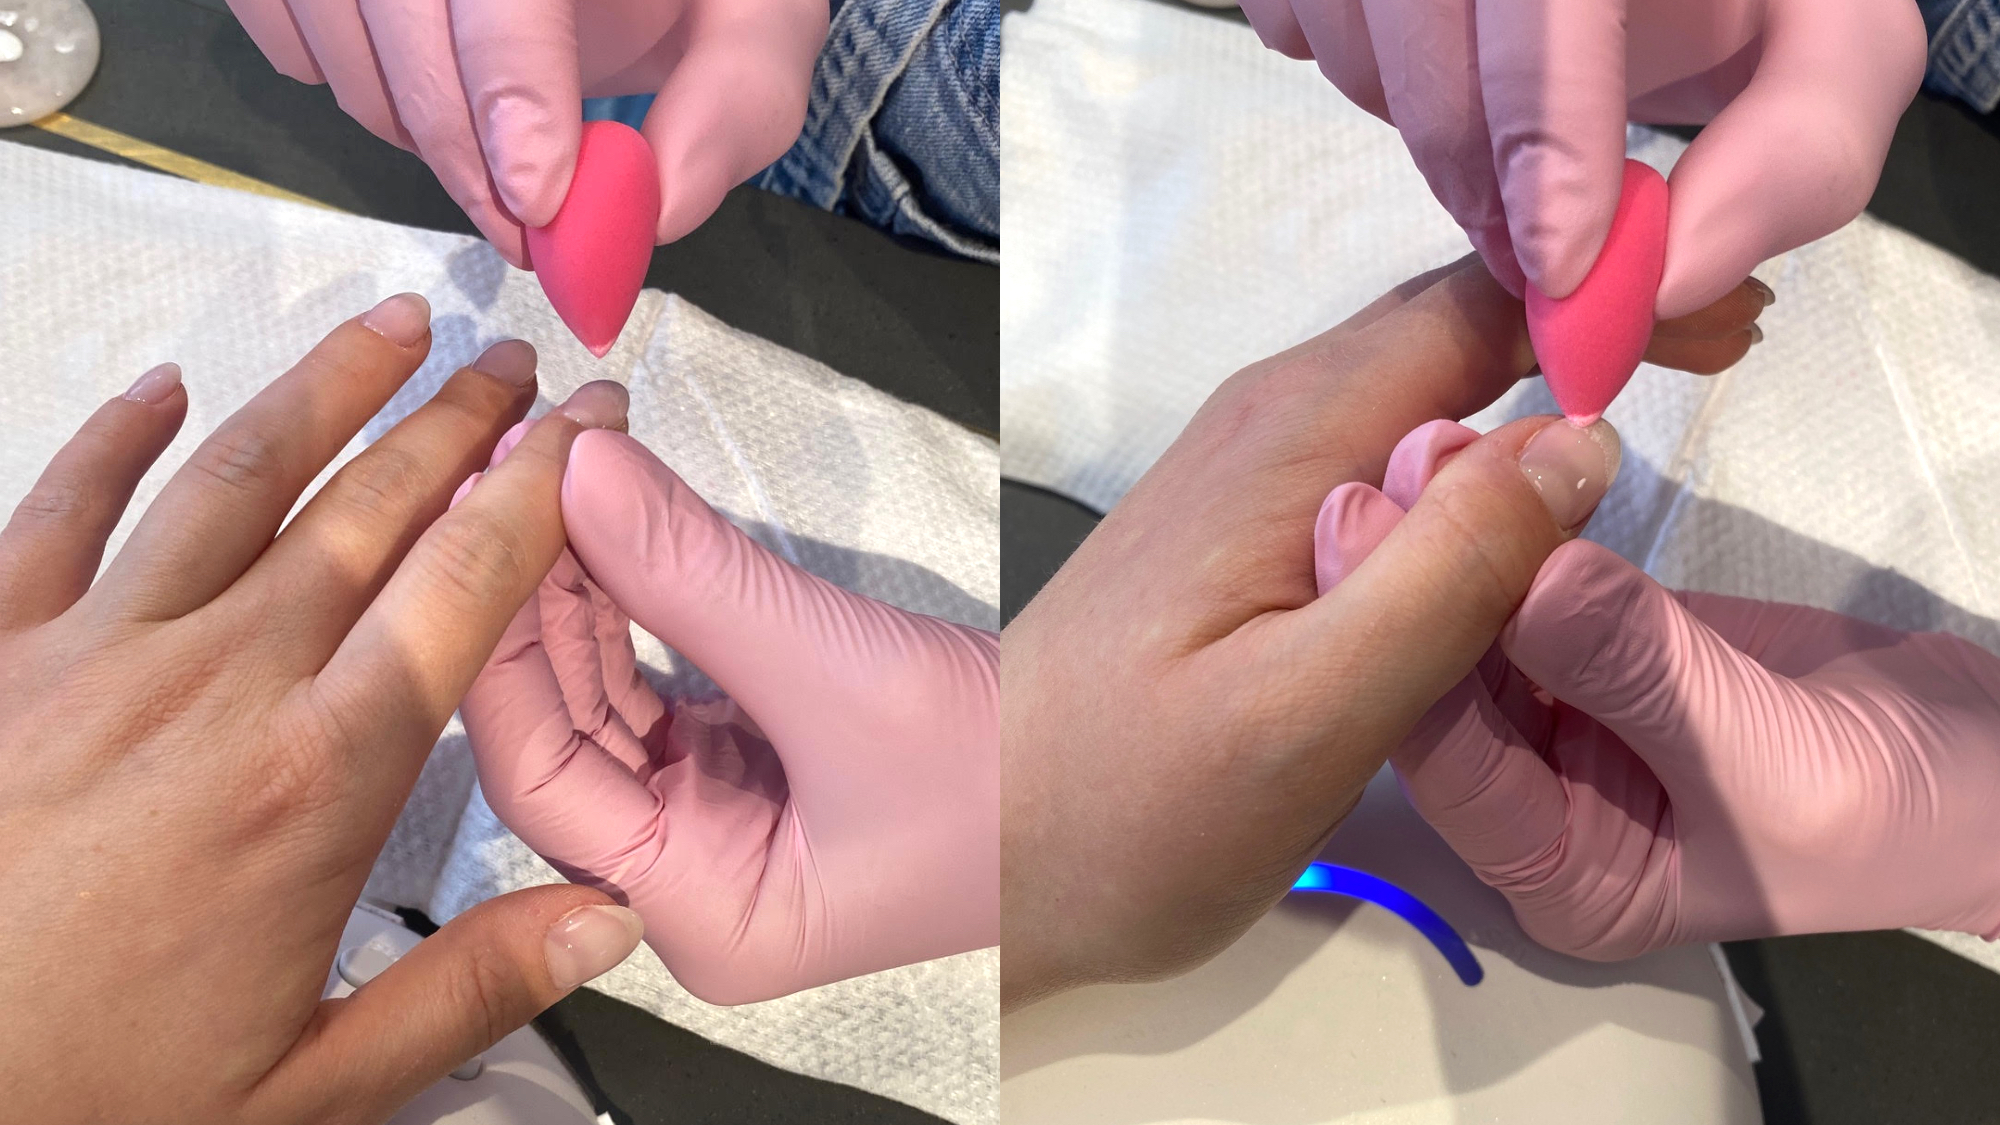
Lucy's ombre nails being created with a sponge
This step is where the magic happens. Pop a small amount of your second color (in our case this was white polish) onto a small dish, tile, or similar surface that you won't use for anything else. Dab your small sponge into a little of the polish to get a thin layer and then begin stippling. Take it slowly, starting with very thin layers that will blend more flawlessly into your first color. Then build up the concentration towards the tip of your nail to create that ombre look.
Another method is to apply a base color and then create your ombre on the sponge. "Cut the sponge to your nail and apply your two colors onto the sponge," says Humphrey. "Pat onto the nail where you want the ombre and repeat this step to create opacity. You may need a few of these as the polish dries and hardens in the sponge – this turns an ombre chunky, which you don’t want. Make sure every layer is dry before attempting the next as it may smudge."
5. Finish with a top coat
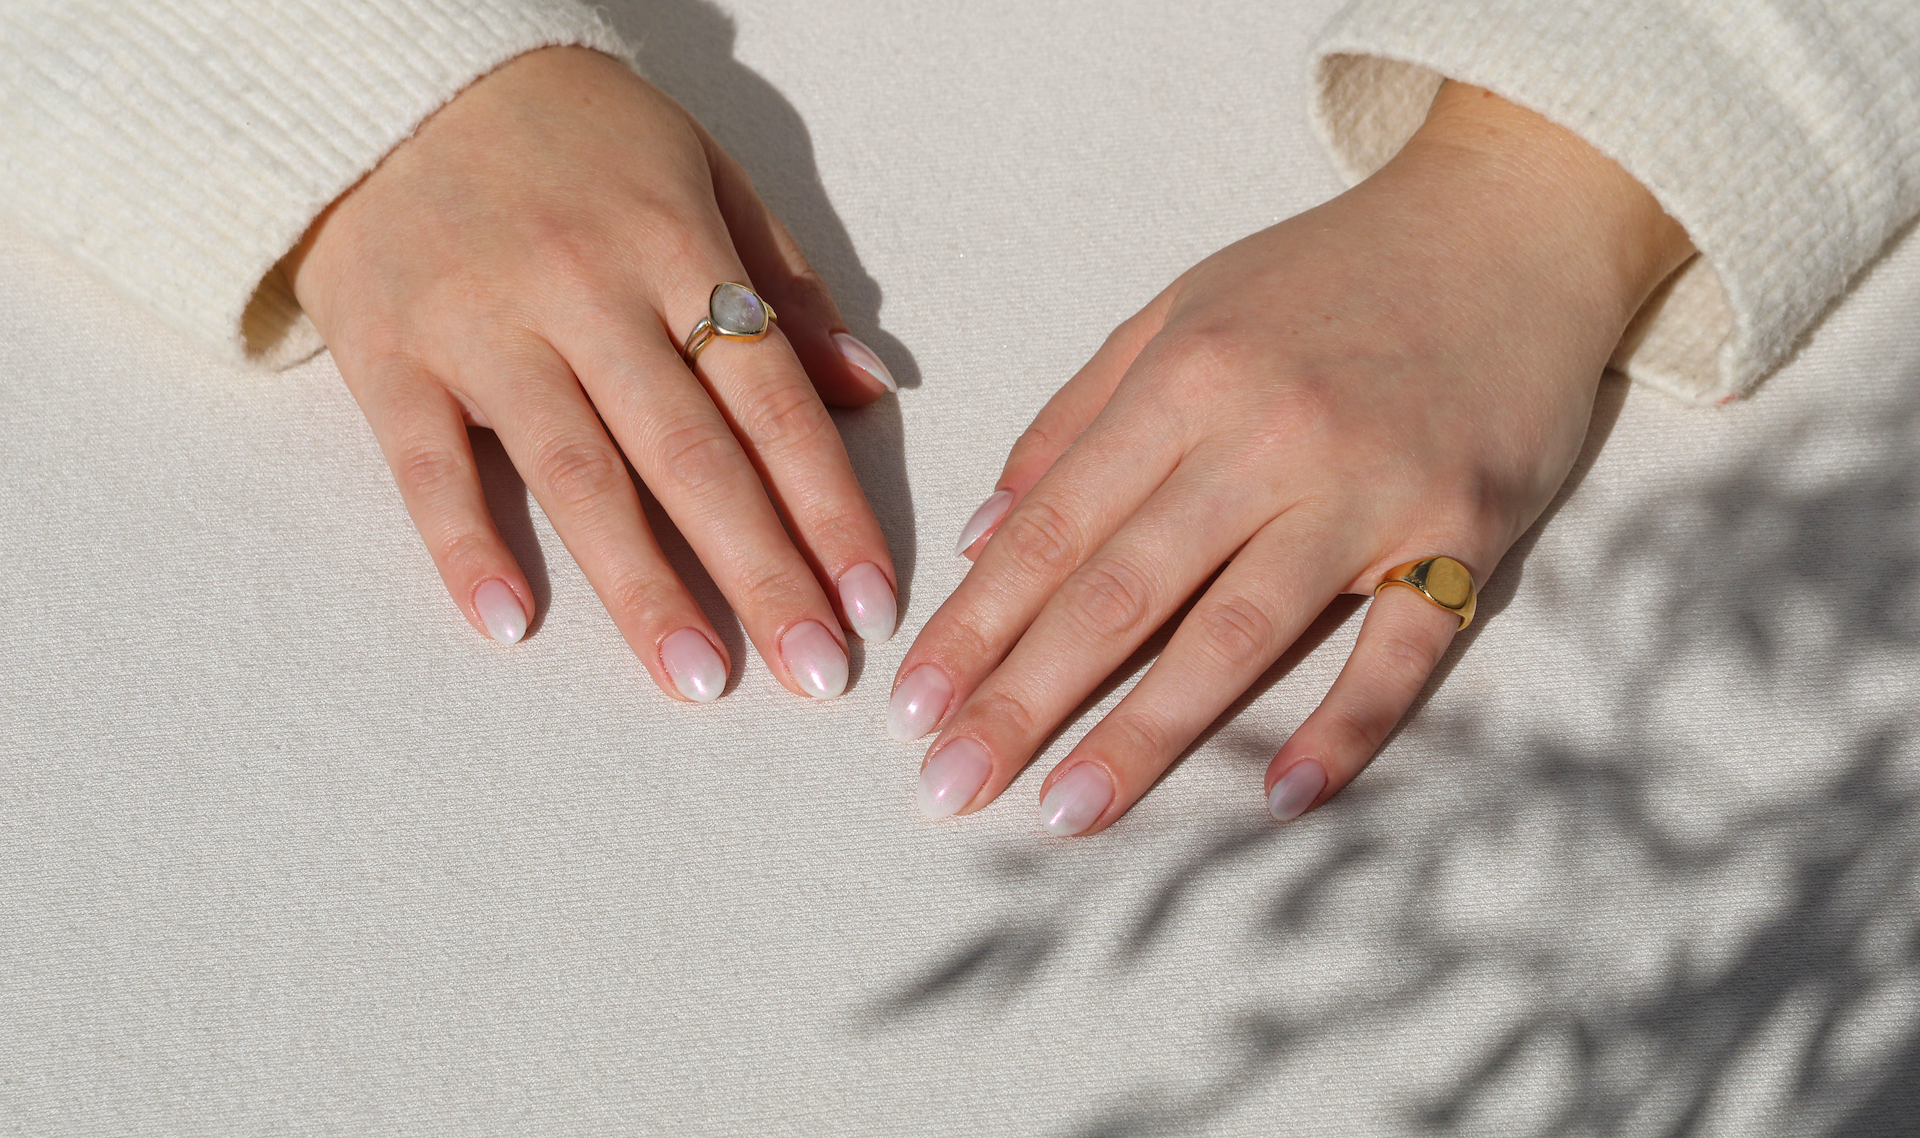
Lucy's ombre nails created at Townhouse
Last, but by no means least, it's important to apply a good quality top coat. This is an extra layer of protection that'll shield your hard work from any chips and scratches, as well as make it look extra shiny.
Now that you're better-versed in the creative process of how to do ombre nails, you can shop our recommended picks for your nail kit and get cracking. Happy painting!
Our top at-home ombre nails essentials
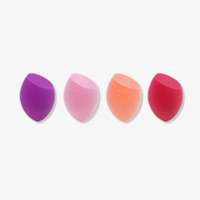
Real Techniques 4 Pack Mini Complexion Sponge RRP: $8.99/£8
Any very small makeup sponges will do, and you may be able to find cheaper alternatives elsewhere, but these Real Techniques buys are a trusted, quality brand that won't let you down.
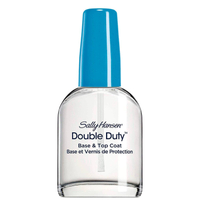
Sally Hansen Double Duty Base & Top Coat | RRP: $6.49/£5.99
A good base coat is essential first step, and this one from go-to nail brand also doubles as a top coat.
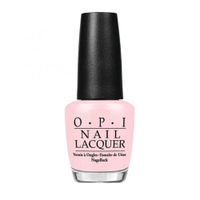
OPI Nail Polish Pinks | RRP: $10.79/£13.90
If you're a frequent flyer at your local nail bar, you're probably familiar with OPI's excellent polishes. If you're sticking to the classic pink-and-white combo, this pinks range has loads of gorgeous shades to choose from.
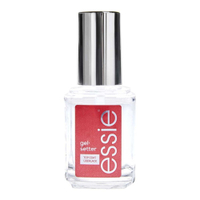
Essie Gel Setter Top Coat | RRP: $11/£8.99
One of the glossiest top coats we've ever tried, Essie Gel Setter will give your at-home ombre mani that shiny salon gel polish feel.
Lucy is a UK-based beauty journalist who has written for titles including Marie Claire, Glamour and OK!, as well as contributing to woman&home. Her work covers everything from expert skin and haircare advice to beauty trends and reviews of the latest products. During her career she regularly speaks to the industry's leading hairdressers, dermatologists and make-up artists, has covered backstage at London Fashion Week and interviewed many a celeb about their beauty routine.