How to sew a zip on a cushion cover
Learn how to sew a zip on a cushion cover the easy way with our video tutorial
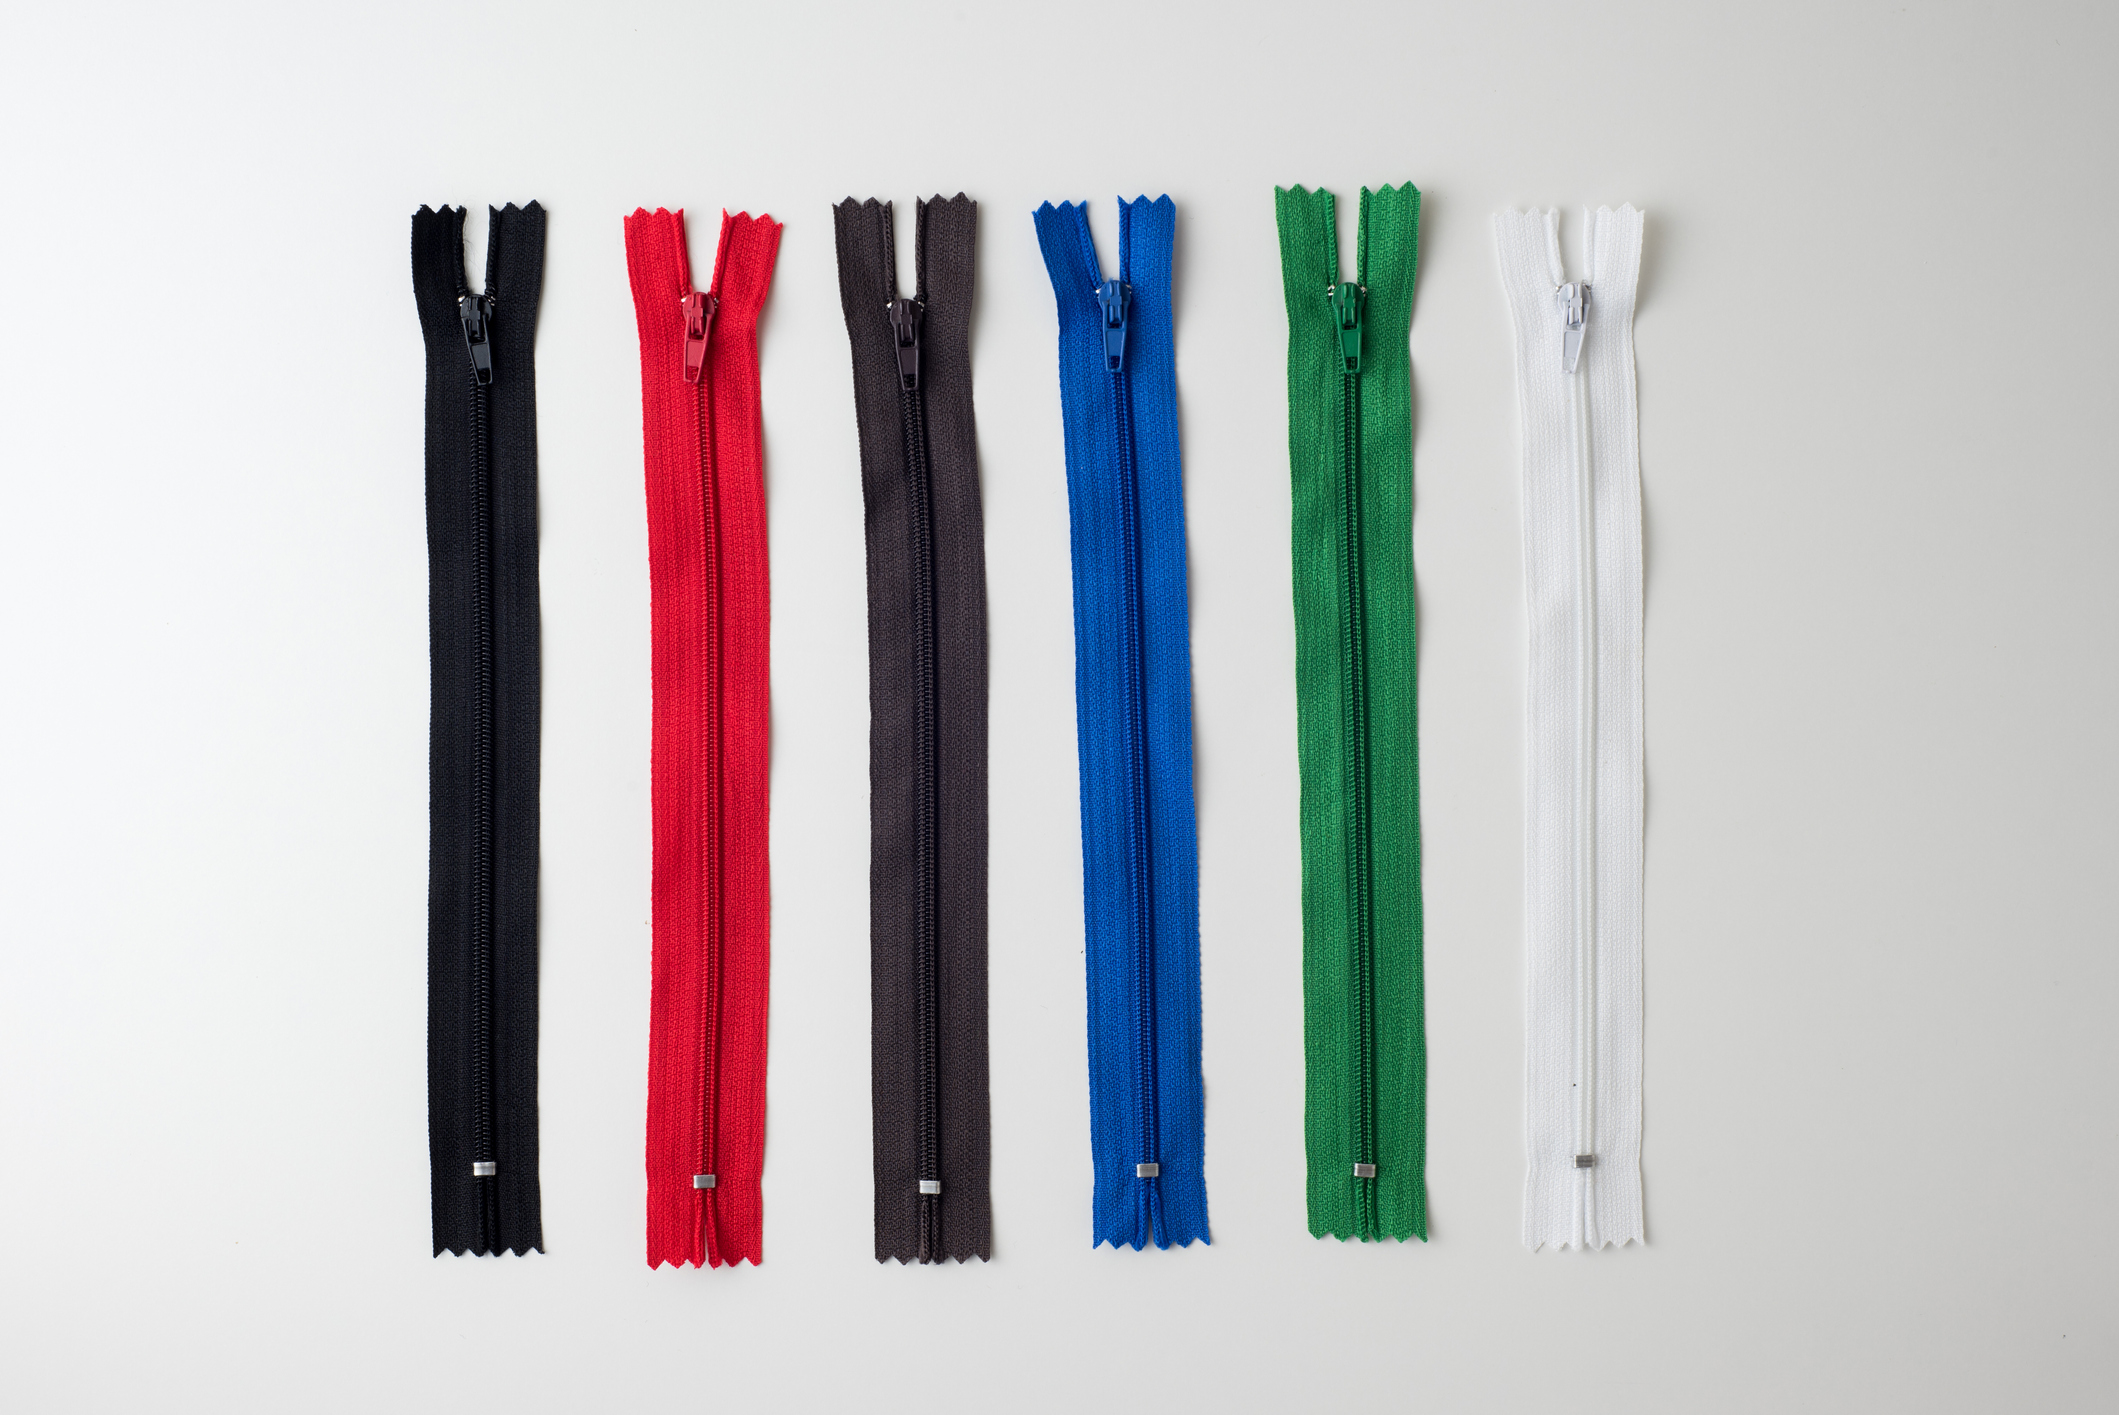

Follow our step-by-step instructions for how to sew a zip on a cushion cover. Making do and mending is much more commendable than just buying something new, and it means you can save a household favorite.
A cushion that works just like new can be yours in just seven steps.
How to sew a zip on a cushion cover
We have created a video tutorial to show you how to sew a zip on a cushion cover. But we've also outlined the instructions simply below too.
What you'll need
This project could be done by hand, but we recommend using a sewing machine. If you don't own one read our guide to the best sewing machines.
- Cushion pad measuring 45 x 45cm
- Two pieces of fabric measuring 48 x 48cm
- General purpose plastic coil zip measuring 35cm
- Zipper foot
- Seam ripper
- Matching thread
- Contrasting thread
- Needle
- Tape measure
- Ruler
- Set square
- Dressmaker’s chalk
- Scissors
- Pins
- Iron and ironing board
How to sew a zip on a cushion cover
Step 1
On the wrong side of one of the fabric panel’s edges, position your zip in the centre and, using dressmaker’s chalk, mark on where the zip starts and finishes.
For my 35cm zip this measurement is 6.5cm at either end and this marker will be my stitch guide when sewing the cushion panels.
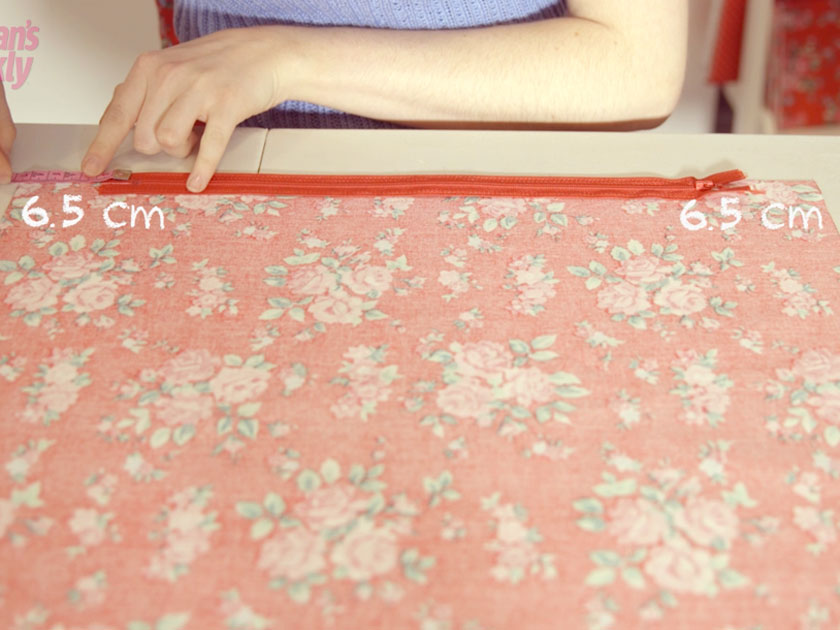
This length will differ depending on how long your zip is. Your zip should sit in the center of the panel, so use your tape measure to work out the equal distance at either end.
Sign up to our free daily email for the latest royal and entertainment news, interesting opinion, expert advice on styling and beauty trends, and no-nonsense guides to the health and wellness questions you want answered.
If your zip is longer than you need, it’s easy to alter. Simply sew ten or so times around the coils at your desired length to stop the zip pull from coming off the coils and trim the zip 1cm beneath the new stitched end.
Step 2
Place the cushion panels right sides together and pin along this edge. Following the stitch guide markings, sew the seam with a 1.5cm seam allowance, using small straight stitches for the 6.5cm sections and long basting stitches for the 35cm in the center.
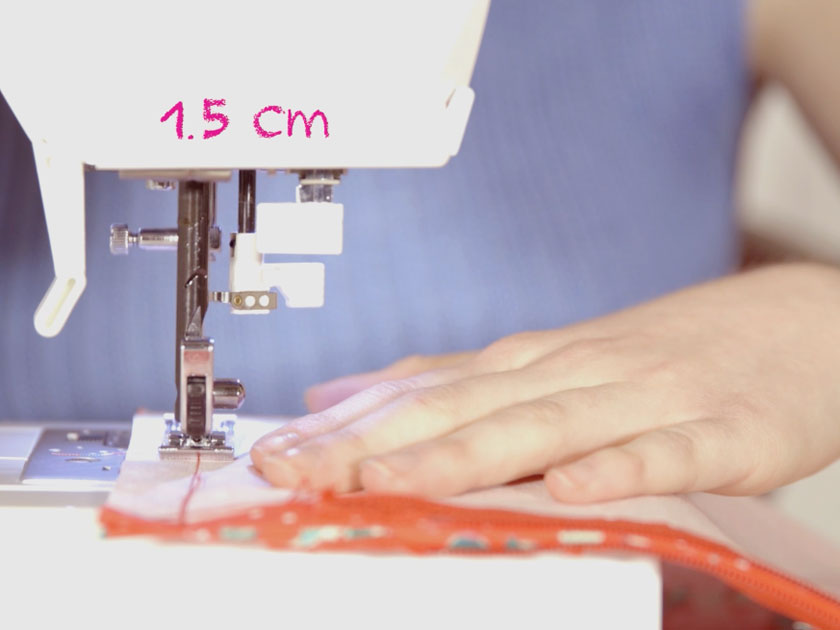
For the basting stitches, I’ll be using my sewing machine set to straight stitch on the longest stitch length setting, but you can tack this by hand if you prefer.
When sewing the small straight stitches at either end of the basting stitches, begin and finish each section by using the reverse stitch button on your sewing machine to secure the thread ends and strengthen the seam ends. Use your iron to press the seam open.
Step 3
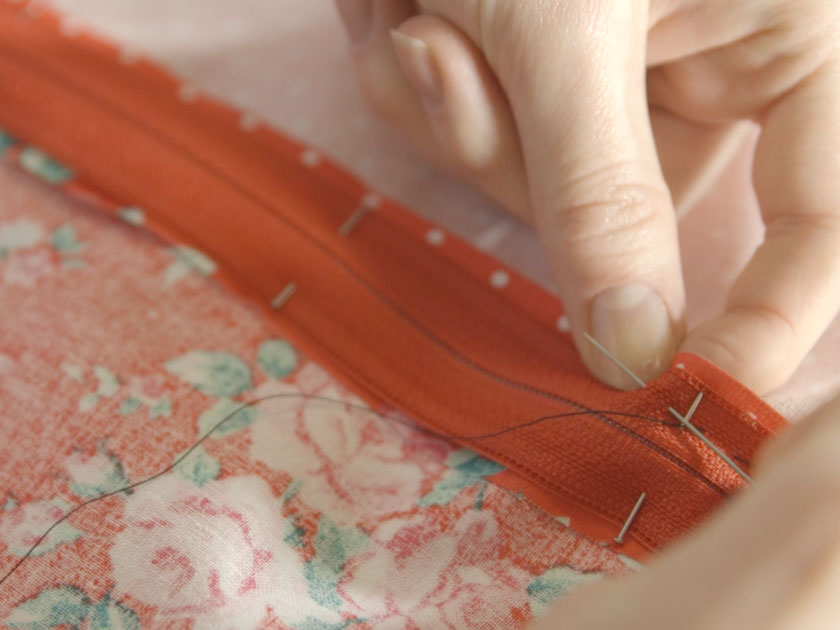
Lay the zip face down along the basted seam making sure that the zipper teeth sit directly over the join of the seam and pin in place.
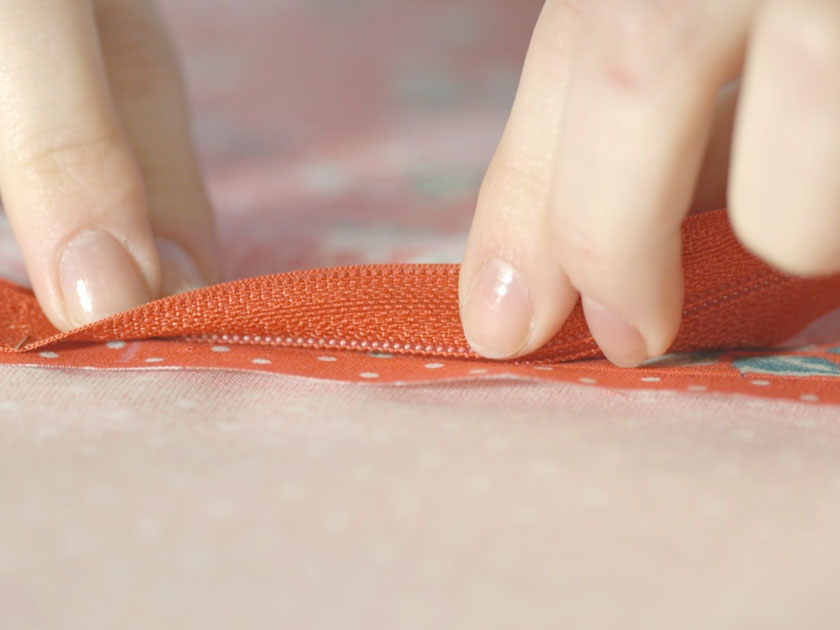
With a contrasting threaded needle, stitch a row of tacking down either side of the zip, securing the zipper tape to the seam allowance. Always double-check that the seam and zip are lined up as you sew.
Step 4
Change the presser foot on your sewing machine to a zipper foot and topstitch all the way around the zip on the right side of the fabric, about 3mm from the zip’s coil.
As you sew around the corners, lower your needle, lift the zipper foot, turn the cushion panel, lower the zipper foot and then continue sewing.
Step 5
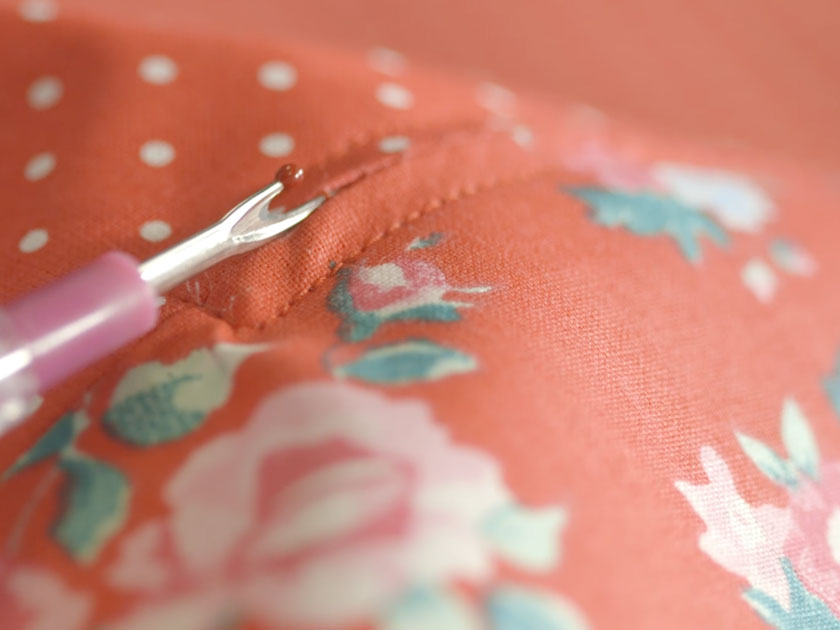
With the seam ripper, remove all the tacking stitches around the zipper tape. Turn the cushion panel over and remove the basting stitches to reveal the zip beneath. Unzip the zipper.
Step 6
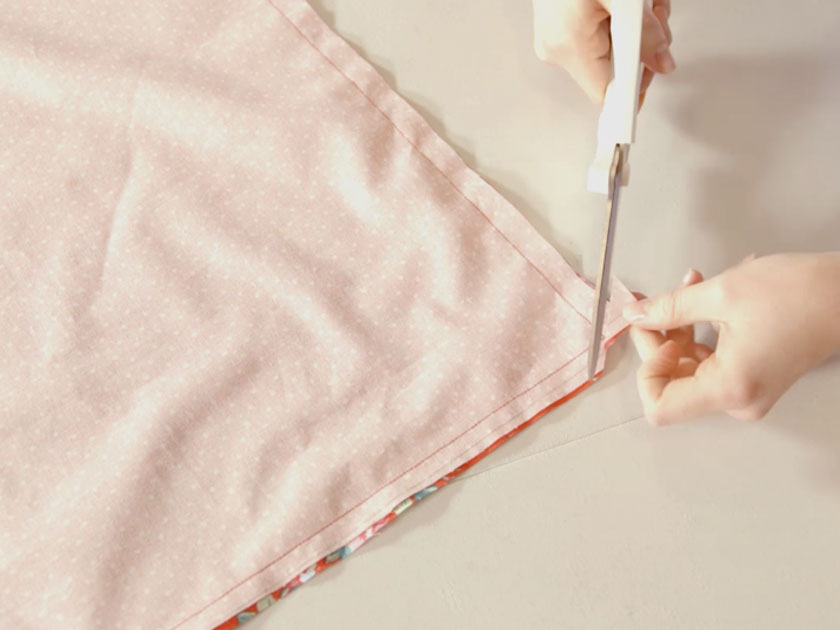
With right sides together, pin and tack the cushion panels all the way around the other three sides. Change the zipper foot back to the presser foot on your sewing machine and straight stitch with a 1.5cm seam allowance. Clip off all four corners to get a crisp finish.
Step 7
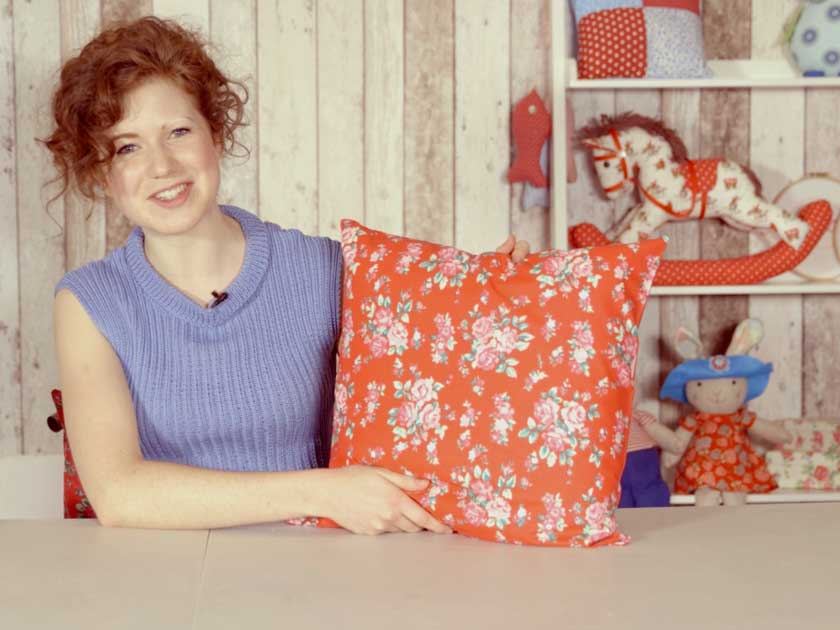
Turn the cushion cover right sides out and use a closed pair of scissors to push the corners right out. Give the cover a final press before inserting the cushion pad.
Once you've mastered how to replace a zip on a cushion you can do pretty much anything. Learn how to make a cushion from scratch, or how to jazz a cushion up with our guide explaining how to make piping for a cushion. If you want to try something new then our list of easy sewing projects will come in handy.

Group Homes Director and in-house craft expert, Esme Clemo has over 10 years’ experience working in the magazine industry as a homes journalist. Having completed an interior design course with the University of Arts London, she’s now embarking on her second home renovation, DIYing her way through building and decor projects - meaning she has a very hands-on approach when it comes to testing out products for our reviews.